Have you ever wondered how to prep plastic miniatures for painting? Specifically, I am writing today about hard plastic miniatures like those by GW, Wargames Atlantic and many other companies too.
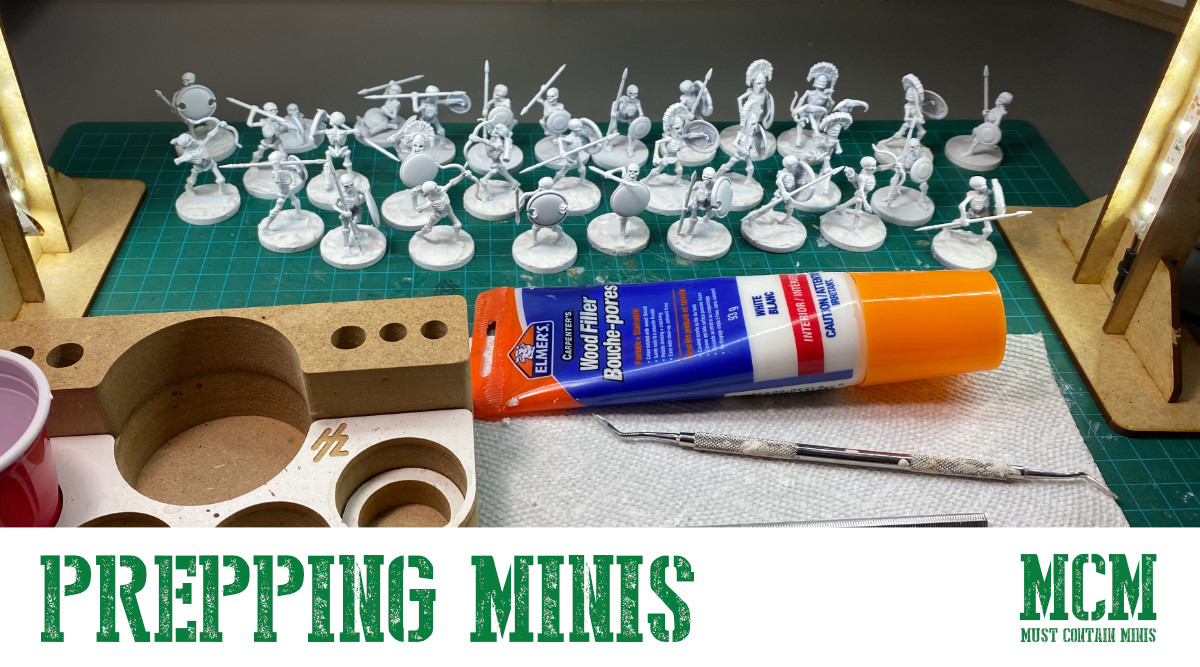
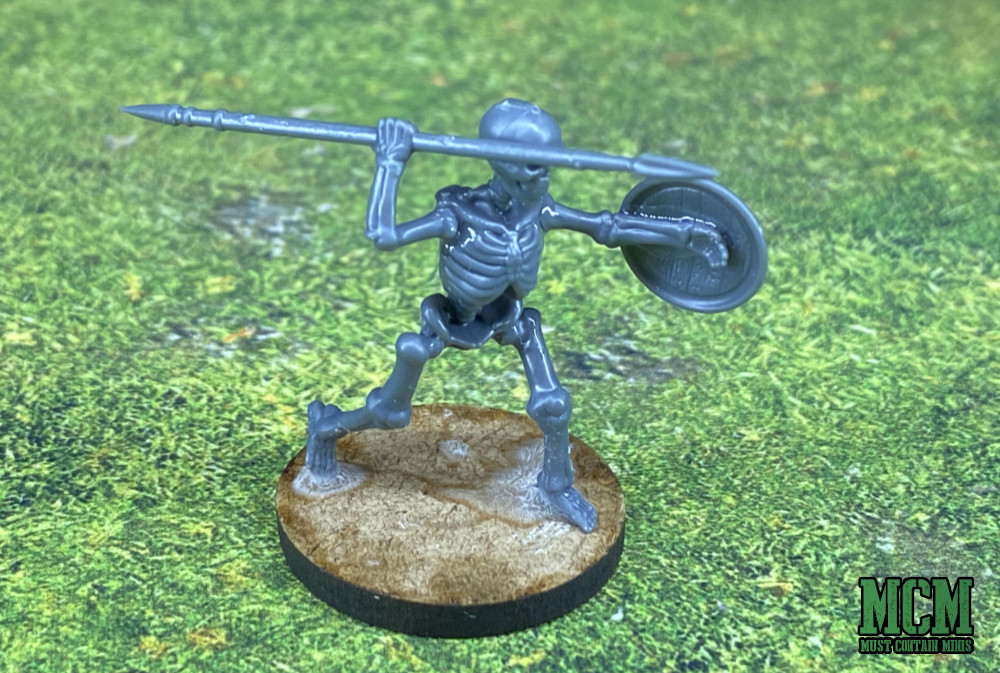
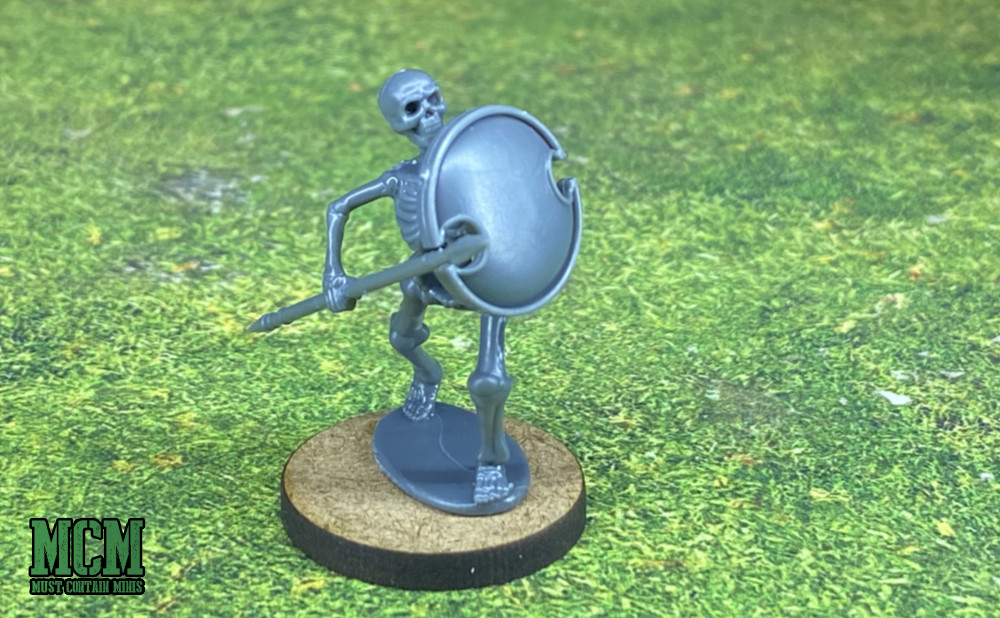
There are a few different ways to prepare your plastic miniatures for painting. In some of my other tutorials on this site, your will see a few different methods. I will link to some of them at the end of this article. Today, I want to focus on how I am getting my Wargames Atlantic Skeletons ready for painting. For these miniatures, I used The Army Painter White Primer and some wood filler too. What is the wood filler for? We will get into that soon.
The steps I go through to prep plastic miniatures for painting goes as follows…
How to Prep Plastic Miniatures for Painting – My Five Steps…
- Determine if you need to wash the plastic frame or miniature.
- Build your miniatures.
- Attach the miniatures to your bases.
- Prime your miniatures.
- Start painting your miniatures.
Step One: Determine if you need to wash the plastic frame or miniature
When it comes to plastic miniatures, you generally don’t have to wash them. I did not wash these this time around.
The reason for washing your minis this is to remove any residue that may have been left on the miniature from the manufacturing process. If there is residue on the miniature, it can interfere with the paint and primer adhering to the miniature. This leads to paint jobs that can easily chip off, or frustrating paint sessions where the paint won’t stick to the miniature.
That said it is not a bad idea to do so just in case. All you have to do is wash them with dish soap and water, rinse them off and then let them dry. I generally use a tooth brush or scouring pad to scrub the miniatures too while they are in the soap and water.
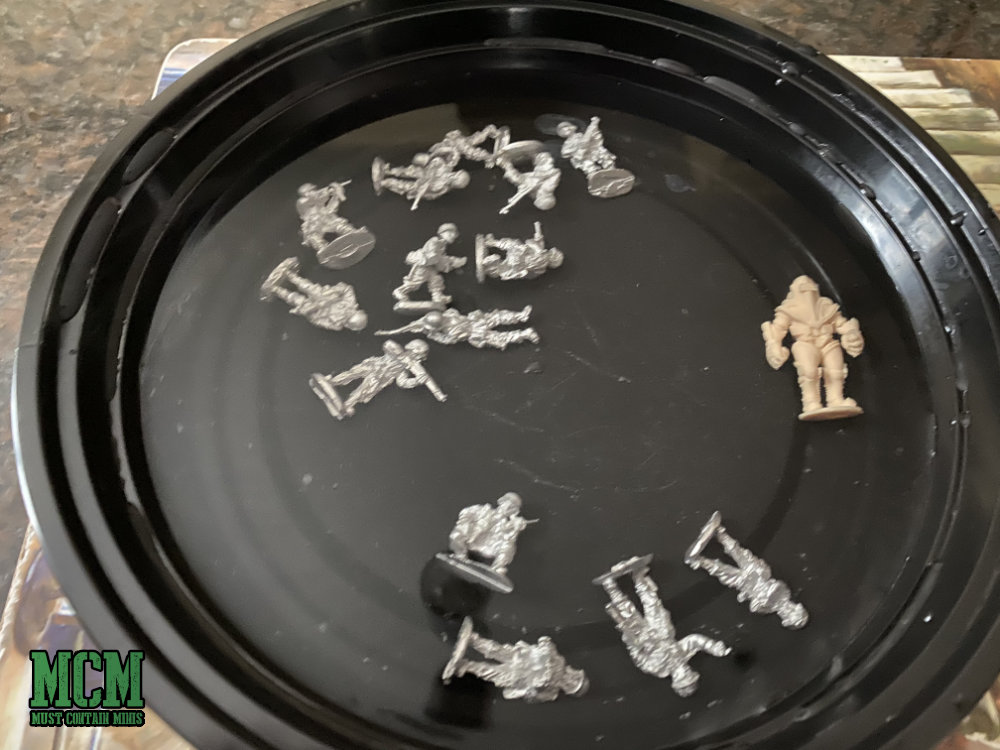
I have a really good chart about this in my how to paint a RPG Miniature Article. Below is a picture of some metal miniatures in the rinse stage of my washing process. I use the same bath system when I prep plastic miniatures for painting.
Again, you don’t normally need to remove residue from plastic miniatures. I do it sometimes to be safe. Actually, more often than not.
Check the packaging and instructions that your miniatures comes with. If there is any mention of washing your miniatures, do it. Dystopian Wars, for example, recommends that you wash their plastic frames just in case.
Otherwise, you should be safe without washing plastic miniatures.
Step Two: Build your miniatures
Next up, build your miniatures. This is my favourite part of the hobby. I just like building miniatures. For plastic miniatures, I like to use plastic cement. Super Glue would work well too, but you will get a better hold from plastic cement as it slightly melts the plastic and fuses the pieces together.
Personally, I like to use Testor Brand Plastic Cement. Generally I buy the non-toxic blue tube cement bellow, but, lately, I have been experimenting with Tamiya plastic cement too. If you use the Tamiya stuff, make sure you use it in a well ventilated space. I open the window and run some fans while using it.
As you build your miniatures, remove any lines and flash that bother you. Lines often occur from the molds and flashing is usually more associate with metal miniatures. Some people use fancy tools purpose built to remove lines, but I just use a scalpel and the same hobby knife I use for trimming the parts off the miniatures sprues.
Now, let me tell you about attaching your miniatures to bases. Some people save this until the end and paint in sub assemblies, but I find this the easiest method.
Step Three: Attach the miniatures to your bases
Either as I build the miniatures, or at the end, I like to attach the miniatures to their bases. If you are using plastic miniatures and bases, you can use the plastic cement that I talked about earlier to connect the two. If you are not using plastic bases, you will need to use super glue.
For super glue, I like to use Gorilla brand glue, but lately I started to use cheaper brands in smaller tubes. I like the Gorilla Glue more because it is less sticky on my hands when it accidently gets on my skin, but it can dry out in the bottle. That can be frustrating not being able to use all your glue before it dries out.
Using the smaller bottles creates less wasted glue in my opinion. I switched brands to save money, but the Gorilla stuff is good. This is a new shift in thinking for me, and so far it works well.
If you are working with integrated bases, there are two different ways I use to attach them to gaming bases. I will start by telling you about how to hid the bases with filler, and then tell you a second method I use when working with integrated bases miniatures.
Using Filler or Spackling To Hide an Integrated Base on a Miniature
After gluing my miniature to its base, I use either wood filler or spackling to build up the rest of the base to match the integrated one. Usually, I work up a slope to the integrated base so I don’t have to cover the entire surface with filler. I also think this gentle slope makes it appear more natural.
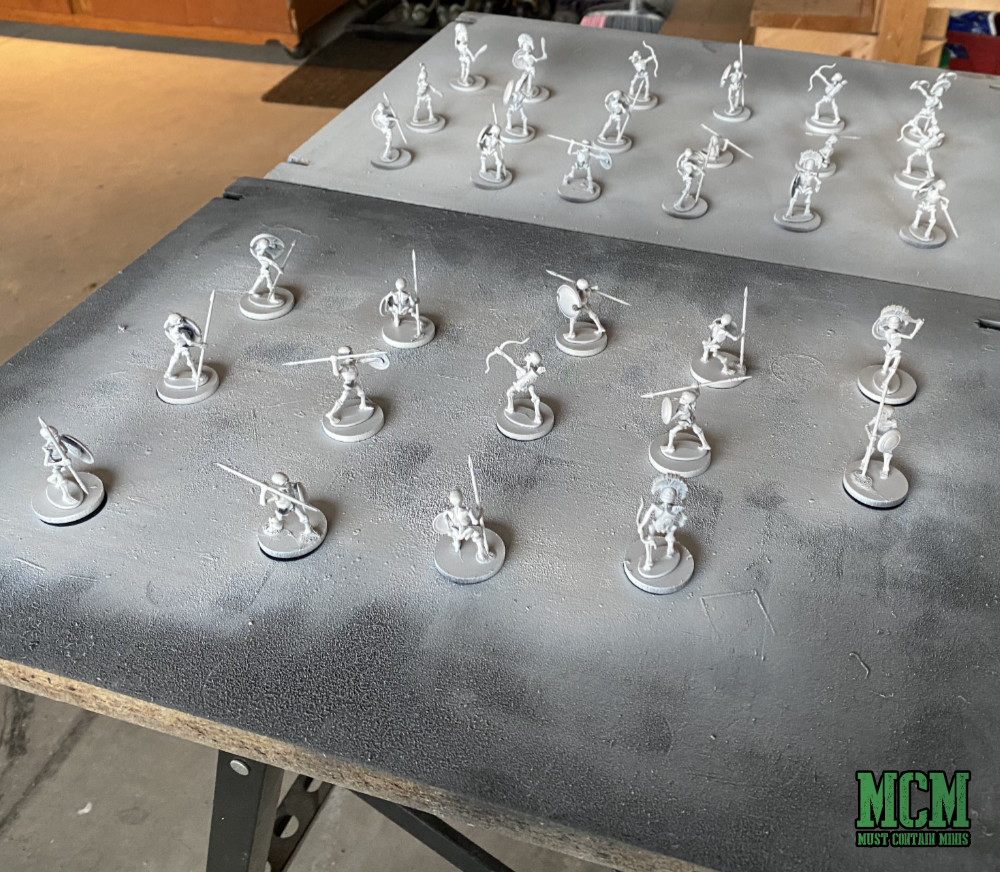
In the case of these miniature skeletons by Wargames Atlantic, I used wood filler. I added it on after the primer, but usually, I like to add it before priming. The dental tools there, I bought from the closest Army Surplus Store. You can use whatever you have on hand.
I find that if I mix a little water on the tool after I lay down some paste, that I can smooth it out to make a nice ground texture for the miniatures that also hides the integrated base.
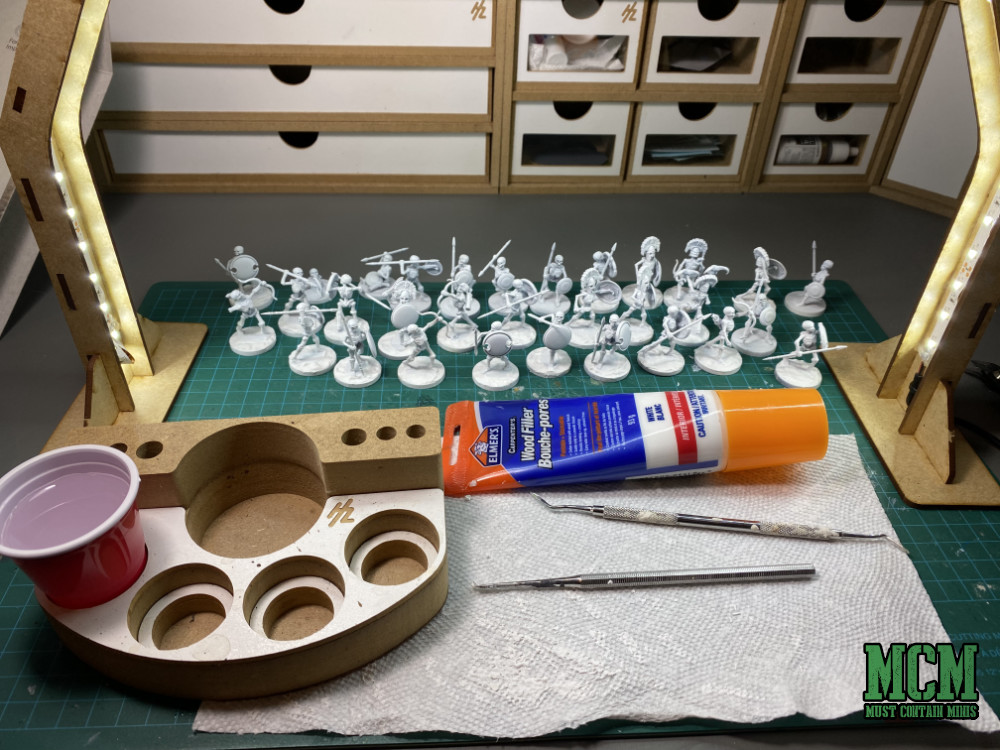
Any filler that overshoots the base or that is too high, I remove or sculpt down with a wet tool or paper towel.
Another Way to Deal with Integrated Bases on Miniatures – Cutting it off
The other way I like to deal with integrated bases is to cut them completely away, except under the feet. This raises the miniature above the terrain elements that you add later. Raising the miniature in this way makes for a satisfying look.
Now that I showed you two different ways on how to attach miniatures with integrated bases onto a gaming base, let’s move on to priming your miniature.
Step Four: Prime your miniatures – How to Prep Plastic Miniatures for Painting – Next Step Painting
Priming your miniatures is extremely important. It allows the paint to adhere to your miniatures. Without it, you might find that your paint runs off the miniature as you apply it, or it chips off easily after you paint the miniature. Neither outcome is good, so it is best to avoid it all together by priming your miniatures before painting them.
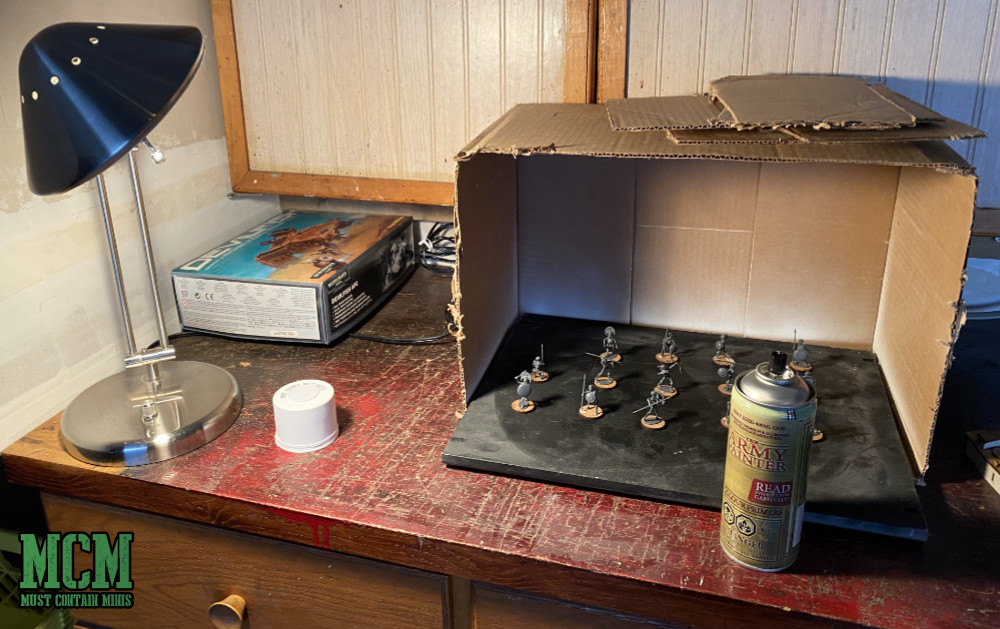
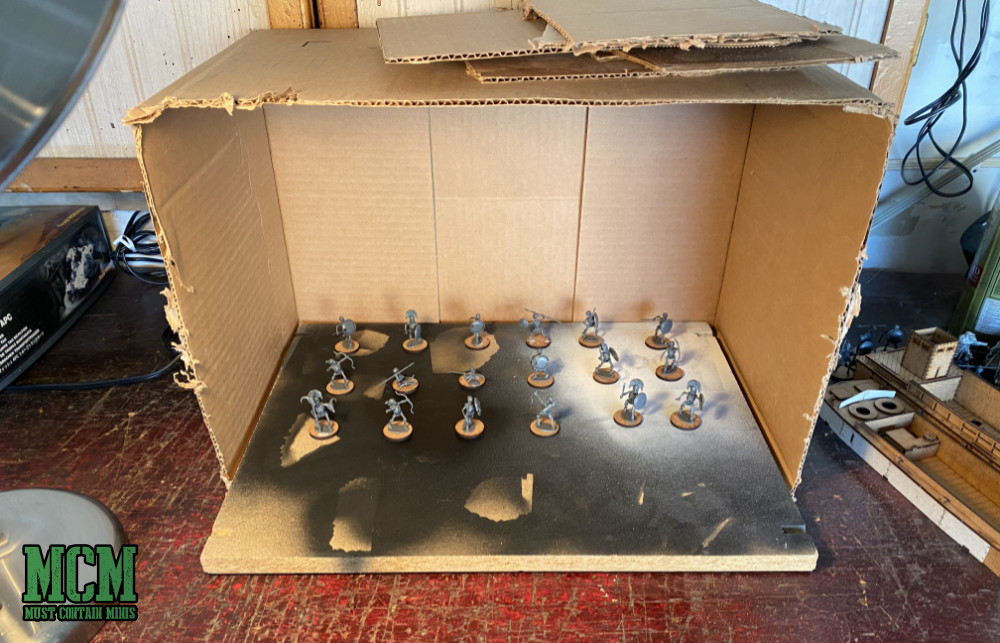
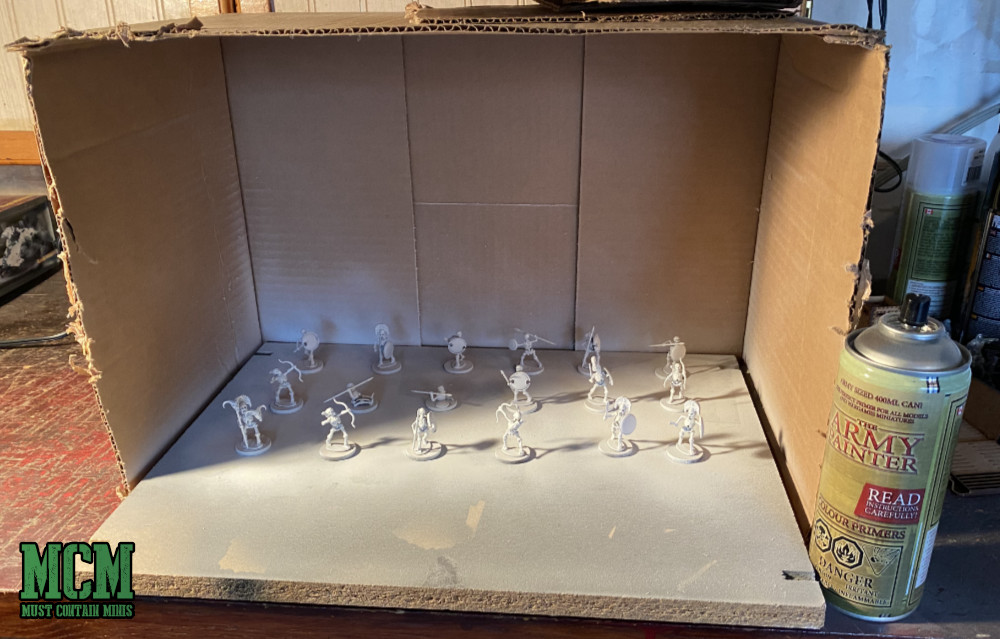
In another post, I talk about some brush on paint that you can substitute for primer. I will link to that in the resources section at the end of this article. For today, I am using spray primer by The Army Painter. To do this, I set up a box in my garage to protect my surroundings from overspray. To make sure the space is well ventilated, I opened the garage door.
Spraying outside is even better.
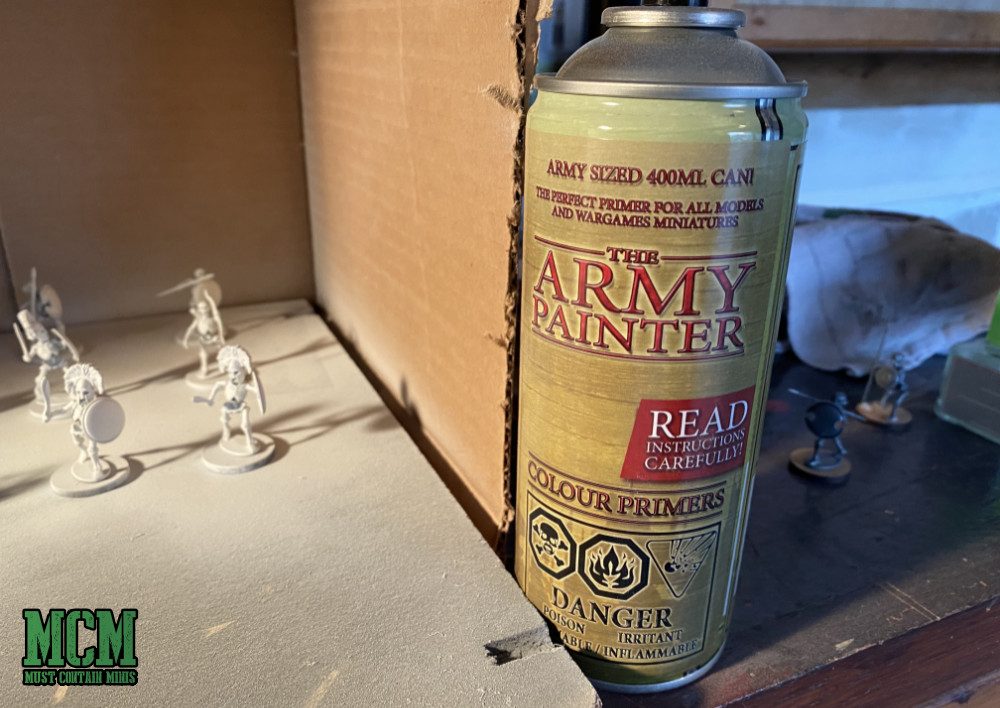
As I mentioned earlier, I used The Army Painter spray on primer. Specifically, Matte White. I have the brush on paint that matches it too. However, I did end up using it wrong. To help you avoid the same mistake here is a video from The Army Painter on how to use their primers.
I also continue on below discussing exactly what I did wrong.
If you watch the video above, you will be better equipped to use The Army Painter primers. Now, let’s talk about my mistakes.
The Mistakes I Made with The Army Painter Primer
My primer came out a little dusty and did not adhere right away to the miniatures.
So, I sprayed a little closer. At the time, I did not realize that you use Army Painter Primers differently than other brands of primers, because I had not watched that video I posted above.
I also wonder if the box caused part of the issue with how it made the paint waft through the air around the miniature. That said, I used the same technique for The Army Painter black primers without any issues, so I am guessing not.
The other factor could be that maybe the day was too hot outside to be priming. They mentioned that in the video too.
Hopefully you can learn from my mistakes. Be aware of your distance that you are spraying from and the heat on the day that you are doing the work.
You should be spraying this stuff 7-and-3/4 inches from the miniature or closer. It is different than other brands of primer. I was spraying from further away, so I think the distance caused the dusting.
Despite my boards having a dusting of paint on them, the miniatures themselves are fine. I don’t notice any issue on them with the primer.
A Response From The Army Painter
To get a better idea of what went wrong, I reached out to The Army Painter about my primer incident. They got back to me with the following response.
Hi Jacob, the flaking you experienced isn’t all that uncommon if the instructions aren’t followed. It’s a shame that you had to find out the hard way, but I am happy you found our (rather outdated, don’t worry I’m working on a new one) video for Colour Primer best practices. There’s a common misconception that all spray primers on the market are the same. That’s not true. Many of the “primers” you find from competitors aren’t actually primers at all. They are simply spray paint. Our Colour Primer Sprays utilize actual priming agents to offer unparalleled adherence to your miniatures, and to provide the best possible basecoat for your layering. Due to this, our Colour Primers require a bit of added attention before use.
An Excerpt from an email between me and The Army Painter.
Primer Tips from The Army Painter
The Army Painter went on and gave me some advice to help me prep plastic miniatures for painting in the future. Specifically, how to use their primer correctly. Below are those steps.
1. Always shake the can. We recommend shaking for a good 60-90 seconds. Don’t shake it hard but shake it well so you ensure that the high-quality pigments are perfectly agitated with the priming agents.
2. We always, always recommend you spray a test model first. Keep an old mini handy just for this purpose as it’s the best way to tell if you’ve properly shaken the paints, and if your environment is good for spraying. Which leads me to…
3. Spray in a well-ventilated area. Outside is best, provided it isn’t too cold, or too humid. Both extremes can cause the pigments to bind together leaving the flecks or dusty effect.
4. Spray in a smooth motion.
5. Spray at a closer distance than what you think. We recommend no further than 20cm or approximately 7-8” away from the miniatures. This also prevents the pigments from binding before reaching the surface of the miniature.
6. See Step #2…I can’t emphasize enough how important this is. Always use a test model. I’ve even come to using one for airbrushing and applying things like varnishes just to ensure I’ve done my due diligence with the paint prep before application.
I hope you find this helpful, and if you ever forget, don’t worry! We’ve printed these instructions clearly on every can of our Colour Primer Sprays and Spray Varnishes.
An Excerpt from an email between me and The Army Painter.
Now, I have another tip about the dusting effect that occurred when I primed the miniatures. I also learned this one the hard way.
Another Tip…
If you get the kind of dusting I did, do not reuse the same boards for your next job without cleaning them off first. I reused the boards to varnish some miniatures after this paint dried and I had some less than satisfactory results afterwards. Step six in the above list would have saved my miniatures that I varnished white flecks onto. I will link to the article about my failed varnishing job in the resources section down below.
Humidity could also have caused the problem I ran into with the varnish, but my feeling is it is directly related to the dusting issue I had with the miniatures in this article.
With all that out of the way, you now know how to prep your miniatures for painting. The next step is to actually paint them.
Step Five: Start to paint your miniatures
Once you complete the steps above, your miniature is ready to paint. I wrote other articles on Must Contain Minis that can help you with that. They will be linked in the resources section below.
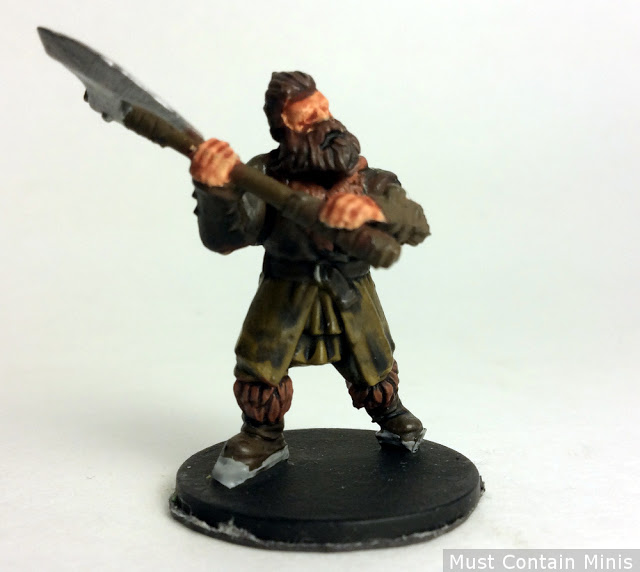
For today, I will let you know my plan for these skeletons. I primed these miniatures with The Army Painter Matte White Primer. I then plan to paint them with basic colours and then hit them with some Quickshade washes. That is likely where I will finish with these models. I might go back and do some highlights too.
Before doing this, I am going to have to make a trip to the Hobby Store, and I honestly have been hardly out at all since the start of the pandemic.
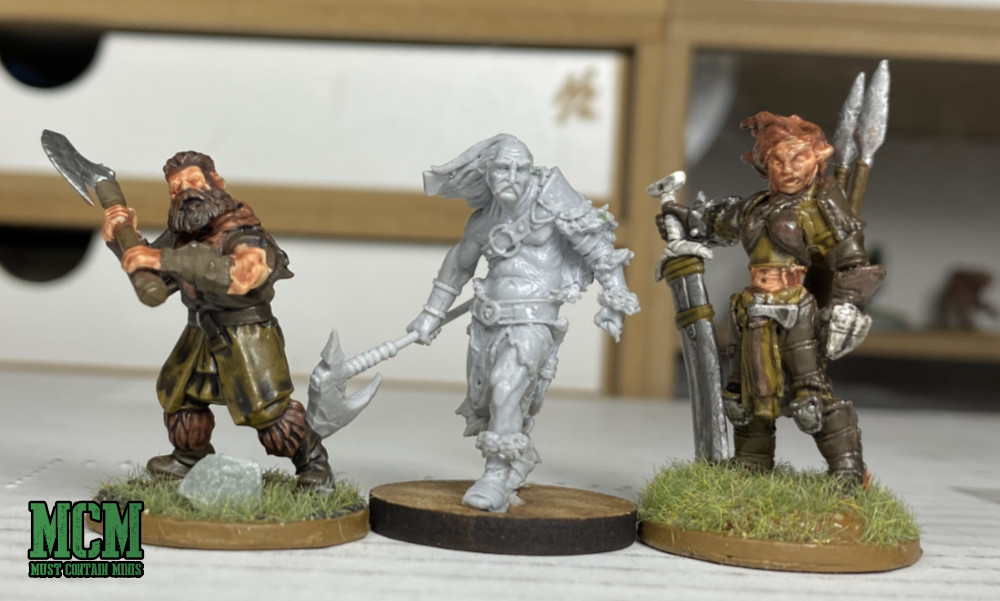
For this specific project of painting Wargames Atlantic Skeleton Miniatures, I want to paint the figures using products only by The Army Painter. If you have seen my other tutorials, you may have noticed that I use a plethora of brands. For these minis, I want to see if there is any benefit to using just one brand of paints.
Relevant tutorials will be linked in the resources section below.
In retrospect, it turns out that The Army Painter has a Skeleton Bone colour. That might have been a better starting colour than Matte White. That said, I am anticipating that after I run a wash over my miniatures, it might dull down the white enough that I can just leave it as is.
Below are some related articles and links.
Related Resources
In this section, you will find related links and articles to this tutorial on how to prep plastic miniatures for painting. The tutorials below take you past the stages of prep and priming and right into painting.
Related Articles and Sections on Must Contain Minis
- My Review of Wargames Atlantic Skeletons. Learn more about the miniatures in this article.
- How to Paint Space Marines – This article details the alternative brush on paint that you can use as primer that I discussed earlier in this post.
- The YouTube version of How to Paint Space Marines – A video adaptation of the above post.
- An article about how I painted my Living Dead Peasants by Fireforge Games. In this post, I discuss how I used Gesso to brush on prime the miniatures.
- A very detailed tutorial on how to paint miniatures for Role Playing Games.
- An extremely detailed Wild West Exodus review and tutorial on how I painted my Cerulean Clade Posse Set by Warcradle Studios. These are the miniatures that I spray varnished after priming the skeletons. You will see the dusting issue that I discussed in this article on those miniatures.
- A Tutorial on how I painted some elves for Oathmark.
Companies of Interest
- Wargames Atlantic – This is the company that made the skeletons in this article. They make extremely affordable miniatures of great quality. If you are looking to mix value and gaming, go to these guys.
- The Army Painter – This is the company who’s primer I used and the company who’s paints I plan to use for the miniatures.
Wrapping it up…
Thank you for joining me in this article on how to prep plastic miniatures for painting. Hopefully you found it useful, and I thank you for checking out this website.
I also have a YouTube Channel that you can check out.
Until next time, Happy Gaming Everyone!!!