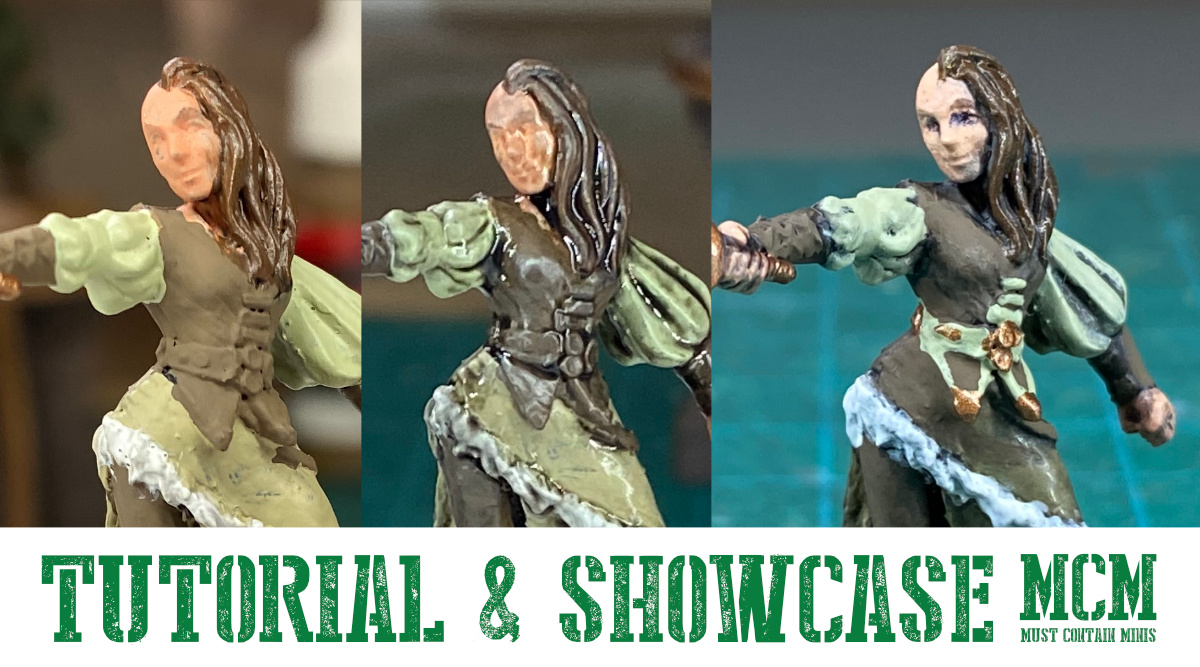
Ever wonder how to paint a miniature for a role playing game?
This post is meant for a beginner audience. In it, I take you through the steps I took to paint this miniature from start to finish. I will also let you know the paints that I used, but you can substitute my colors with the paints you have.
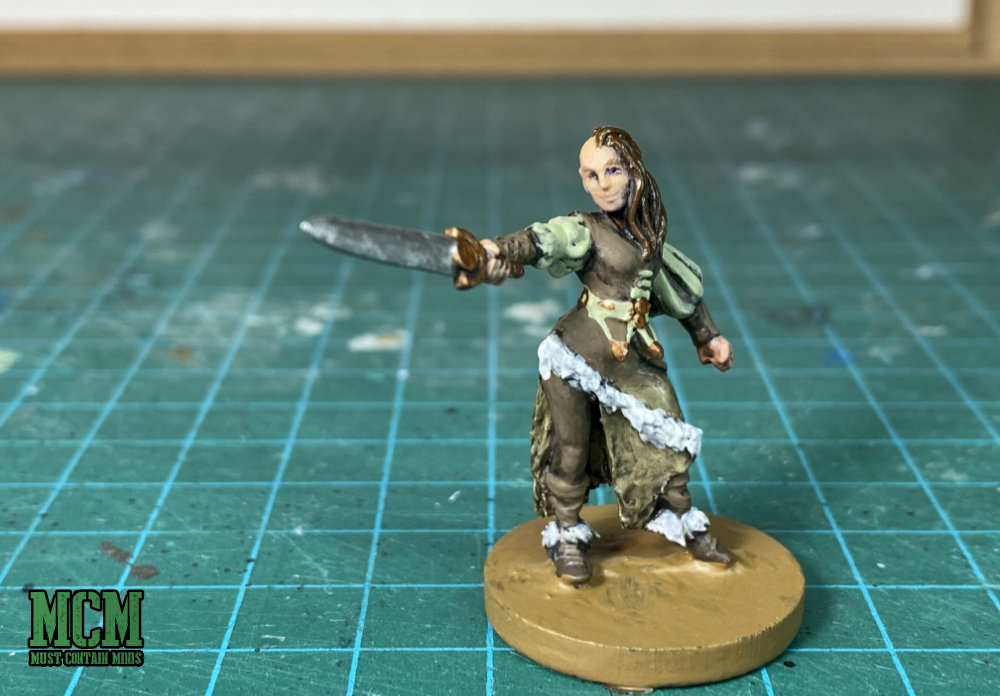
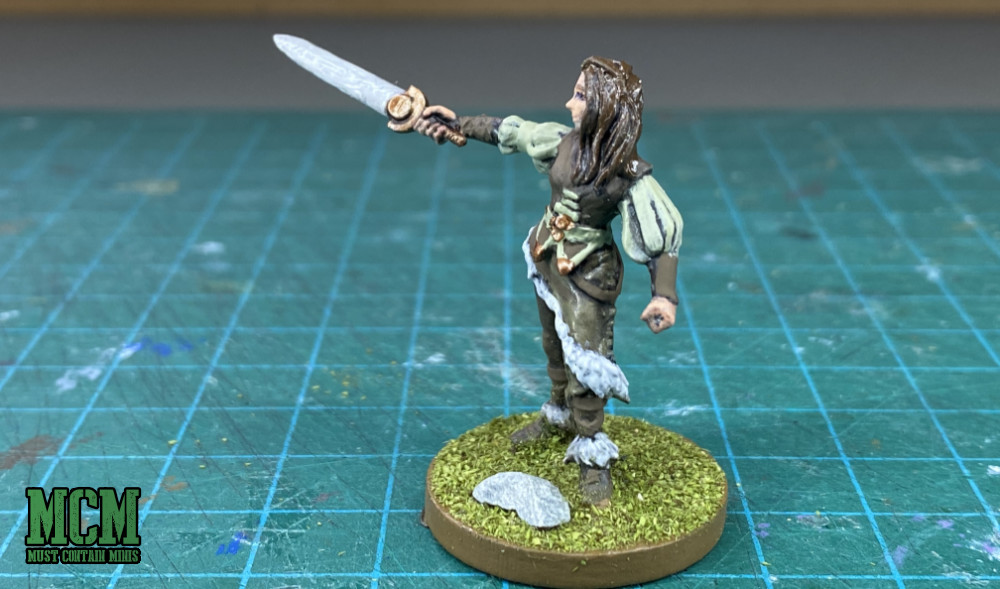
This miniature is Coco the Female Human Barbarian by Westfalia Miniatures. Westfalia makes miniatures for 5E, but they also have their own miniatures game and you can use them for other games too. I plan to use her for Frostgrave and Rangers of Shadow Deep.
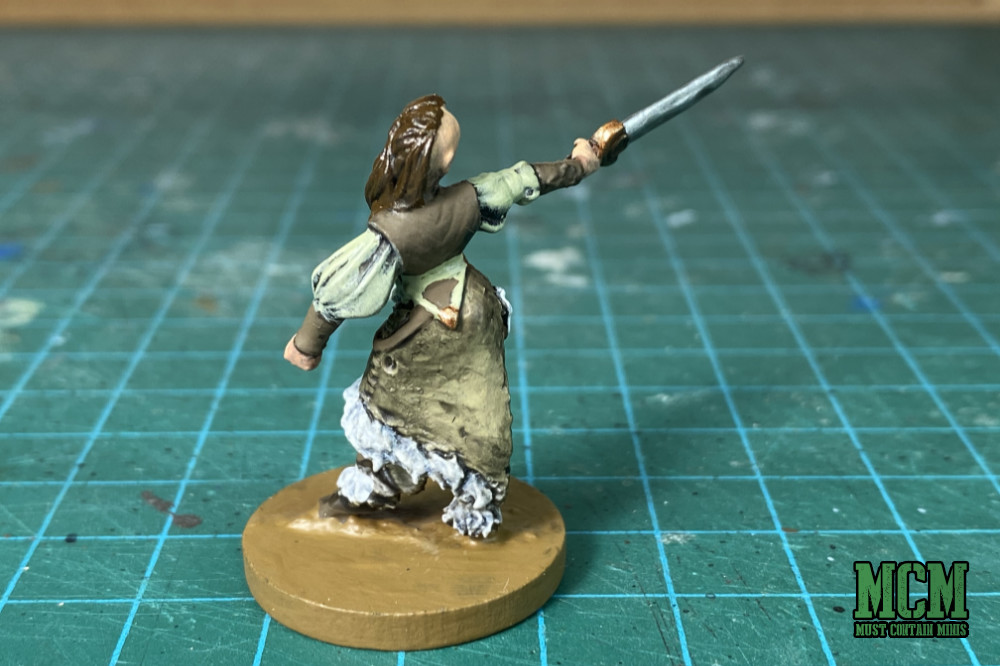
While I am writing this post as a beginners tutorial, there are plenty of images of this miniature at the end of the article.
Now, let’s get into the tutorial.
Choose your miniature
Before starting, you have to choose your miniature to paint. Reaper Miniatures and Wizkids both make nice miniatures that you don’t need to prime. On top of those two companies, many other companies make figures that would work well for Dungeons and Dragons and whatever other games you are into too. Today, we are looking at a mini by Westfalia miniatures.
Now, let’s go through the steps to paint up a miniature.
The Steps to paint an RPG Miniature
Below are the steps that you can take to paint your favorite Role Playing Game or Miniatures games figures.
- Clean and prime your miniature
- Lay down your base layer
- Apply shades or washes
- Highlight your miniature
- Glue on basing materials
I am going to go way deeper into detail below, but I am going to quickly explain my process here.
Those steps quickly are… Cleaning and priming, painting the base layers, shading, highlighting, and basing. For the highlighting, I use the same colors as I used for the base layer. Now, let’s take a closer look at the process.
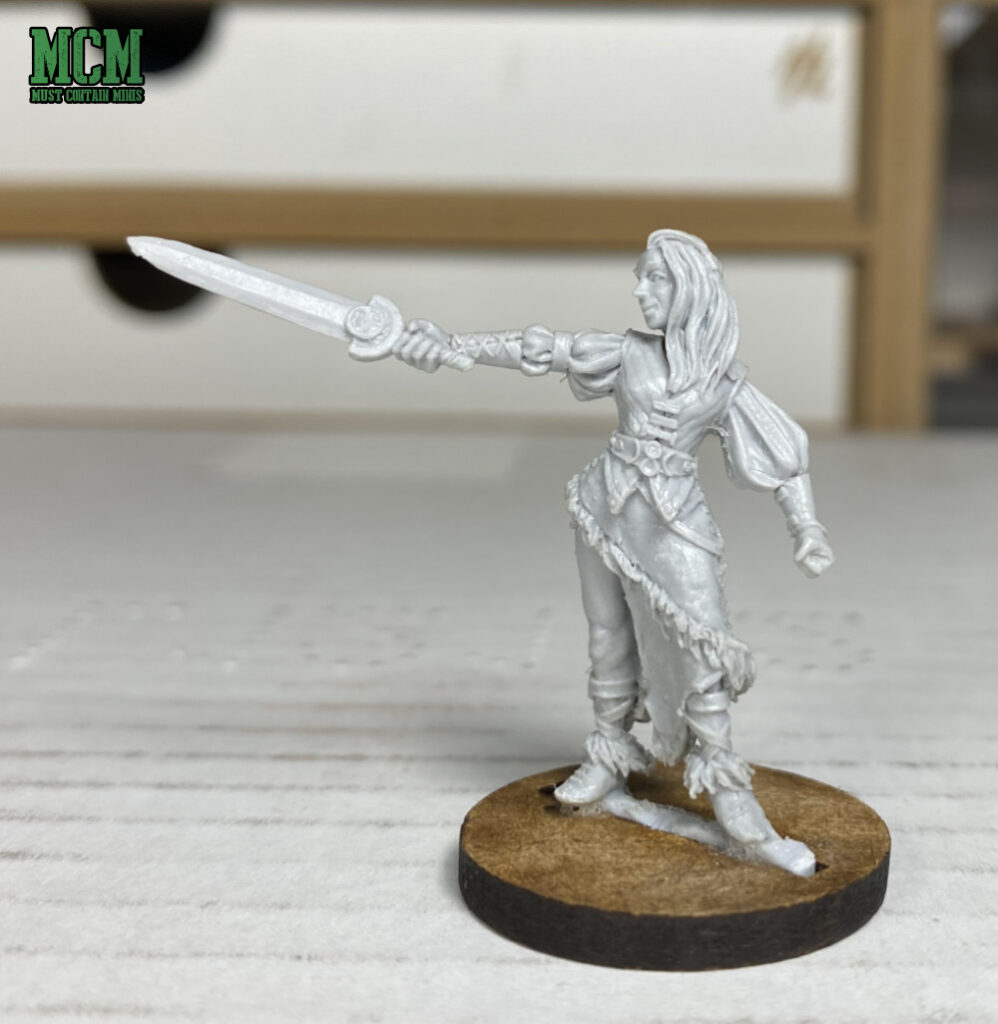
Step One: Clean and Prime your Miniature
Some miniatures, like the unpainted Dungeons and Dragons line by Wizkids, come pre-primed. For those ones, you can skip straight to step two. Today’s figure is not pre-primed.
Do I have to wash my miniature?
Depending on your miniature, you might want to wash it. Below is a quick chart of what type of miniatures you should consider washing before proceeding.
| Miniature’s Material | Should I wash it? |
|---|---|
| Pre-Primed | No |
| Plastic from Sprue | Likely Unnecessary (but I side with Yes) |
| Resin | Yes |
| Metal | Grey Area (I side with Yes) |
Aside from from Pre-Primed miniatures, I have found it best to wash every miniature before priming them. If it is a plastic miniature, the odds that you have to do this are low, but I have had a couple of times in the past where I wished I washed plastic.
If you don’t wash the miniature, you may find that the primer will not stick to the model properly. This leads to brushing (or spraying) on way more primer than you should.
To make it worse, there is a risk that the paint will flake off of your miniature after you are done.
The reason for this is because the manufacturers use release agents to remove the miniatures from their molds. Some companies are better than others regarding the amount of residue left behind.
As a result, it is best to clean that residue off of your miniature before working on them.
How do I Wash my Miniature?
To wash miniatures, just put them in some warm, soapy water and gently wash them. I use a sponge to gently scrub them and then rinse the figures off and let them dry. While I use a sponge, a lot of people use a tooth brush. That works even better.
As discussed above, washing your figures avoids a lot of issues later on.
After the miniature dries, I like to attach it to the figure’s base. If you are using a plastic, resin or metal base you can attach it earlier if you want. Some people leave the base until the end, but I find it easier to do this from the start.
Clean off the mold lines
After you wash the miniature, you can remove any unsightly lines that are on the miniature. You can buy a special tool for this, but I just use an X-Acto blade or scalpel. Often I skip this step entirely.
Whether you bother with it, is up to you. It is usually easier to do it at this point rather than after you prime.
Prime the Miniature
Next, you prime the miniature. To prime the miniature, you use a special paint that helps the other paint adhere to the model. Without it, your paint job can sometimes flake off.
I happened to use Citadel Abaddon Black brush on paint for this purpose. you can use other paints for this too. The Army Painter and Vallejo also have great options. Failing that, craft store Gesso tends to work.
As a note, Wizkids unpainted miniatures are pre-primed. Also, if you are working with Reaper Bones, be careful what primer you use. With Reaper Bones, it is usually anticipated that you will paint directly onto the miniature without primer. For these types of minaitures you can skip the above two steps and move right to painting.
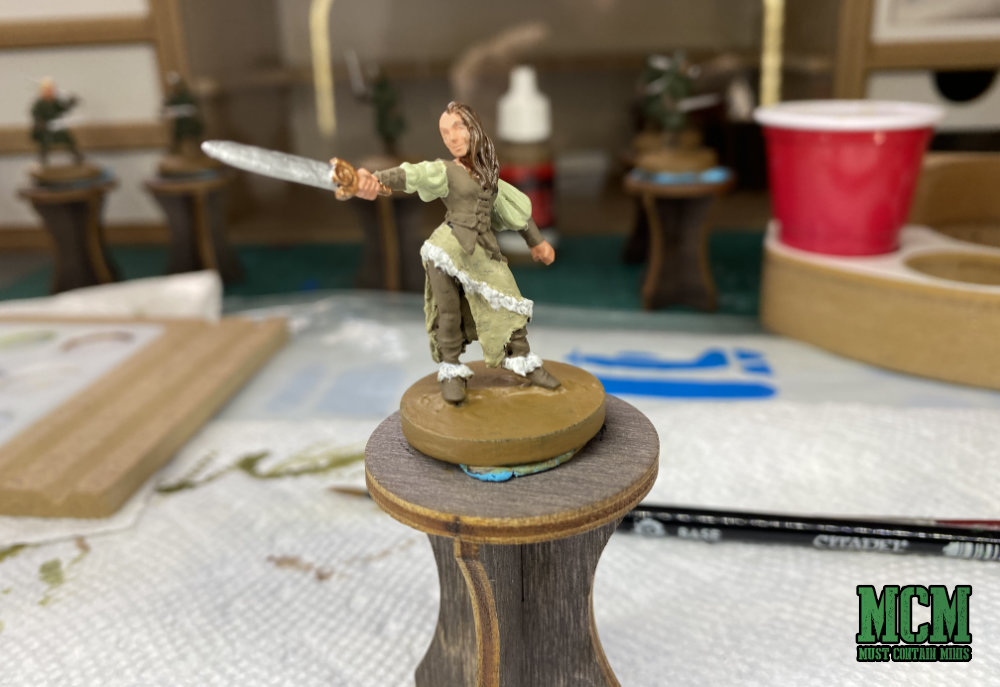
Step Two: Lay Down Your Base Layer
After you prime your miniature, you toss on your base layer. Don’t worry about being too precise on this step. If you make a mistake, you can go back and try again.
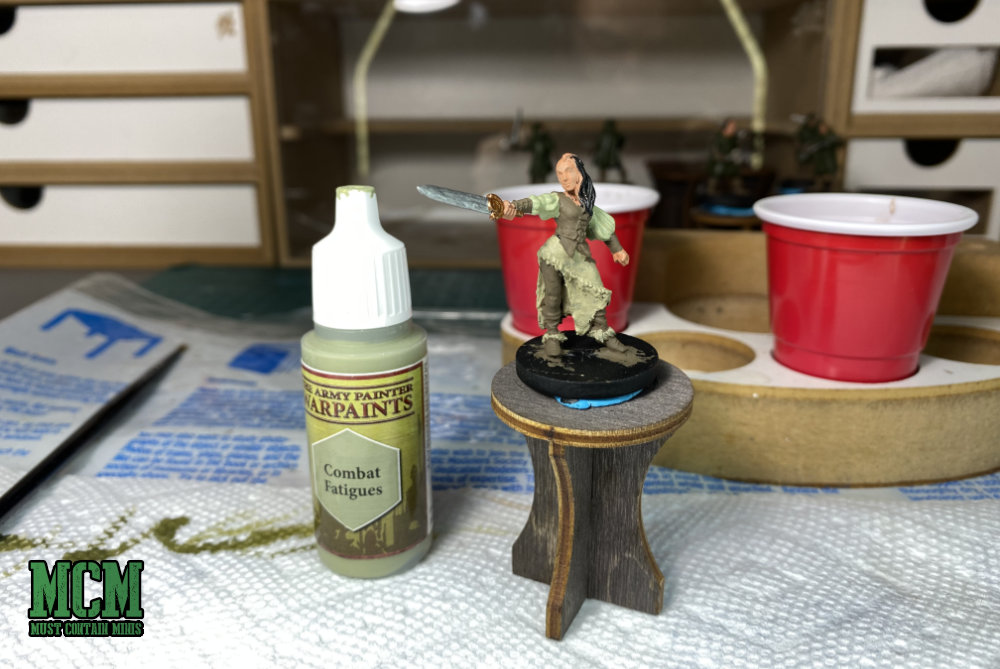
The idea here is that you paint your miniature in all of the main colors of the figure. I try to do the first passes quickly.
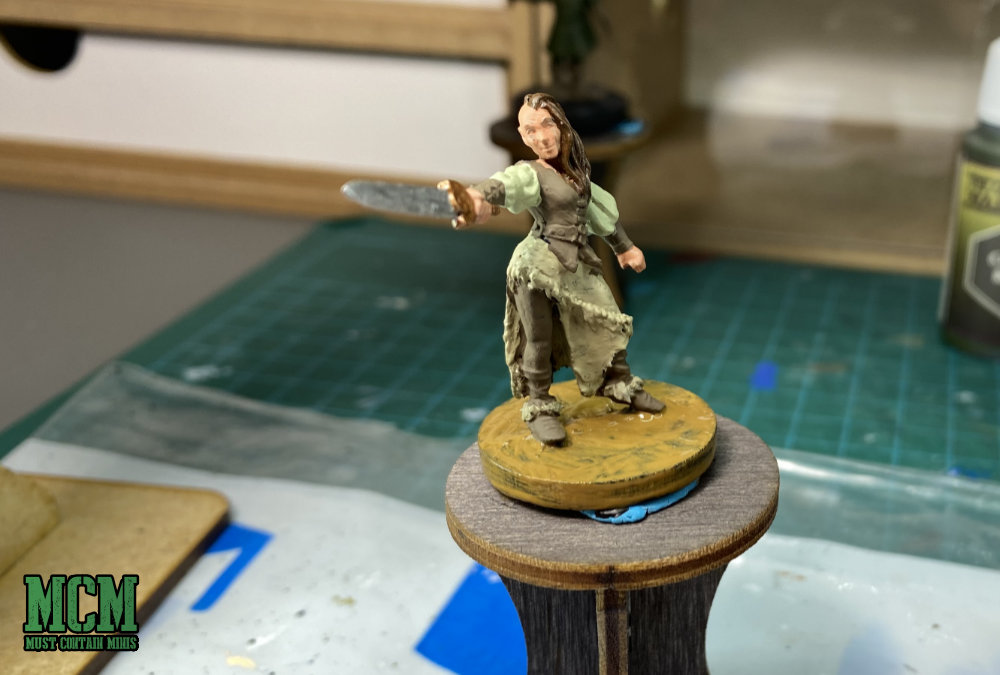
Generally, multiple thin layers of paint are much better than one thick layer. One thick layer obscures the details.
At this point, I have a miniature that I am pretty happy with. Now, a miniature is too small for our eyes to see the shadows in the crevices that we would see in real life. Because of this, we need to apply shading.
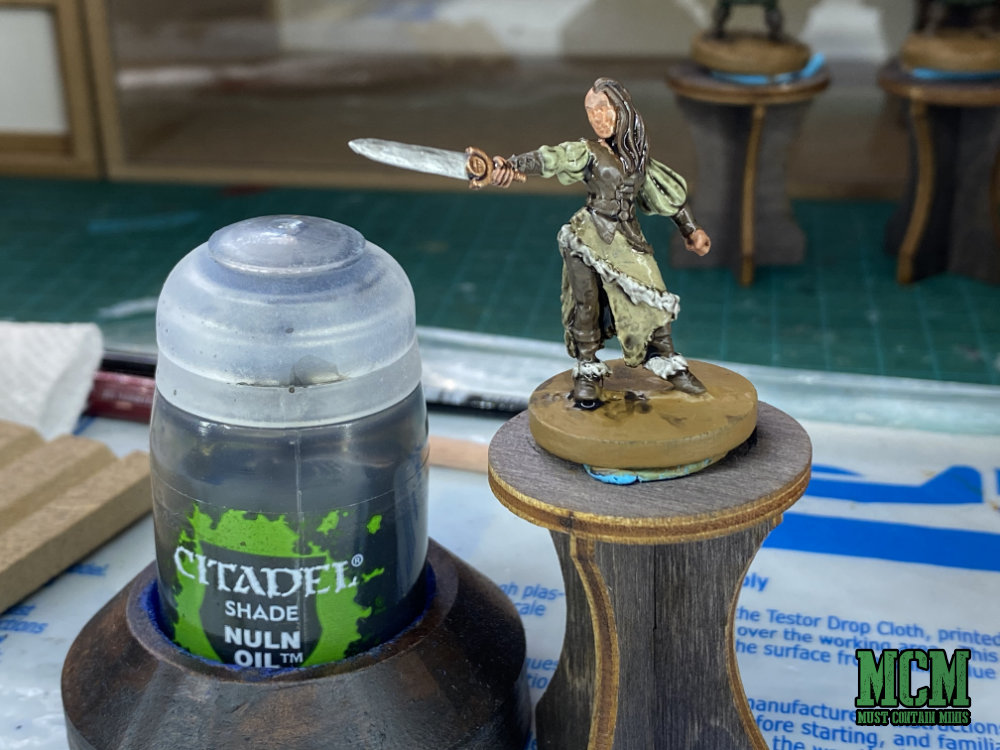
Step Three: Apply Shades and Washes
As you get more advanced in your miniature hobby, you will learn more about shades and washes. At this step in our journey of how to paint a miniature, a bottle of GW Citadel Shade Nuln Oil is a miracle worker. This stuff is like talent in a bottle.
You simply apply Nuln Oil to the whole miniature with a brush. What Nuln Oil does is it gets into all of the recesses of the model and gives the painted miniature much more dimension.
There was a time that I would stop here, and I did in my How to Paint a Miniature Tutorial for Space Marines, but today we are going to keep going.
Step Four: Highlight Your Miniature
This next step is where the miniature really comes back together. Using the exact same colors that you used as your base colors, you go over your miniature again. This time, we selectively choose where gets the paint rather than covering the entire miniature.
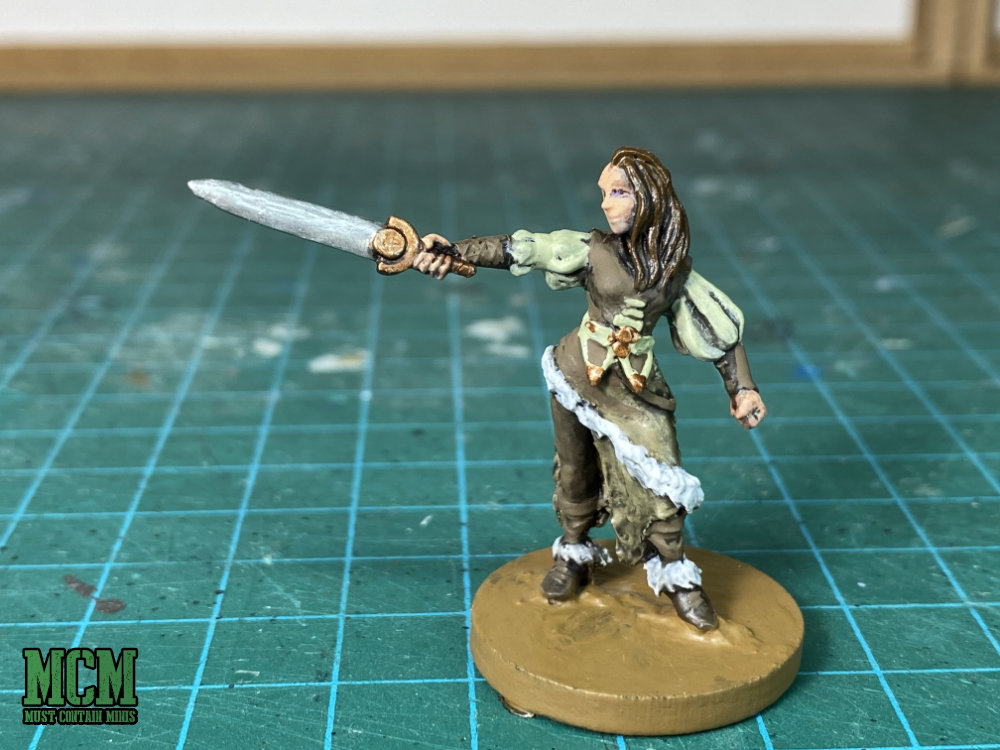
To do this, I apply the paint in select locations, or use a technique called dry brushing. Between the two ways of applying paint, my goal is to add more brightness to the areas that should have more light.
Paint on the Highlights
The first technique is easy, just brush on paint to the raised areas like you were doing the base layer again. This includes the raised areas of the clothes, the top of the sword, the forward area of the leg and so forth. The second technique is dry-brushing.
Dry-Brushing
Dry-brushing is the technique I first learned to paint miniatures by. Now, I just use it for the highlights. To do this, I generally use a square shaped brush. I dip it in paint and then wipe that paint off on a paper towel until all that comes off with a brush stroke is dusting of paint. I then use the brush on the miniature brushing the color across an area of the miniature.
When you do this so the dry paint only hits the raise areas of the miniature, you get great highlighting across your entire miniature.
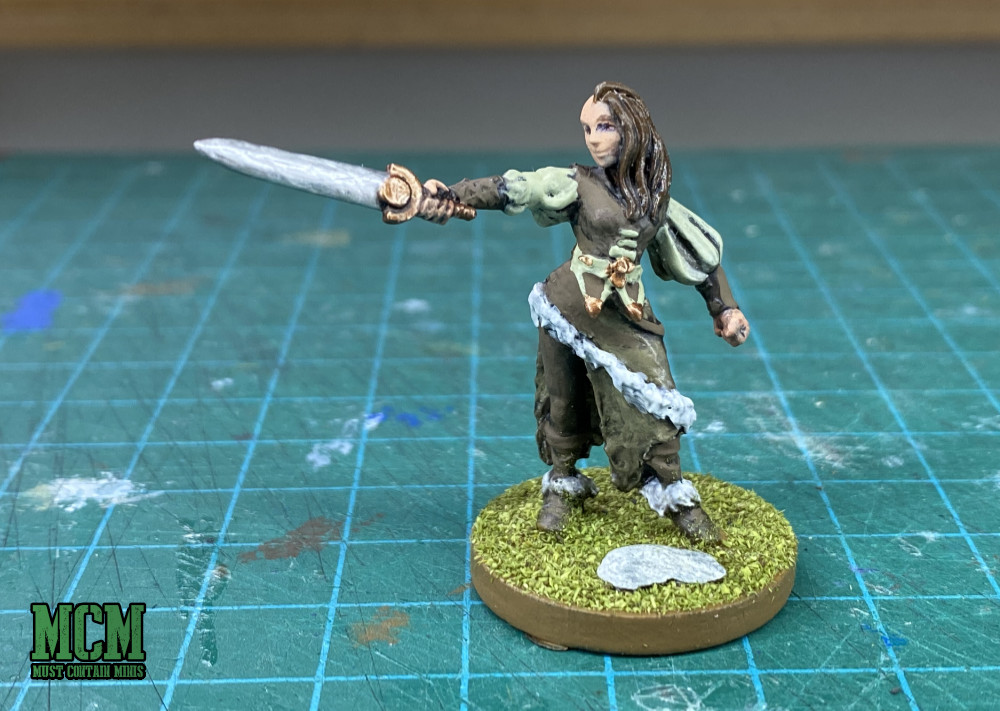
Step Five: Basing Your Miniature
I find that this last step adds a lot to the look of my miniatures without a lot of effort. This final step is basing your miniature. I am not talking about just putting your miniature on a base, but rather about adding in “basing materials.”
You can buy miniature basing materials from your local hobby store, or from some places online.
On this miniature, I used green flock and slate stone. Static grass is also a favorite of mine, but I did not use it this time around.
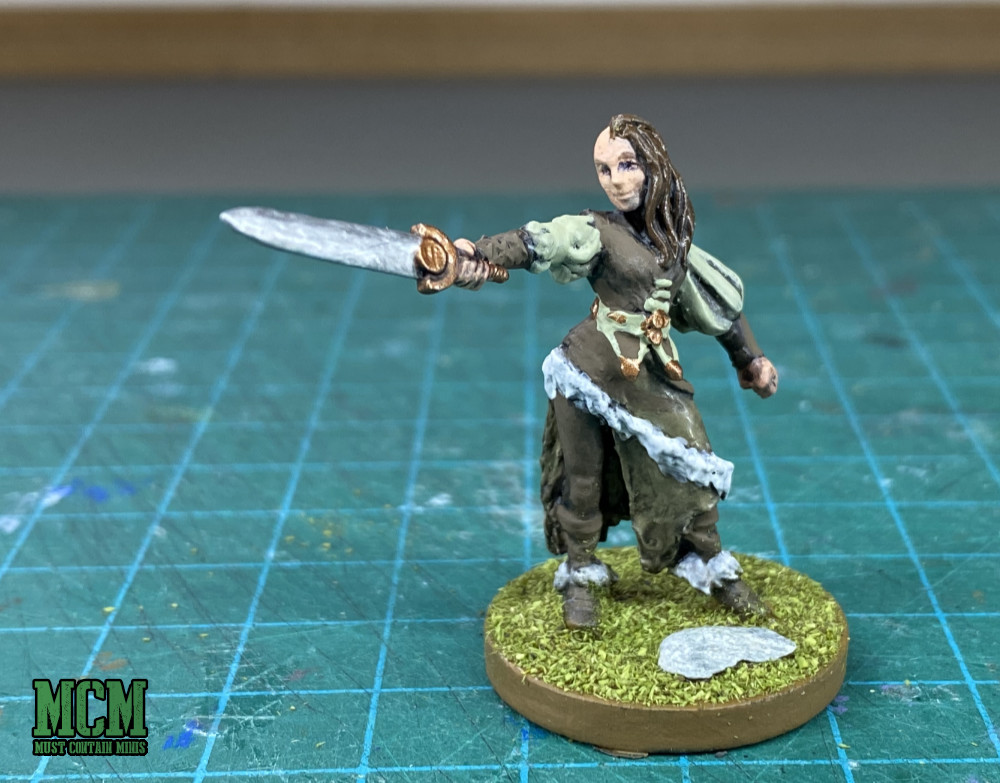
To add these materials, I covered my base in white glue (also known as PVA glue) and simply placed or “dipped” the materials onto the base. The stone I set where I wanted. I then took the miniature and dipped the base into little tub of green flock.
The end result looks great for under a minutes work.
Colors Used
For those curious, here is a list of paints that I used for this miniature.
| Items Painted | Brand | Color |
|---|---|---|
| Primer | Citadel | Abaddon Black |
| Pants, Braces, Vest | Vallejo | Leather Brown 871 |
| Skirt | Vallejo | German Camo Beige 821 |
| Shirt | Army Painter | Combat Fatigues |
| Hair | Army Painter | Oak Brown |
| Fur Trim | Vallejo | White Grey 993 |
| Sword | Army Painter | Plate Metal |
| Sword Hilt | Citadel | Balthasar Gold |
| Skin | Army Painter | Tanned Flesh |
| Skin 2nd Highlight | Army Painter | Barbarian Flesh |
| Base | Vallejo | Flat Earth |
| Shading | Citadel | Nuln Oil |
Of course, you don’t need to use this many paints for your miniatures. I often find that if you can do three or more colors plus shading and highlighting, then the miniatures look pretty good.
Now, let’s talk about the eyes of the miniature.
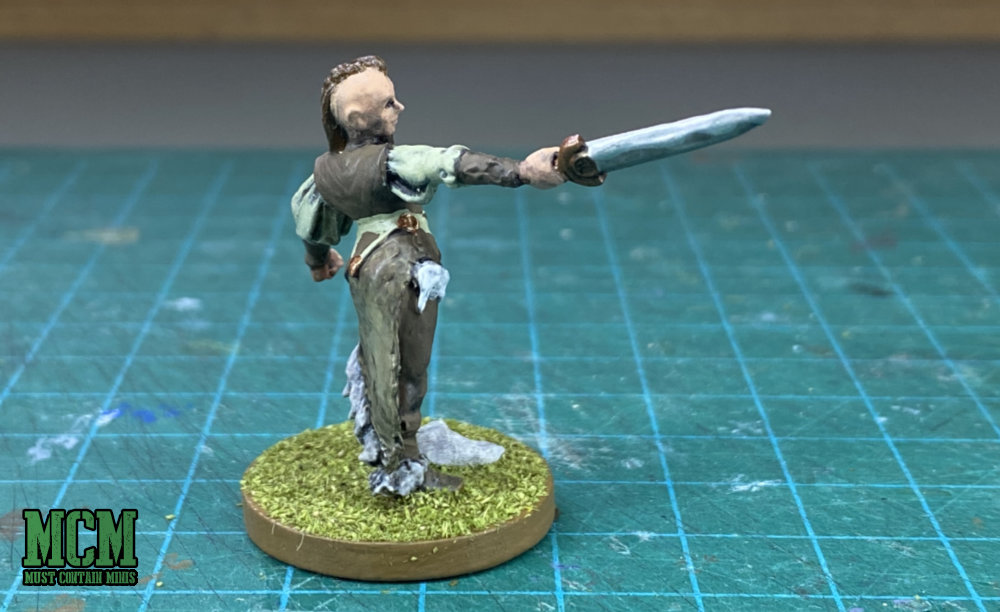
Getting the Eyes…
I do not like painting the eyes on miniatures. Years ago, I would and I got “googly eyes.” There is no need for that. Most people will be looking at your miniatures from two to four feet away.
Now, I would normally not bother with the details of the face. That said, I was very happy with how the face turned out on this miniature. As a result, I decided to do the eyes.
This next part of my How to Paint a Miniature Tutorial is not really how to paint eyes, but rather a painting hack. Rather than doing the eyes with a brush, I took a ball point pen.
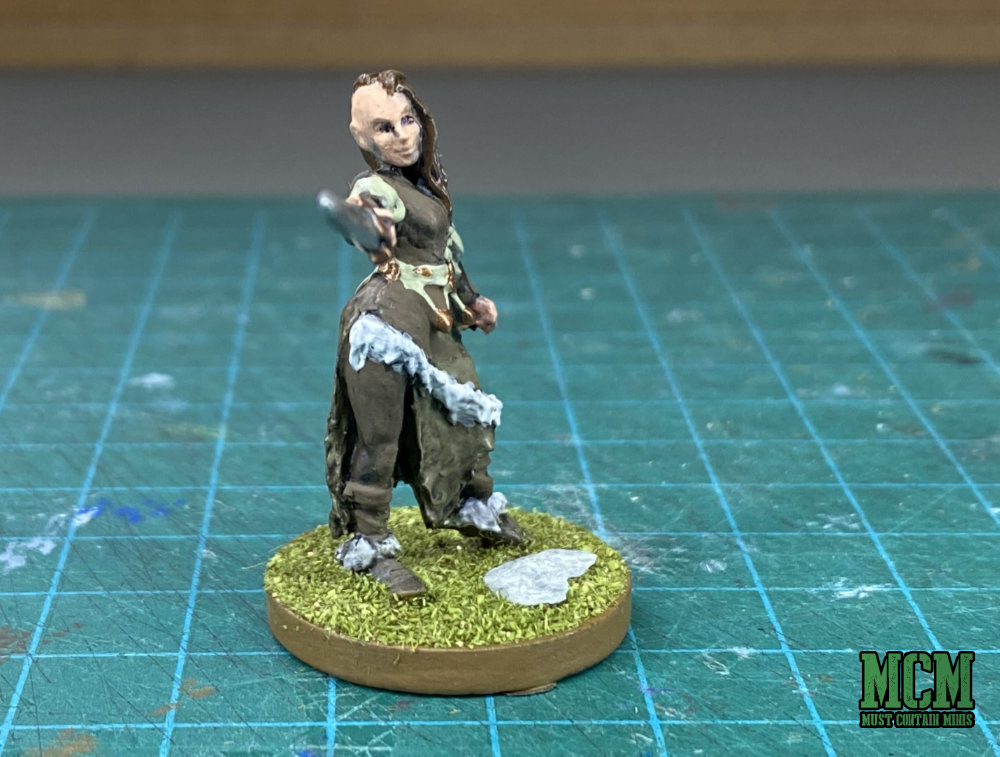
One dot from the pen on each side and this miniature had good looking eyes.
There was some area where the pen made a mark I did not want, but I covered that up with some extra highlighting of Barbarian Flesh paint.
YouTube
For those who like videos, here is my video version of this post.
Wrapping it up…
There you have it! That is how I paint up my miniatures for miniatures games and role playing games. It is basically a five step process, but only three of those steps require any real painting.
These steps and results are very accomplishable by rookies and veterans alike. Those steps again on how to paint a miniature are…
- Clean and prime your miniature
- Lay down your base layer
- Apply shades or washes
- Highlight your miniature
- Glue on basing materials
Hopefully this helps with your painting of miniatures. If you liked the style of this miniature, feel free to check out the other figures of Westfalia Miniatures too.
Until next time, Happy Gaming Everyone!!!
This looks nicer with the Nuln oil wash. For human figures I may paint areas of exposed skin with a lighter flesh shade and then apply a flesh wash. Both Army Painter and GW have nice ones.
I also spray a matt varnish spray over my miniatures to cut down on the shine. Winsor & Newton sell a terrific Professional Matt varnish. This makes cloth look like cloth, hair look like hair, skin like skin, etc. However, after the matt spray I may paint a dot of gloss varnish over each eye whether painted in or not, and on objects like jewels, lips with lipstick. swords, etc.
Thanks so much for the comment. I appreciate the tip about varnish and gloss too!
Hey Jacob! Are you familiar with the youtube channel Goobertown Hobbies (if not, you should watch some videos, it’s really fun– especially his random mini + random paint theme challenges).
I had some of the same opinions as you about washing and priming minis. Brett from Goobertown decided to test these widely held opinions empirically. He manipulated metal and plastic minis with greasy fingers, didn’t wash them, and even painted some without priming first. The results were… surprising, to me at least. I recommend you watch these experiments!
Goobertown Hobbies is a great channel. I will have to check that video out. Thanks so much for the comment. I always love it when you stop by.