You may remember HobbyZone from my earlier post about planning my workspace. In this post, I review their 3 Horizontal Drawers Module (Drawers Module x 3 – OM02a) from their Modular Workshop System.
In the interest of Full Disclosure, HobbyZone sent me these modules for review purposes.
Opening the Box
Like all of the other HobbyZone Module Workshop items, the drawers come nicely flat-packed in a box. You have to assemble them.

The box greets you with some bubble wrap and some nicely illustrated instructions. I found the directions easy to follow and assembled the unit fairly quickly.
Building the Unit
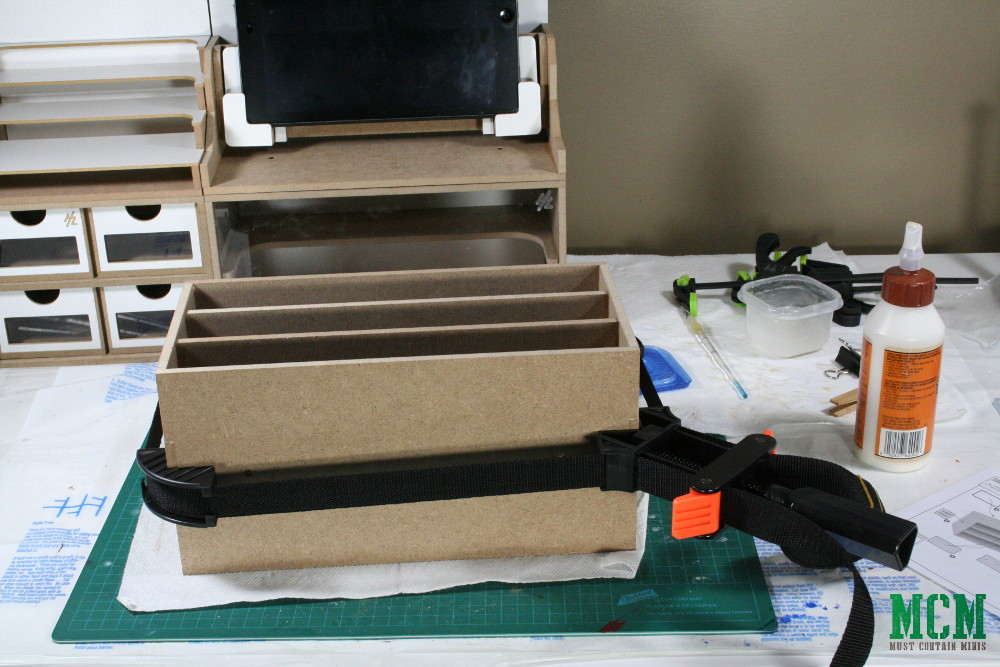
The instructions recommend that you use PVA glue along with painters’ tape to construct the unit. The painters’ tape is to hold the rack and shelves together while the glue dries. This isn’t my first MDF kit, so I had some other tools that I prefer to use for this sort of project. These tools include elastic bands and a special box building clamp.
The first step is to build the rack. Everything here glued together with no issues.
As a tip – I like to brush my glue onto my MDF projects rather than just squeezing the bottle onto where the glue should go. I find that I waste less glue this way as none of the glue misses the target and less of the glue squeezes out as I clamp the pieces together.
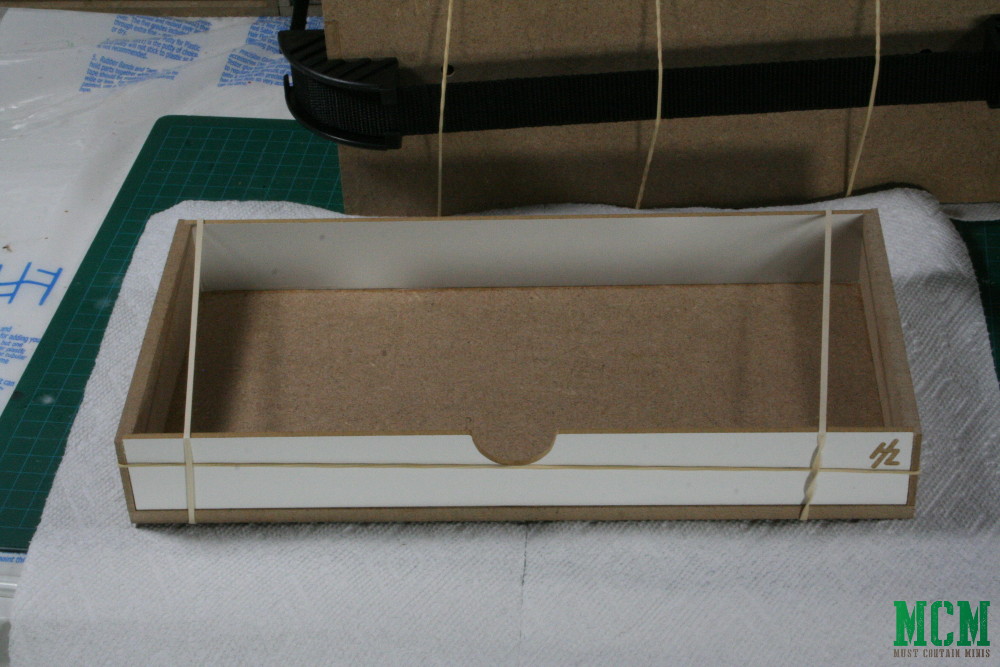
While the rack dried, I built the shelves. For them, I used elastics to hold them firm while the Gorilla Wood Glue dried.
The Completed Unit
Once I assembled the rack and drawers together, the unit was completed. This one was a very quick build.
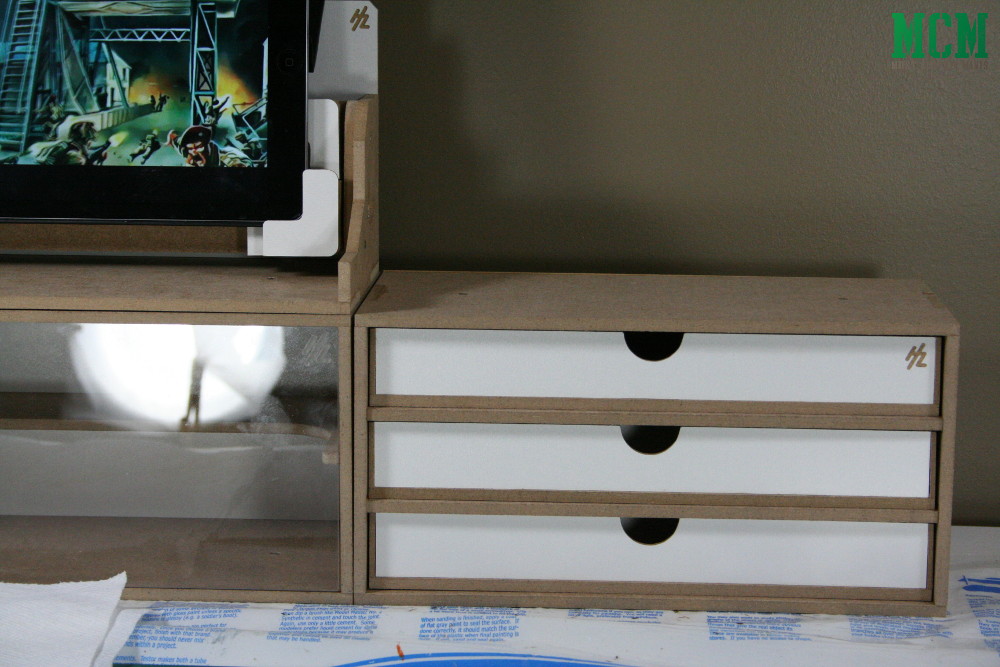
For those wondering, I am watching The Armchair Historian on the IPad, and, yes, you can see one of my [amazon_textlink asin=’B000HHQ94C’ text=’photolamps’ template=’ProductLink’ store=’mustcontainmi-20′ marketplace=’US’ link_id=’8d8632d2-bd4c-44ae-ac7c-d4bb0a0cb96d’] in the reflection of the Plexiglas shield below the IPad.
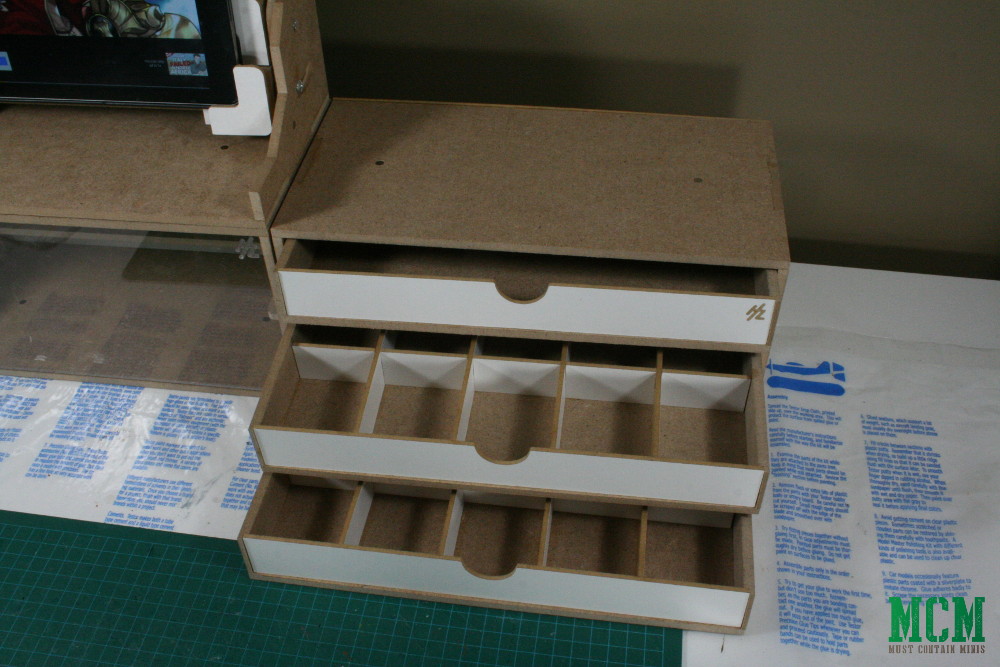
The quality of the unit is outstanding, and the pieces are visually appealing too! When I finished the unit, I debated on whether to glue in the dividers or to put them in loosely. I decided to glue them down in two of the three drawers.
Wrapping it up…
Hopefully you enjoyed this quick look at HobbyZone’s OM02a (Drawers Module x 3) unit. This unit is easy to build, looks great and is of very high quality. I don’t see any negatives about the item, unless it is out of your price range. Price-wise, it is not bad for a quality product and I was going to purchase the units. I was then lucky enough to have HobbyZone.pl tell me that they would send me the items for review instead. Thank you HobbyZone for that!
As stated above, the quality of the product is excellent and I am very happy with the end result. In my application of the unit, I used the drawers as follows…
- Top Drawer – No Dividers – Random items such as Army Painter Woodland Tufts, some 28mm pottery by Steve Barber Models (these came in a Model Box I reviewed a while back), and some green stuff. Lots of room there for future expansion, so who knows what will go in it later.
- Middle Drawer – With Dividers – My 28mm bits box.
- Bottom Drawer – With Dividers – My 15mm bits box.
If anyone were to ask, I would highly recommend the product.
Until next time, Happy Gaming Everyone!!!


Pingback: Review – HobbyZone Drawers Module x 3 (OM01b) - Vertical Drawers - Must Contain Minis [MCM]
Pingback: HobbyZone Article Round Up - Must Contain Minis