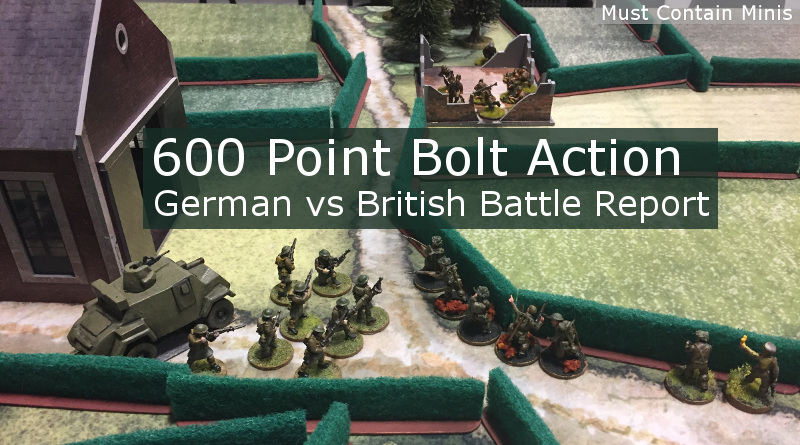
A couple of months ago, I visited my favourite FLGS (Friendly Local Gaming Store) for a 600 point game of Bolt Action. This time, we played a game of British vs Germans, and Aaron took the role of my opponent. In our last game, Aaron suffered a devastating loss despite having two tanks on the table. Will he suffer the same fate when we engage with smaller forces? Read on to find out!
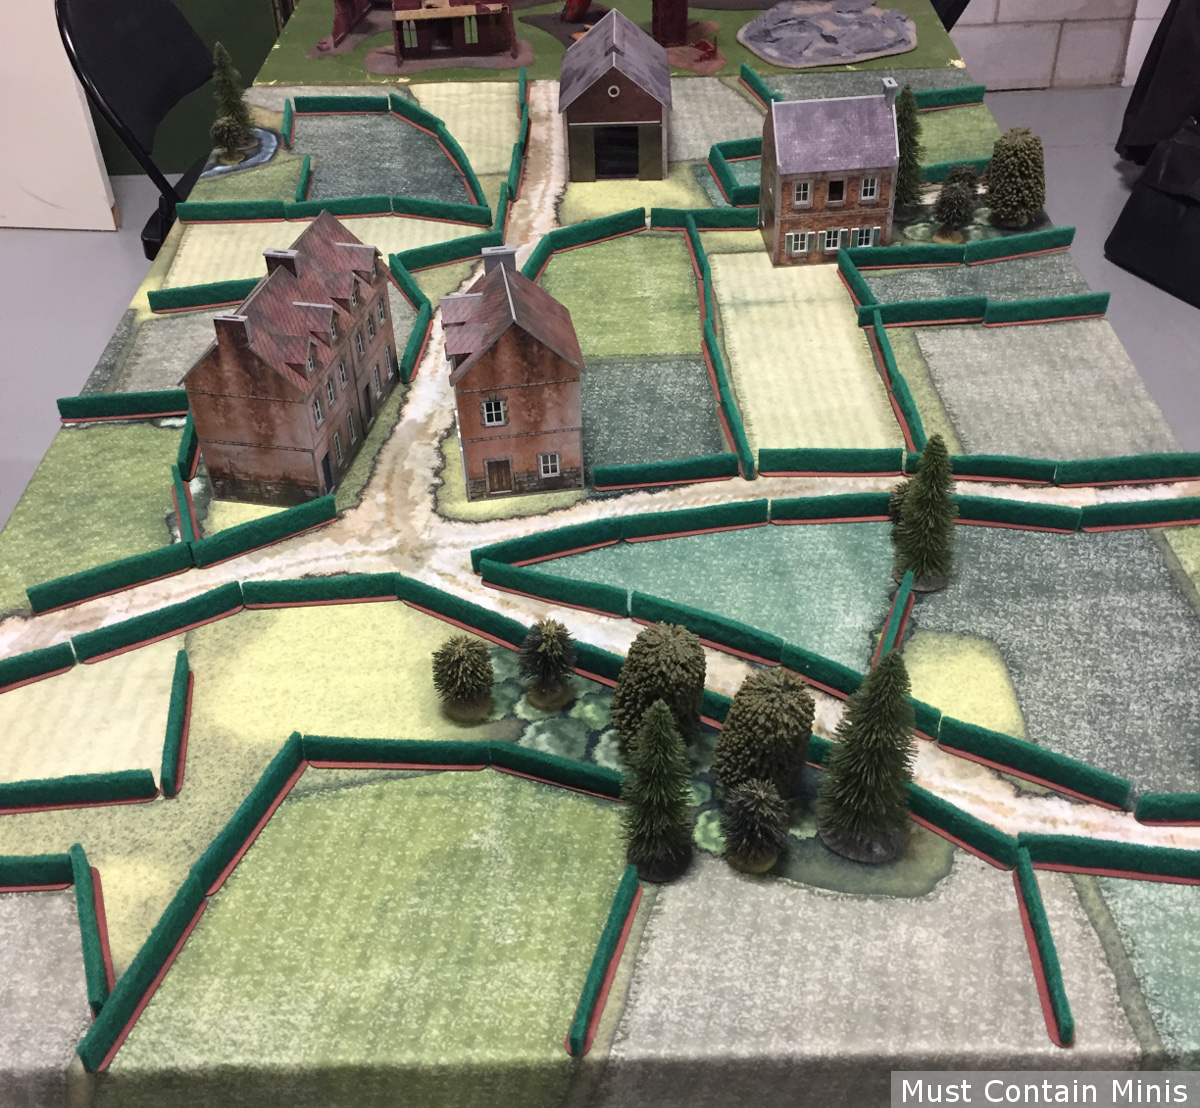
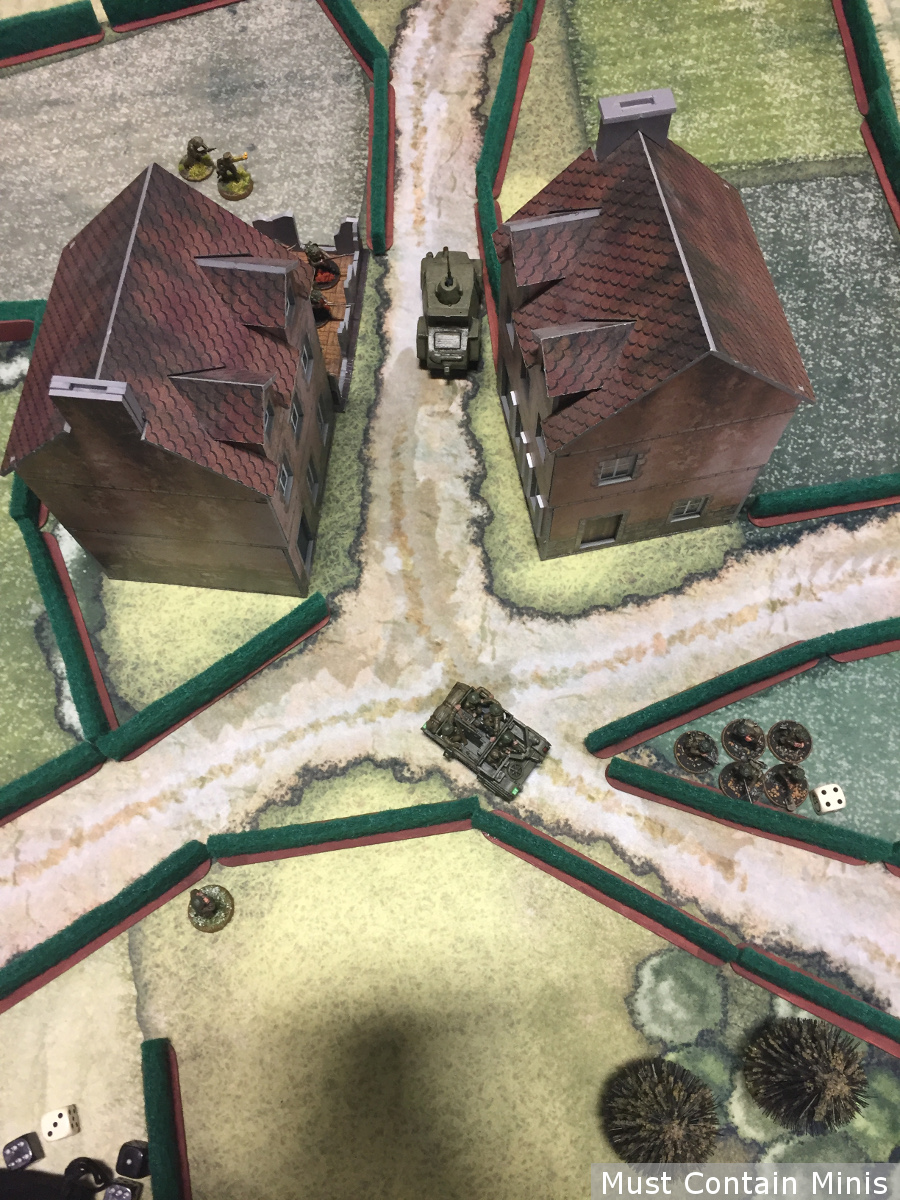
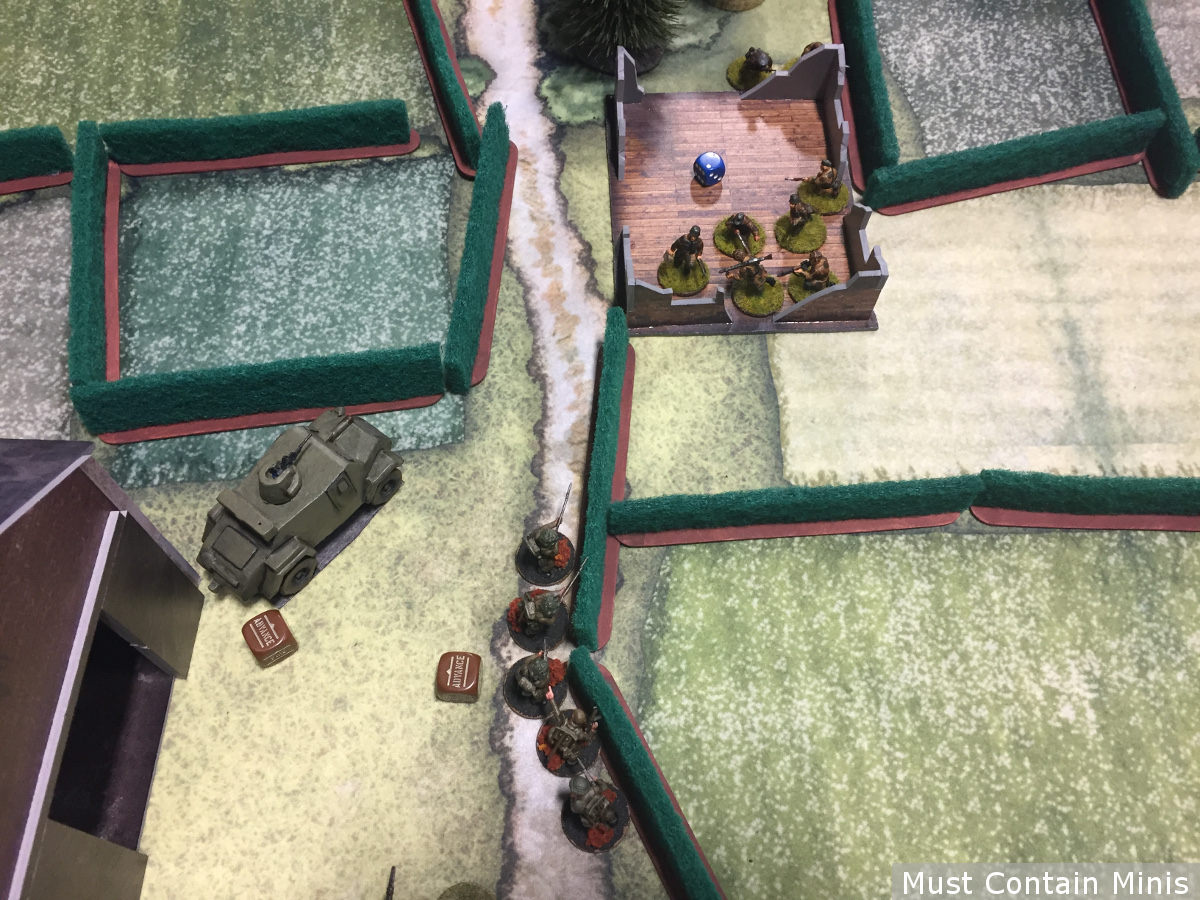
The Battle Board
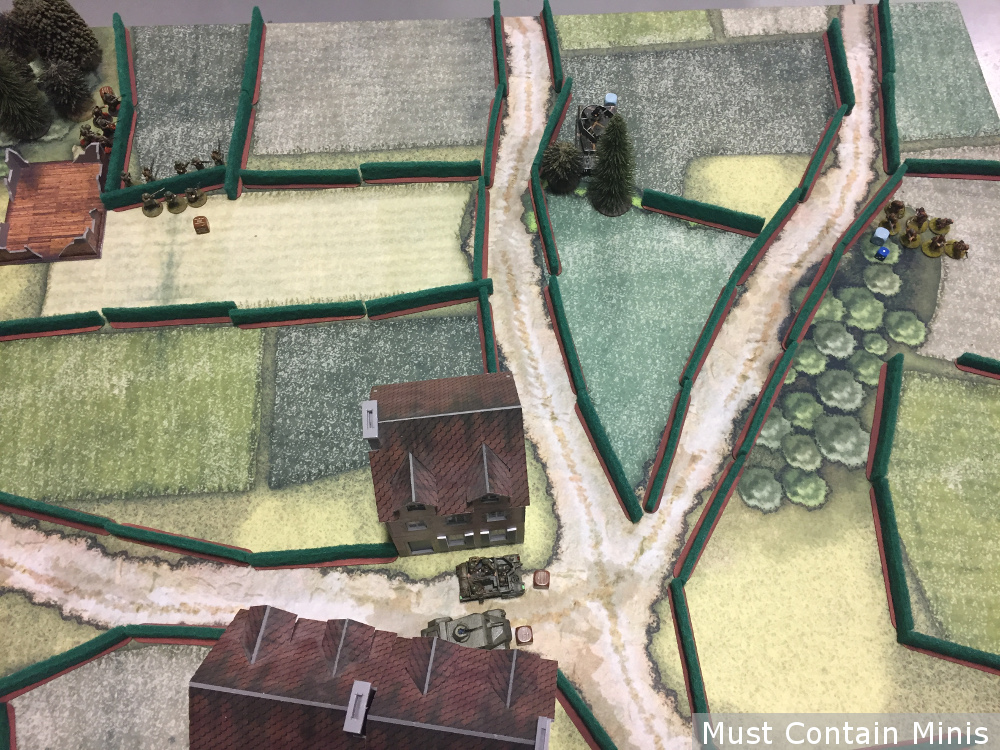
We set the board before rolling for the scenario. Below is a look at the gaming table.
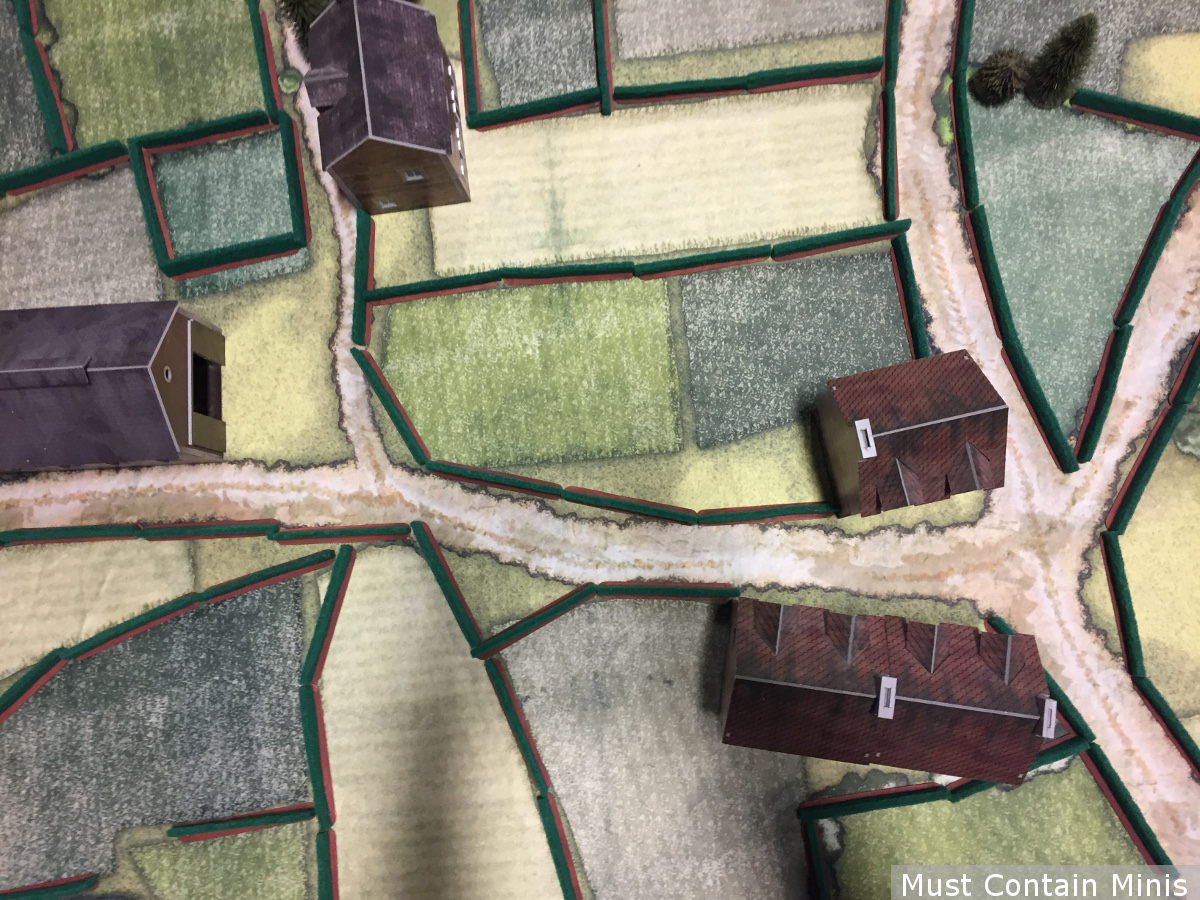
We rolled for a mission and came up with a “Meeting Engagement.” Aaron chose the side of the board closest to him as his side.
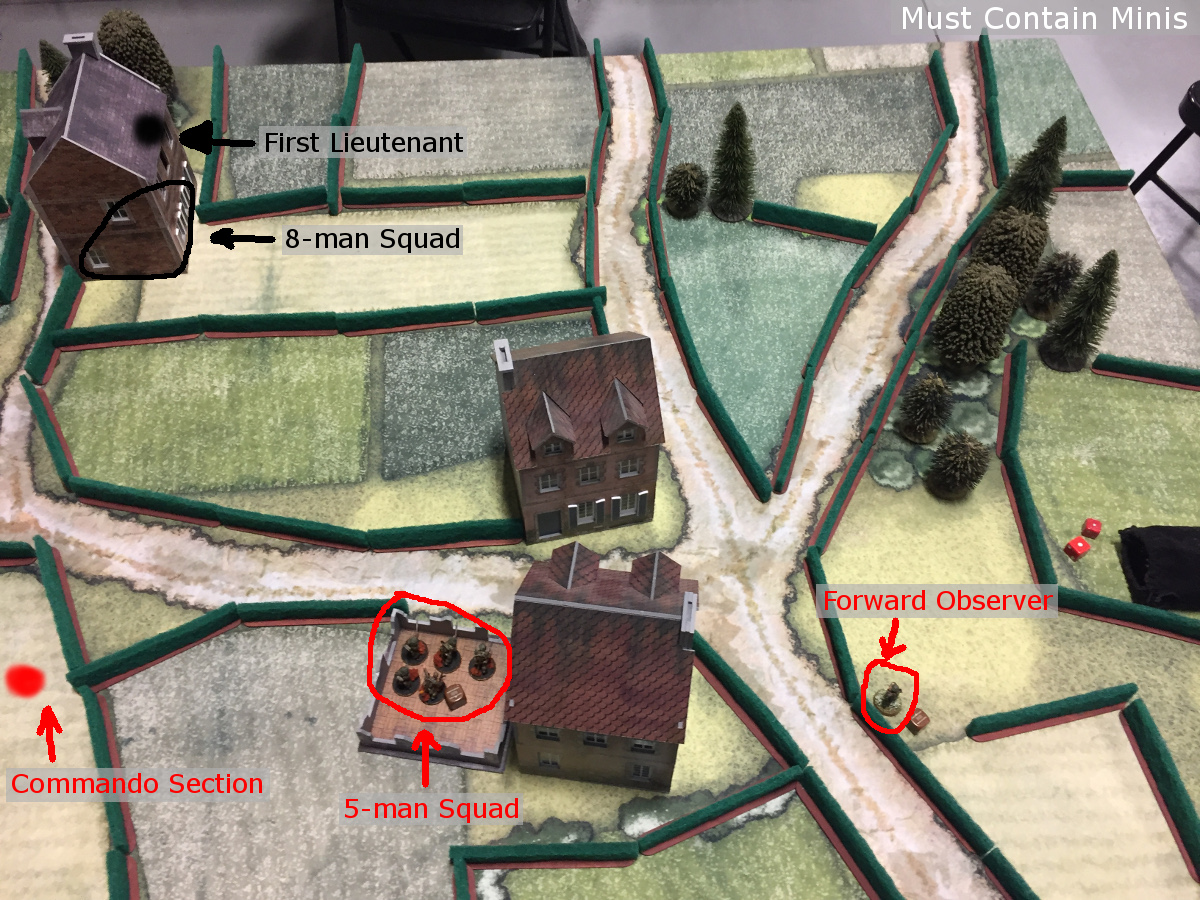
The German Forces
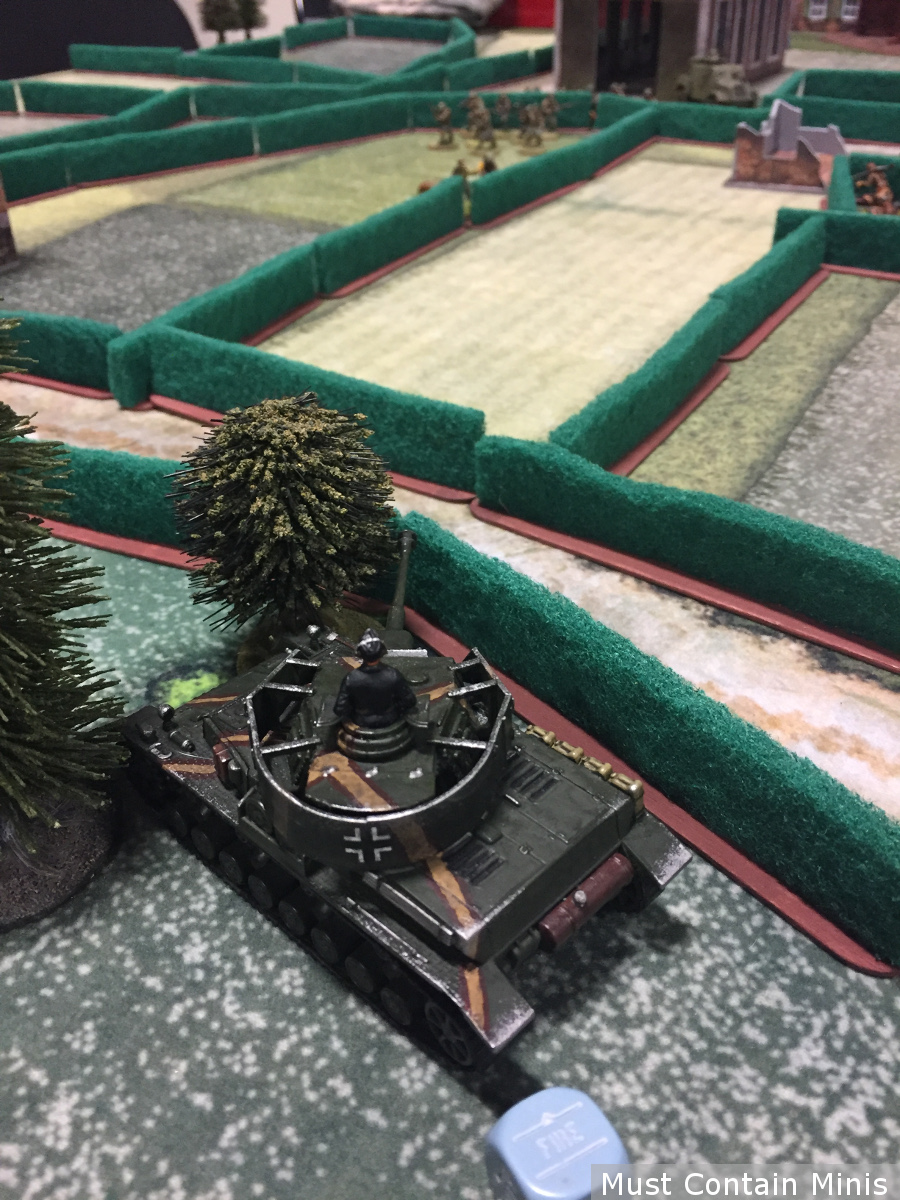
Aaron brought the following to this 600 point battle – one Panzer IV, two 8 man squads (each with an LMG) and a First Lieutenant with one helper.
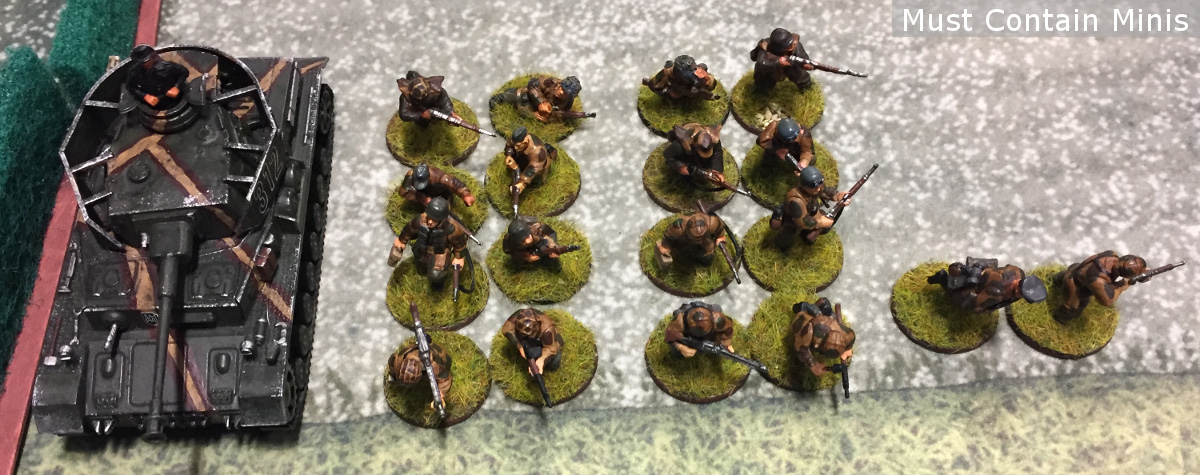
For the first wave, Aaron brought on the Panzer IV and one eight man squad. The First Lieutenant and second eight man squad would arrive on the second turn.
The British Forces
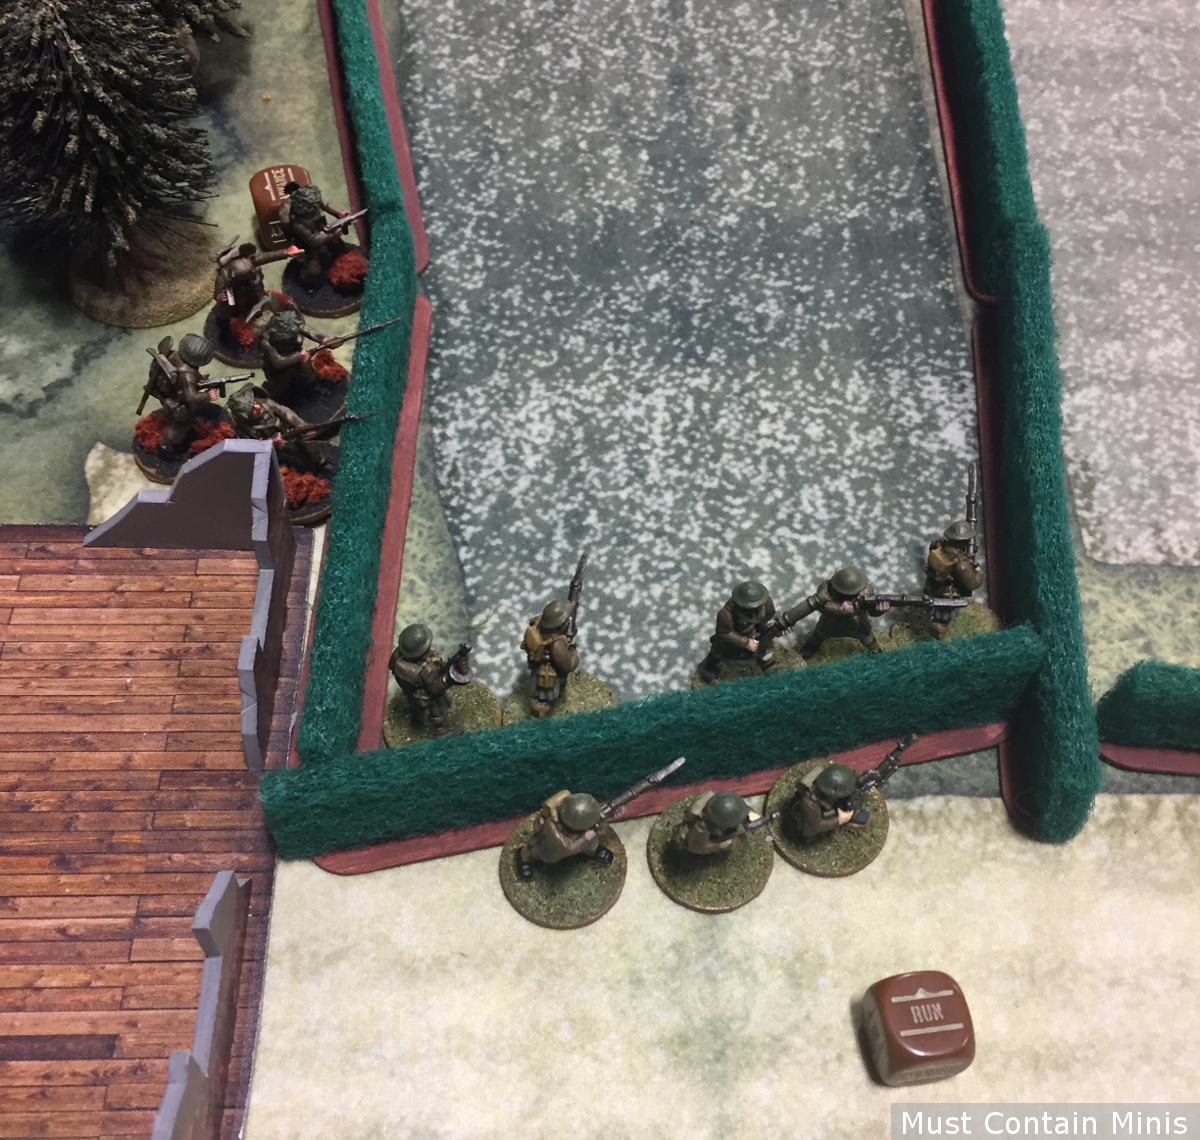
As the British player, I brought along an elite and highly mobile force consisting of 2 five-man squads (each with 3 SMGs), an eight-man Commando squad (armed with one Bren gun, anti-tank grenades and two SMGs), A Bren Carrier (as a transport), An Otter Armoured Car, a Forward Observer and a First Lieutenant with a helper. My entire force is rated as veteran except for the Forward Observer. While Aaron’s forces were in stronger units, the Brits had the advantage in numbers of dice.
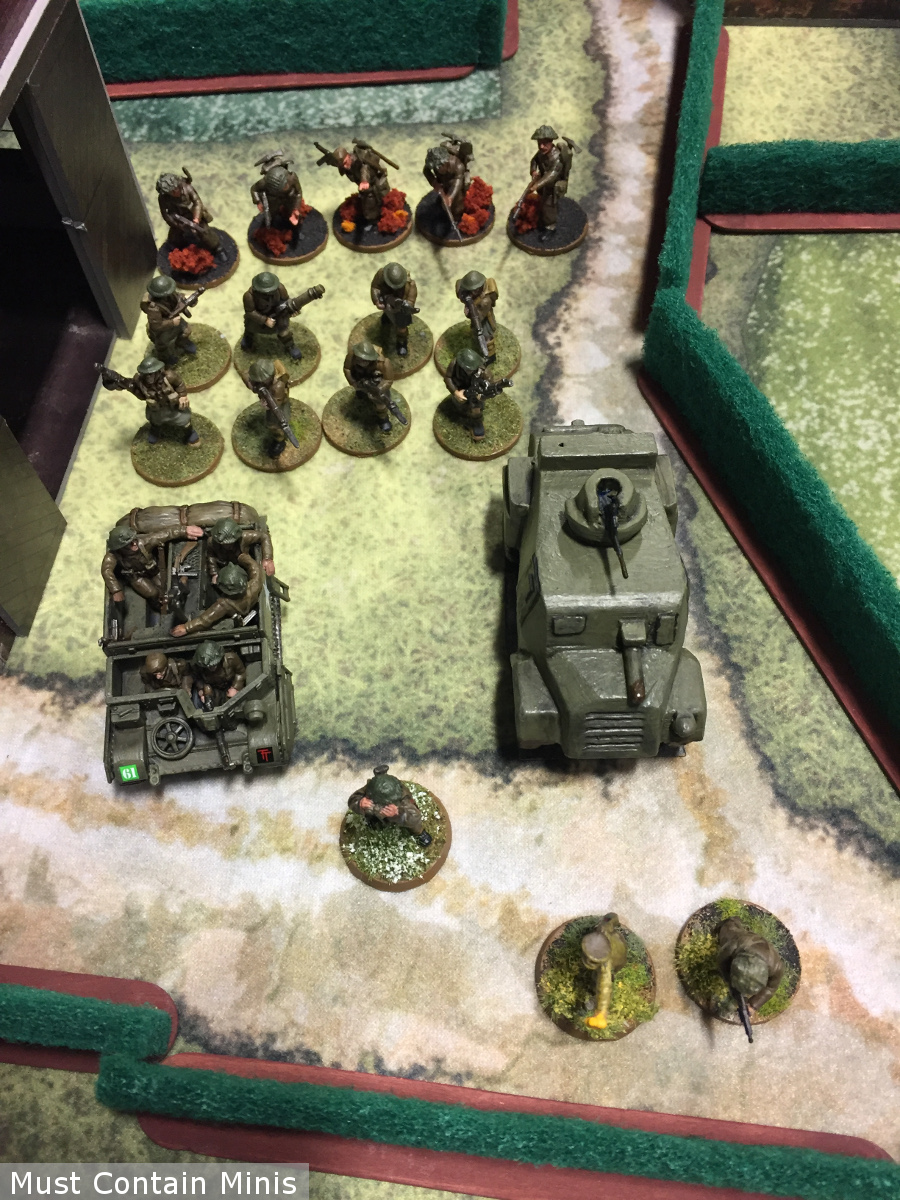

For my first wave, I chose to field one-five man squad, the Forward Observer, and the eight-man Commando Squad.
The Basic Strategy
The British came to the battle with the plan to be aggressive towards the German Infantry while either ignoring or avoiding the Panzer IV. As far as their ability to threaten the tank, the British did not bring much. They loaded the 8 man commando squad with anti-tank grenades, brought one anti-tank rifle on the Otter, and they might get lucky with their Forward Observer. Nothing else in the group could pose a viable threat to the Panzer.
The German player didn’t share his strategy with me, but he approached the battle much more cautiously than me. As much as he could, the Germans would rely on the tank’s long range of fire and their larger squad sizes by forcing the British to come to them.
Turn One
Being that the game is a “Meeting Engagement,” the board starts clear.
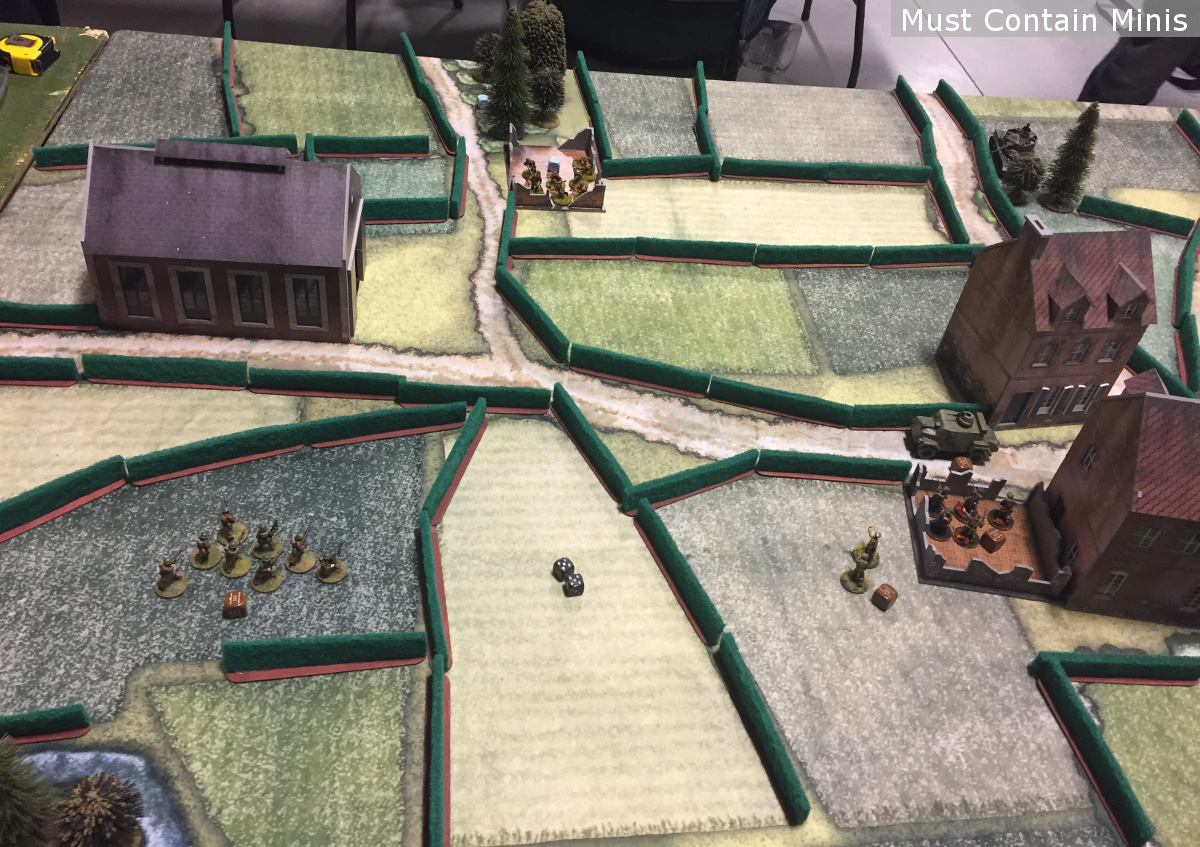
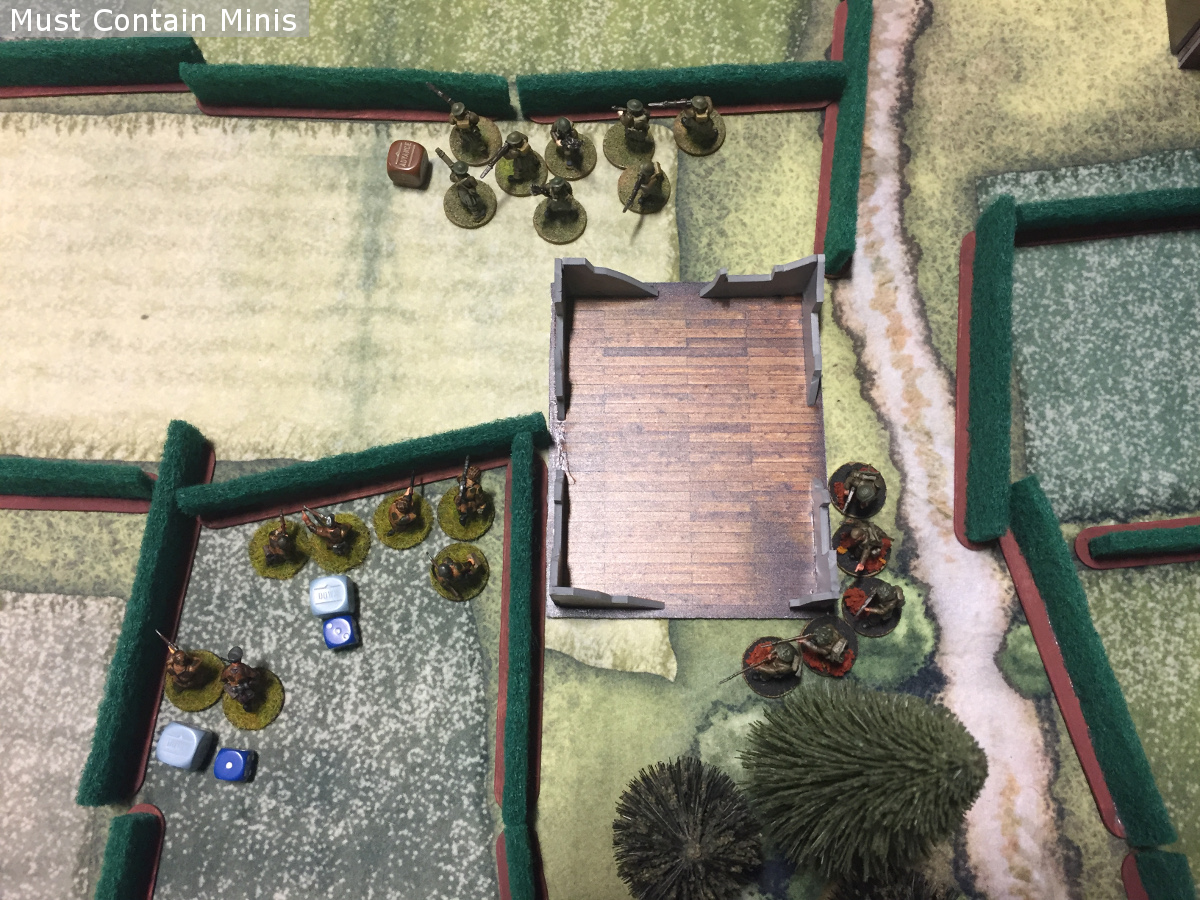
By the end of the first round, the battlefield looked as follows.
Turn Two
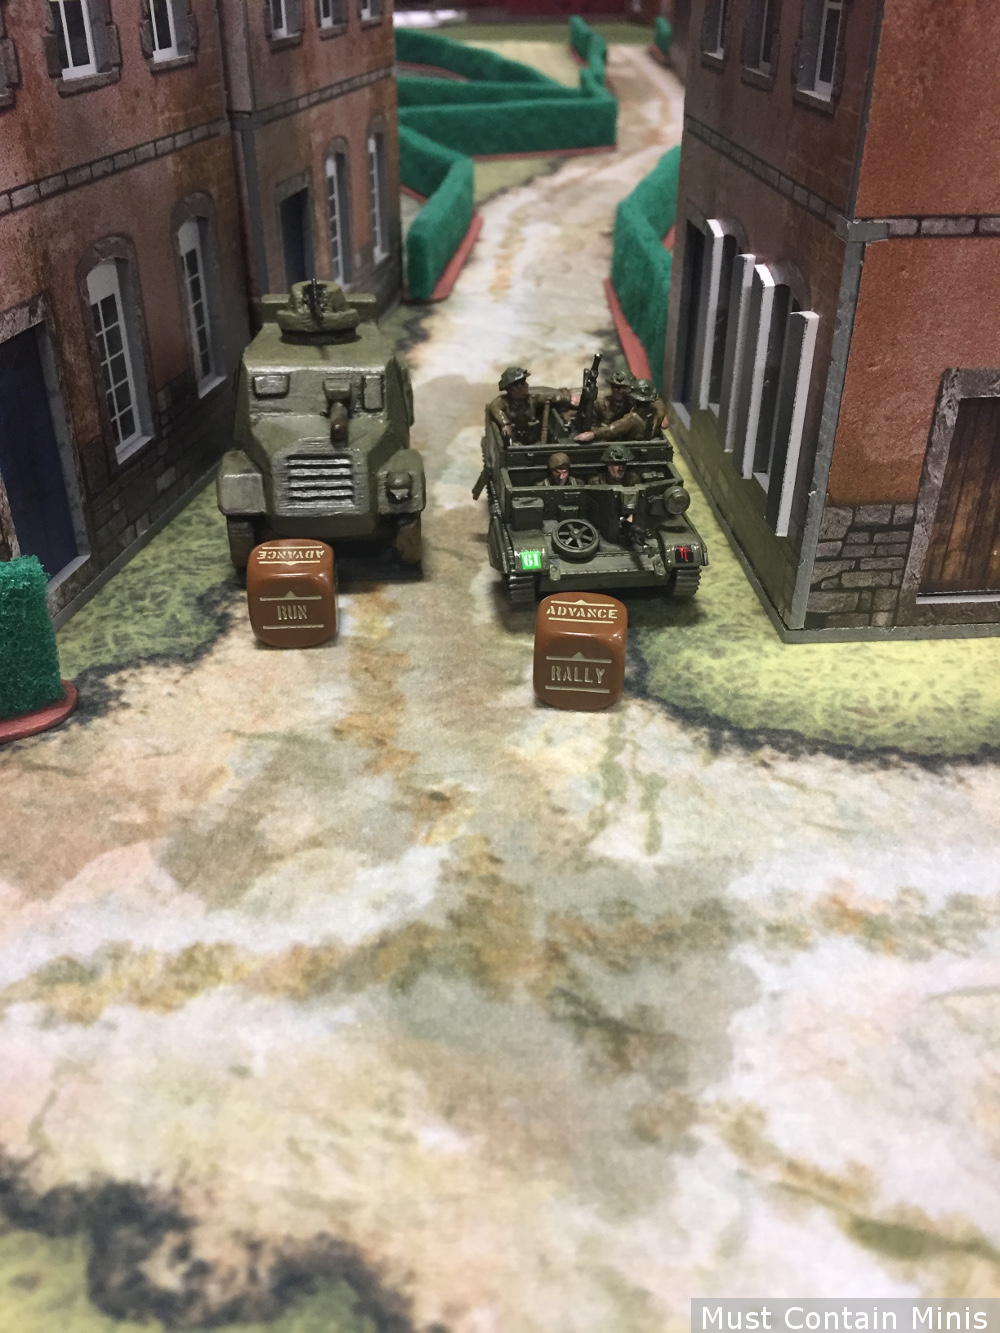
On turn two, the reinforcements enter the board. The British cautiously bring an Otter down the road while the Germans bring the Panzer IV on the board and fire its main gun at the Commando section running up the battlefield.
Turn Three
Seeing that the Germans fielded a tank the the British could do little against, they decided to saturate the field with targets for the tank to focus upon.
Turn Four
At the top of turn four, the bombardment came in and made a super lucky hit! The tank suffered a penetrating hit and became immobilized.
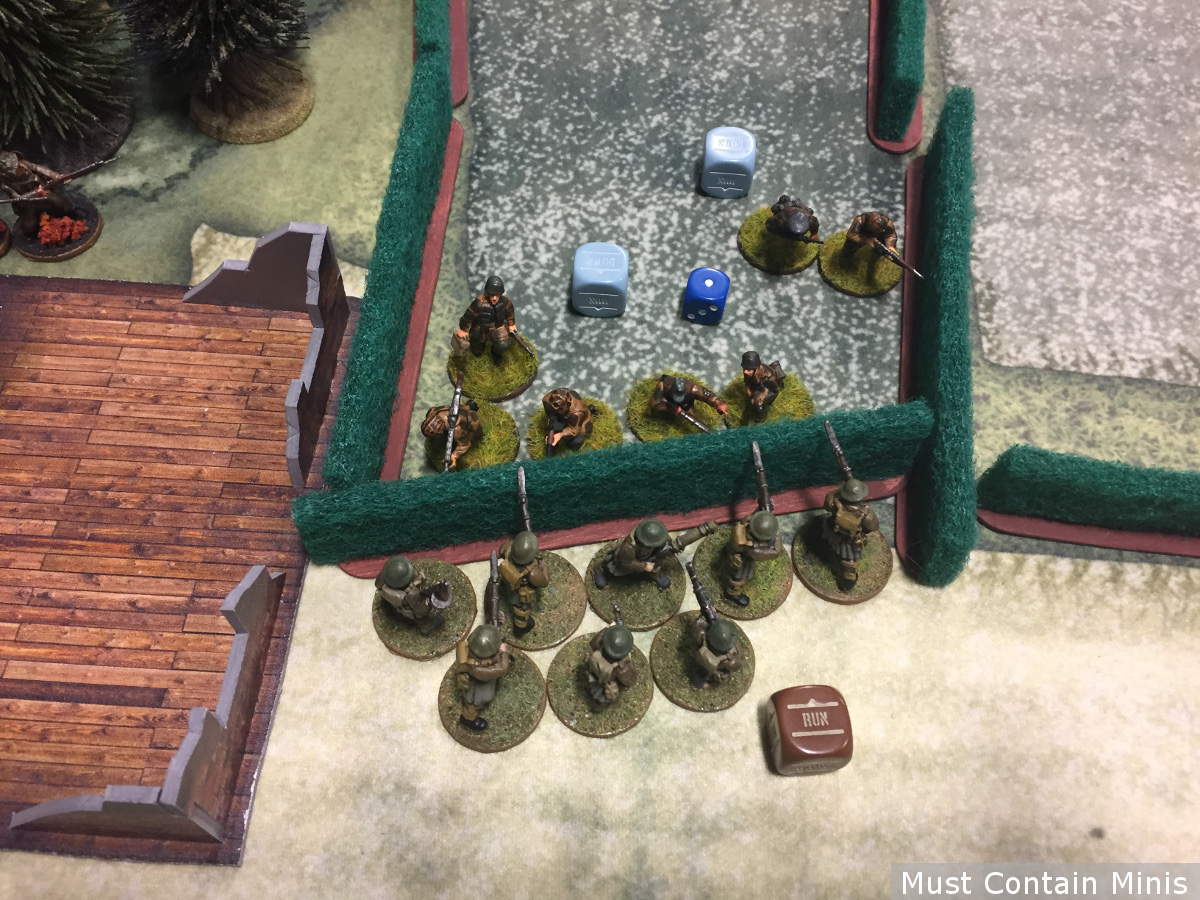
With the Panzer IV immobilized, the British rush towards the German soldiers hiding in the house. The German troops fire at the advancing troops but are overwhelmed by sheer numbers.
Meanwhile, the immobilized Panzer IV concentrates fire on the five-man squad advancing on its position and nearly wipes out the unit.
Turn Five
The British continue to press towards the enemy with everything they have.
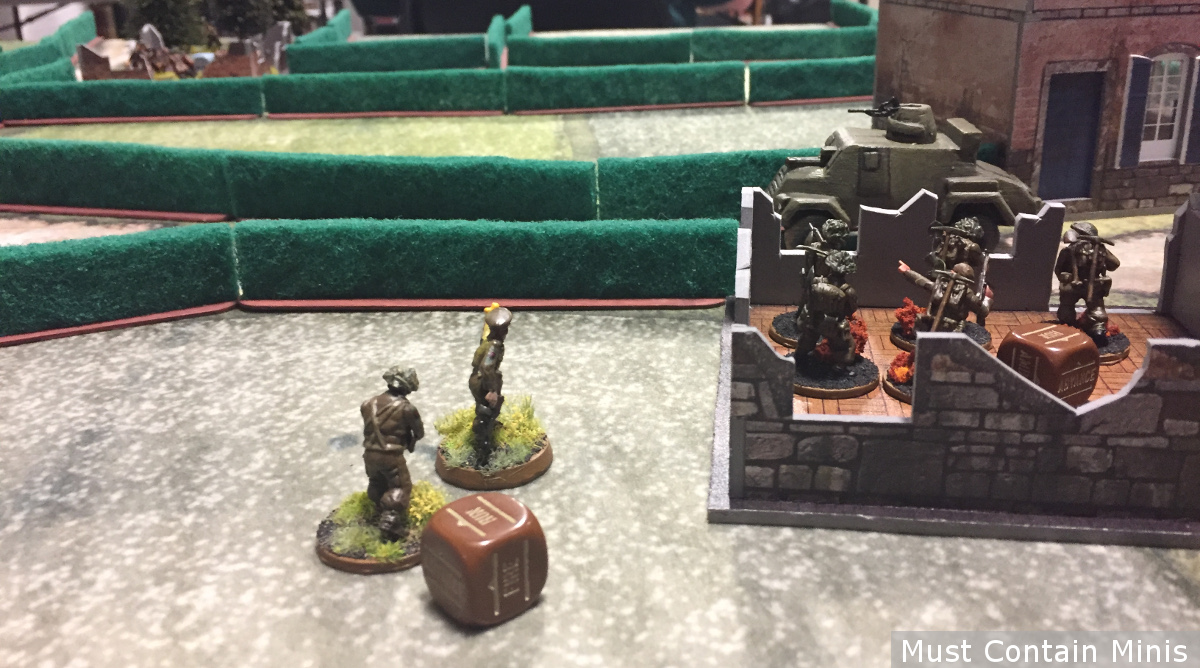
Knowing their end is near if they stay put, the Germans in the house flee. Their first lieutenant follows them.

On the other side of the board, the remaining two infantry retreat into the woods and out of the reach of the tank. The Panzer IV now focuses its attacks on the advancing British army on the opposite side of the table.

Turn Six
At this point, the score is in favour of the Germans – one to none. The British push forward to change that advantage.
On the opposite side of the board the German Infantry try to take out what was left of the British 5-man squad and fail.
The score is still 1 to 0 for the Germans. If the game were to end now, the game would be considered a “draw” because one side has to kill two more units than the other side. We rolled to see if there would be a turn seven. There would be!!!
Turn Seven
The British close in and assault the German defenders as quickly as they can.
The five-man squad performing the flanking maneuver with the Commandos take out the German First Lieutenant through a hail bullet fire.
Meanwhile, the Otter hightails it down the road and hides from the tank (denying an easy target). Unfortunately, I moved my other 5-man squad (now a 2 man squad) back into view of the Panzer IV. They go down in a fury of bullets from the tank’s coax gun.
It’s a Draw!!!
Although the British Army caused more casualties than the Germans, the game ends in a draw. Both sides lost two units each. Overall, not a bad game at all. We both had lots of fun and I am sure Aaron feels somewhat redeemed after his devastating defeat in the last game.
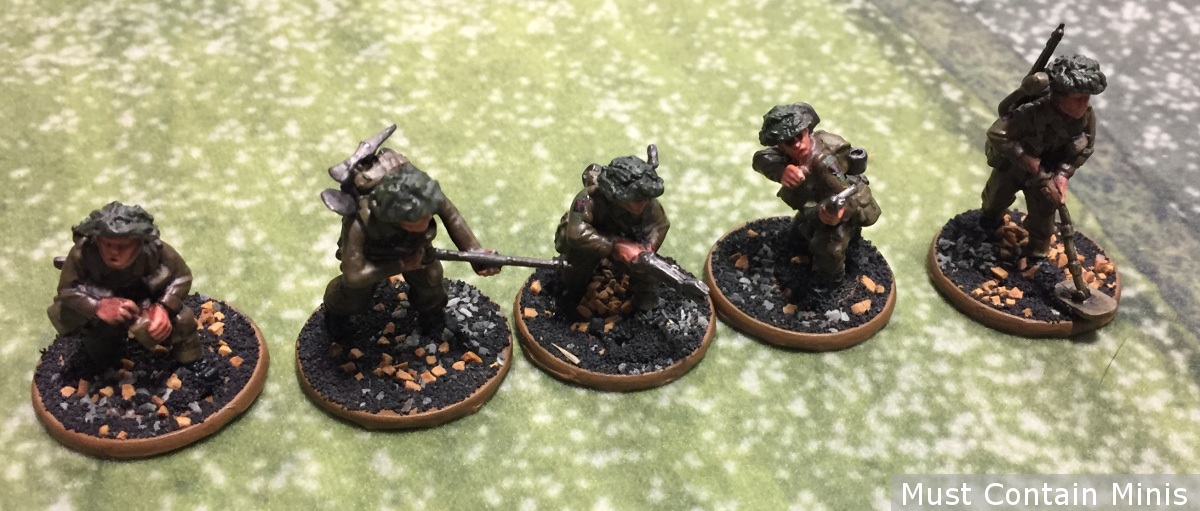
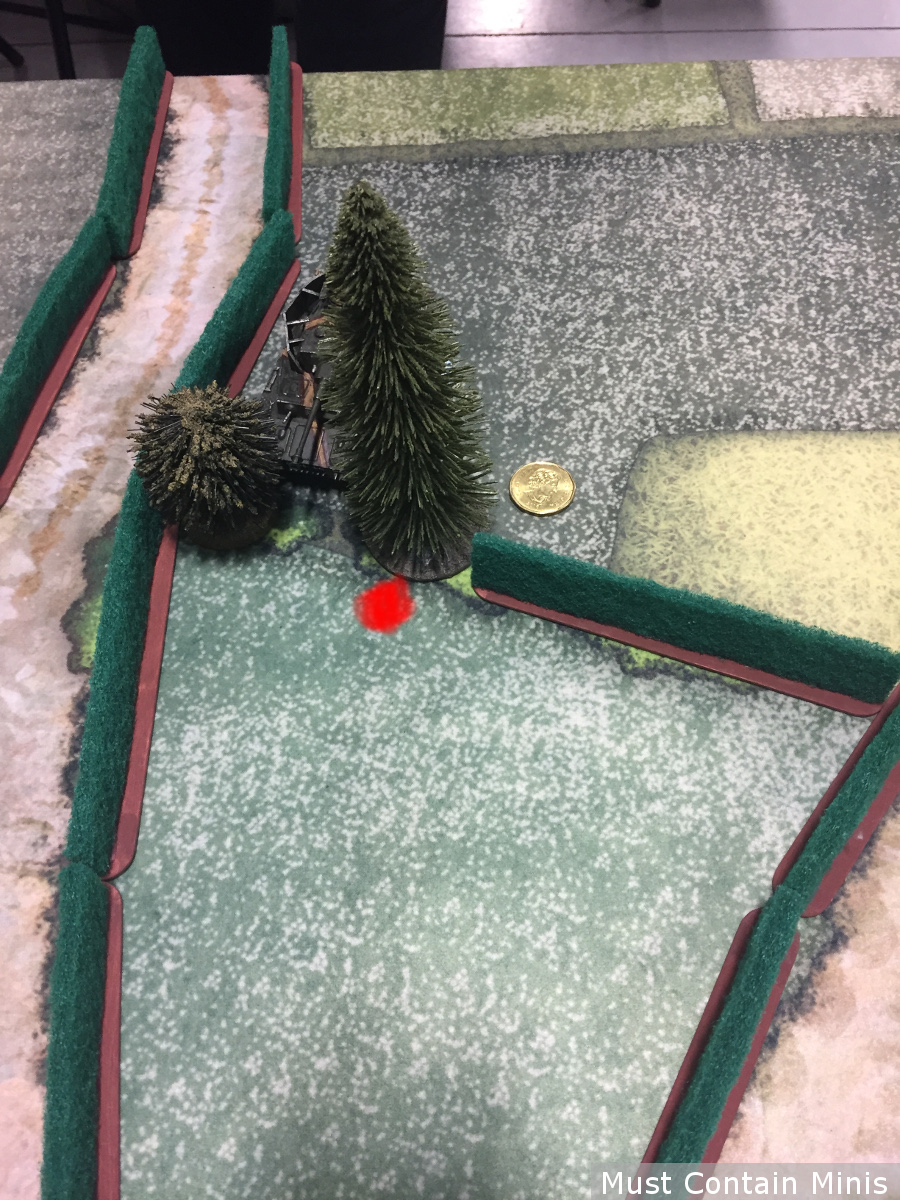
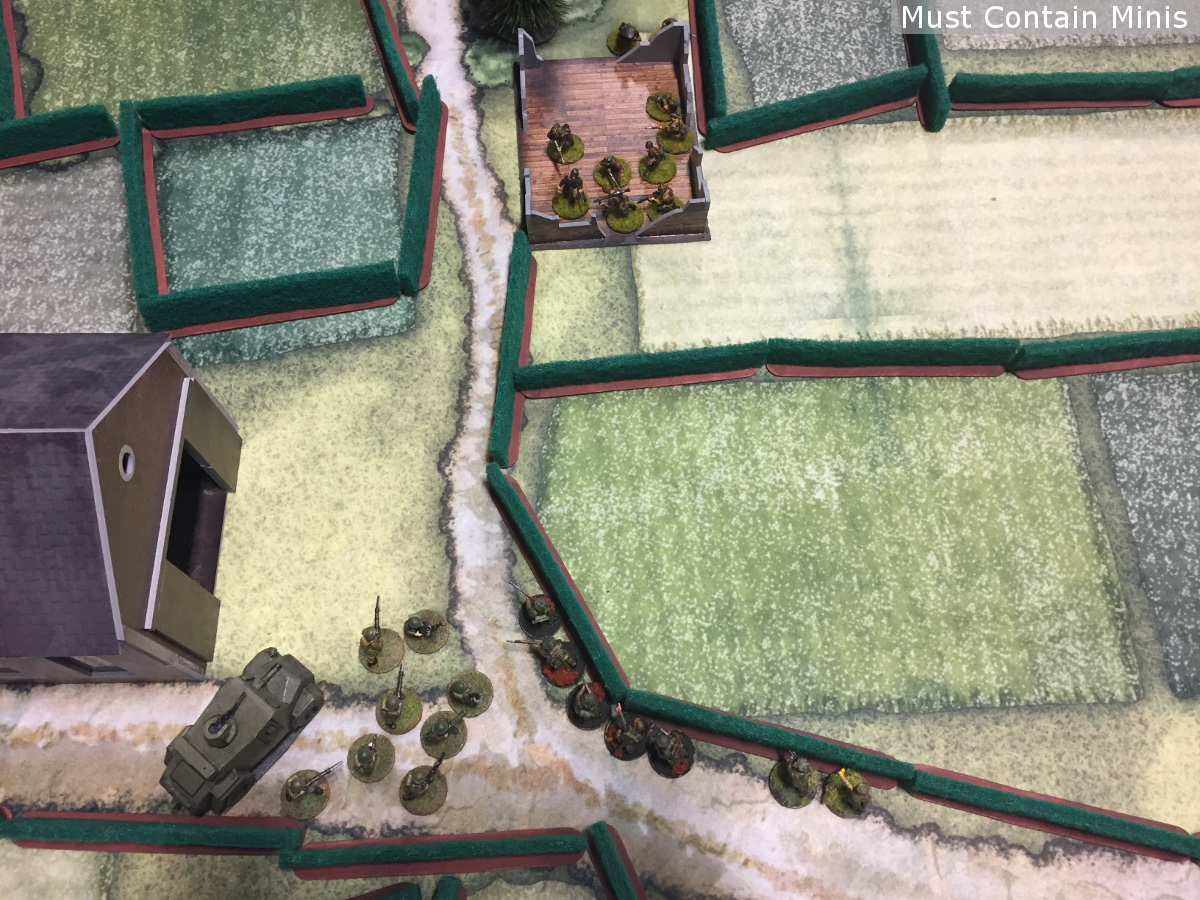
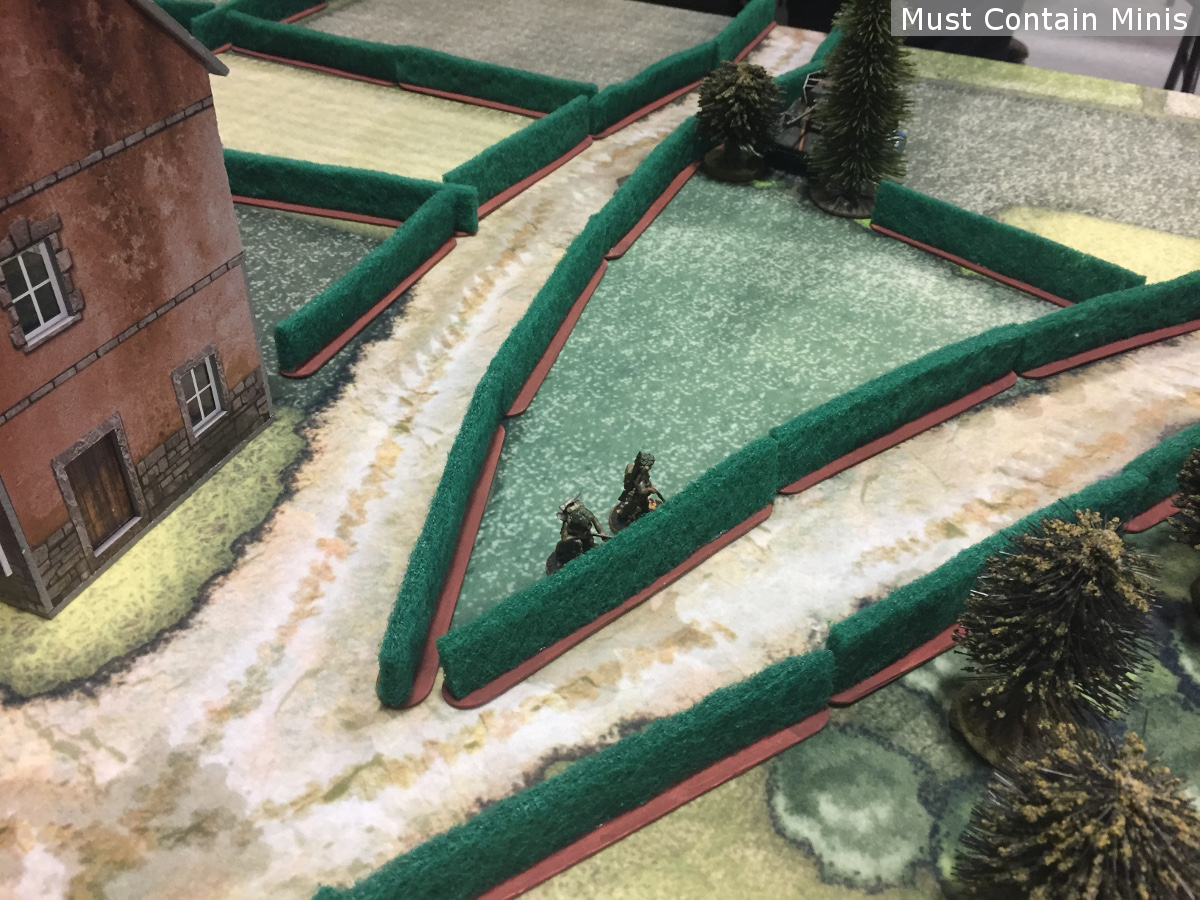
Eye Candy


Related Products
[amazon_link asins=’B01LYTW70N,1472814940,147281780X,1780960891,B079VRVDWX,B00RXWCIV2,B00Z7FHJTS,B010HC6V8K,B004GKHW5G,B00AZYBGNG’ template=’ProductCarousel’ store=’mustcontainmi-20′ marketplace=’US’ link_id=’0aefb17c-443b-11e8-bab3-e91de072b1b9′]
If you like the look of our table, be sure to check out…
For more on Bolt Action, check out…
Until Next Time, Happy Gaming Everyone!!!

Pingback: Why I Love Playing Bolt Action | Must Contain Minis