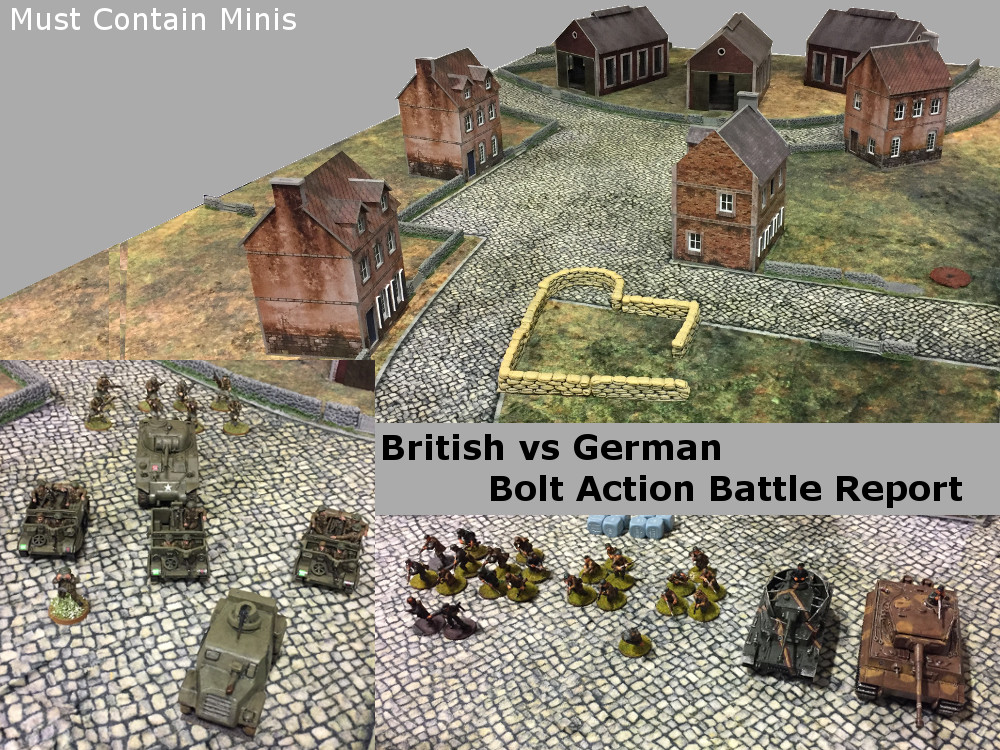
In this Bolt Action Battle Report, we played a 1000 point “Hold Until Relieved” battle between the British and Germans. In terms of armies, the British brought a highly mobile and elite force while the Germans sacrificed soldier quality for tanks… That’s right! Plural tanks in a 1000 point game. That doesn’t leave a lot of points left for infantry. Below are the two armies on parade.
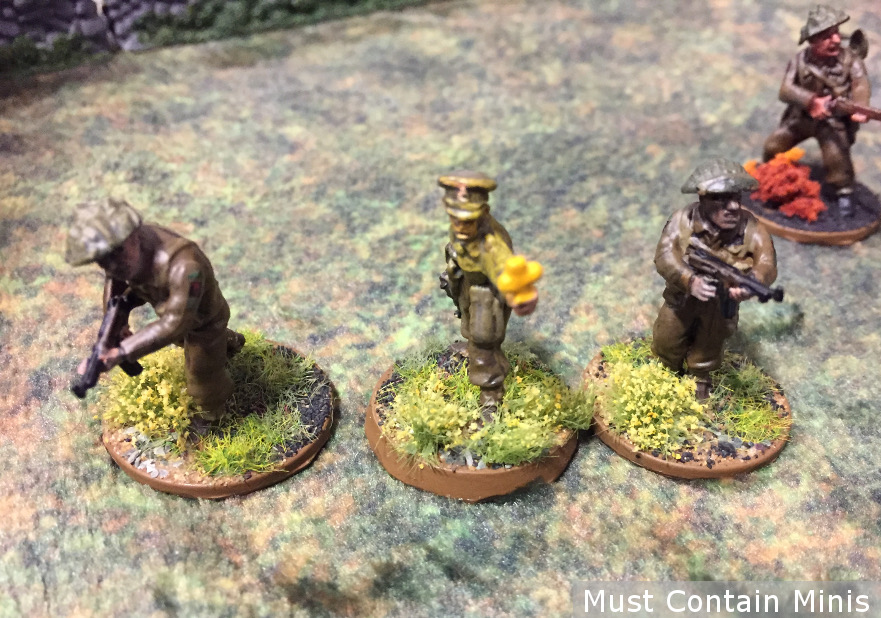
The British Army
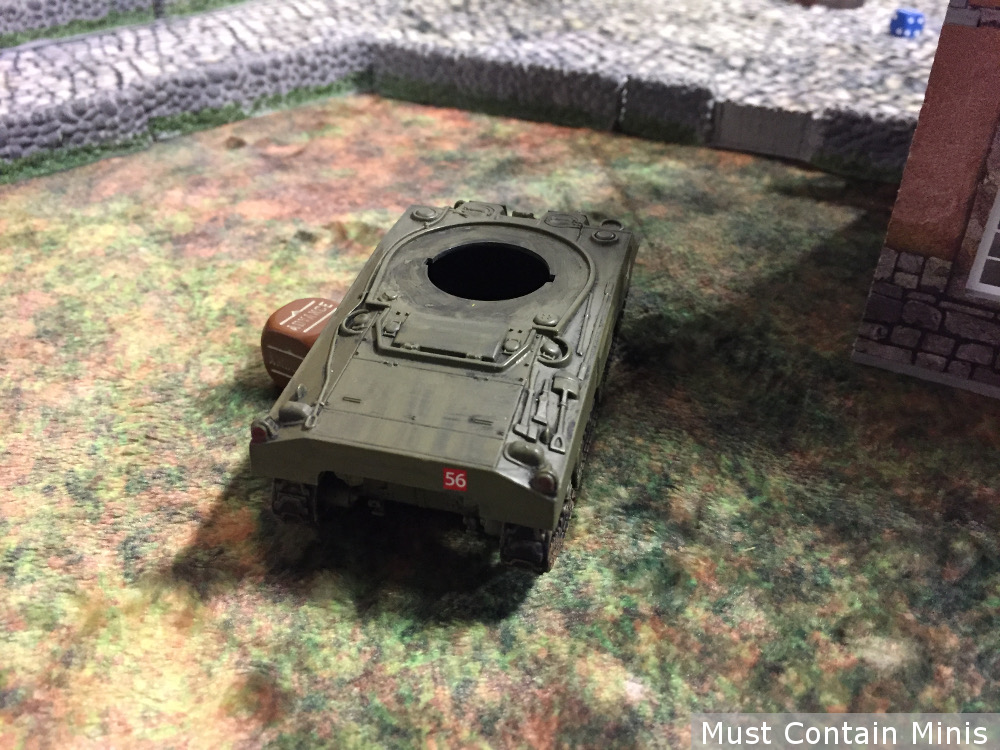
The British brought along a highly elite force. These guys rely upon speed and the firepower of their vehicles to get their jobs done.

All three of the Universal Carriers count as Transports and are loaded with troops. Below are the unis in each of those rides.
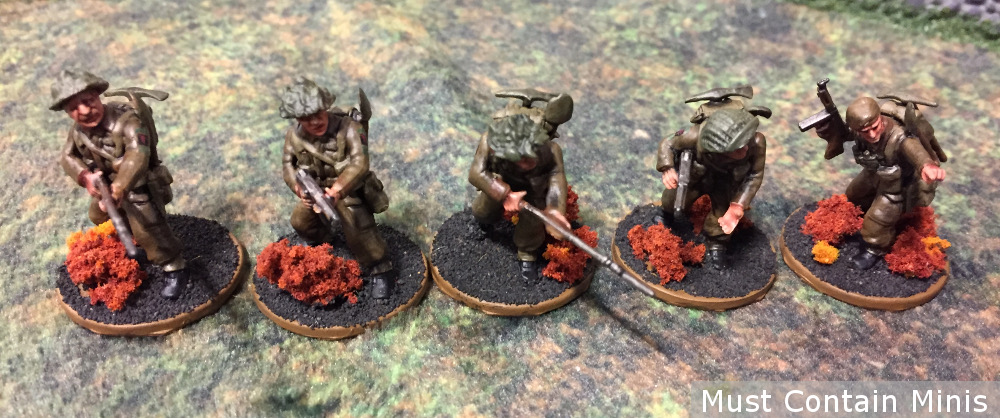

This army is extremely mobile and brings a ton of light armour to the table. While the small 5-man teams might not have the same “staying power” as a larger squad, they combine really nicely with the Bren Carriers into an effective unit.
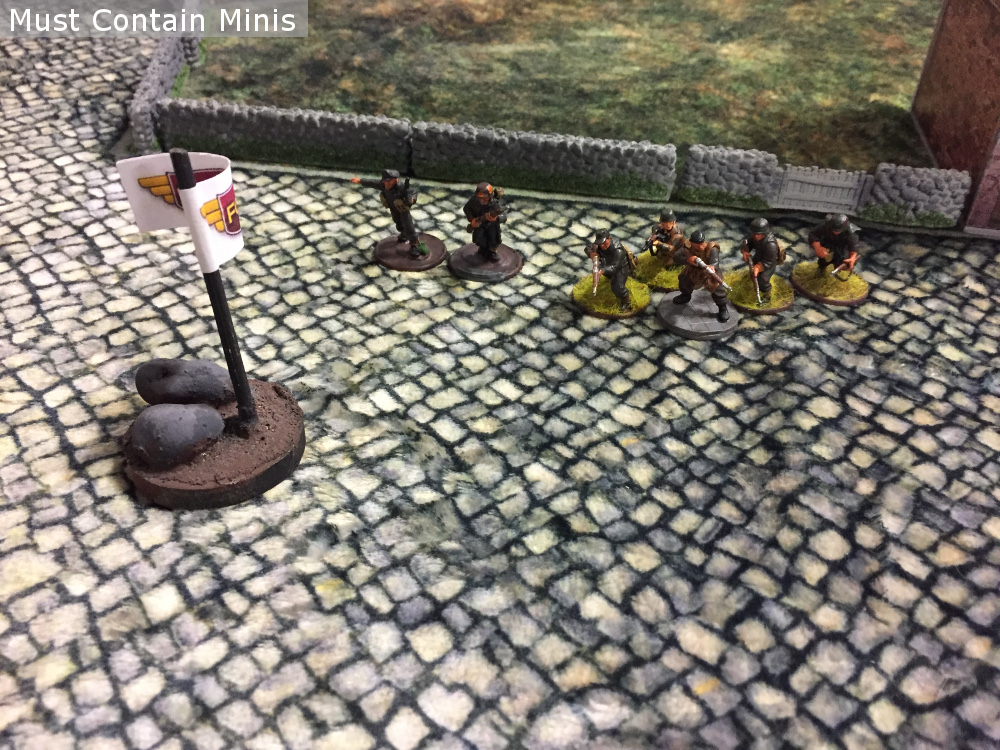
The Germans
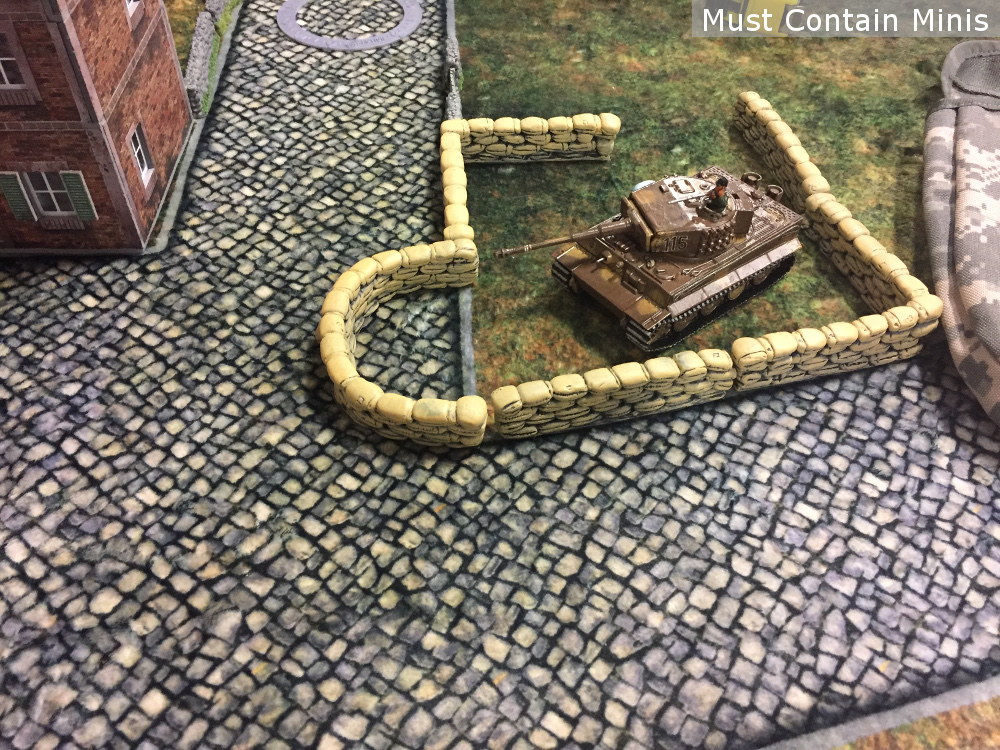
The Germans brought along two small platoons, each with their very own tank.

With the Germans bringing two large tanks to the battlefield, I knew my force was in trouble. While these British soldiers armed themselves with a ton of armour, they did not bring many anti-tank assets, and the Germans had two heavy tanks that could easily punch holes through the British vehicles.
Basic Strategy
After seeing the armies, I strategically decided to focus on presenting too many targets for my enemy to shoot at while overwhelming their infantry and trying to ignore their tanks.
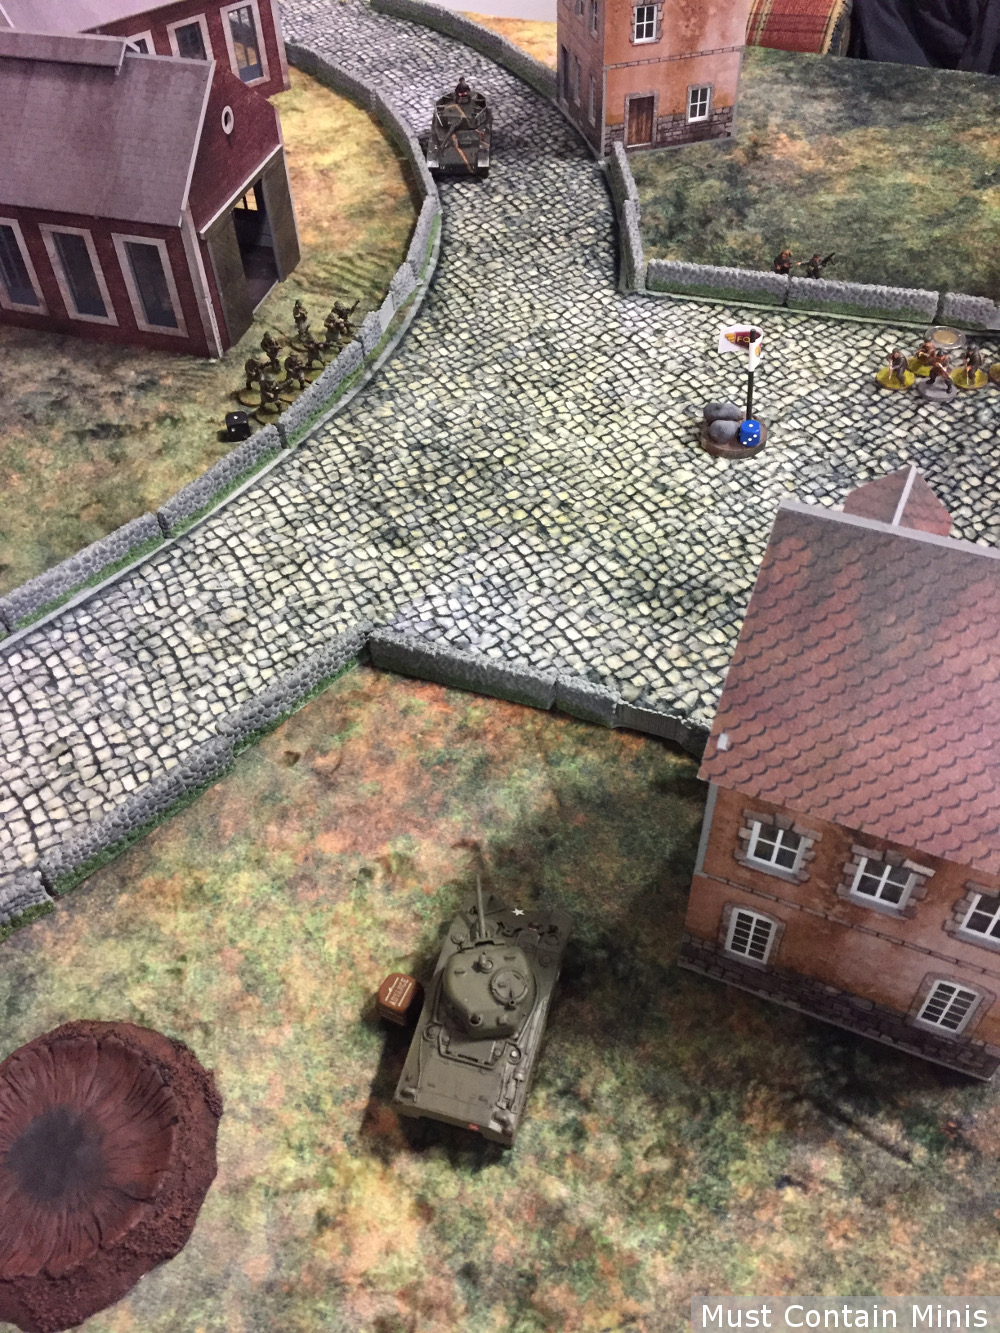
The German player decided to prioritize taking out my armoured assets while trying to keep his infantry units safe from gun fire by using cover and line of site blockers. His overall plan was to create kill zones for my soldiers to walk right into (which should be a fairly easy feat to accomplish considering how open the middle of the table is by the objective).
Whomever controls the Objective Flag at the end of turn six (or the end of a pre-determined time limit) would win the game.
Now let’s see how this game worked out…
Deployment
I won the die roll off the top of the game and nominated the German Player as the defender. In “Hold Until Relieved” the defender gets to start with one infantry unit and any other “one” unit within 6″ of the objective marker. They chose a small 5-man team as their infantry unit and a Lieutenant as their second option. Personally, I would have chose the Tiger as my second unit, but my opponent did not want to present a juicy target for my Sherman so near the start of the game.
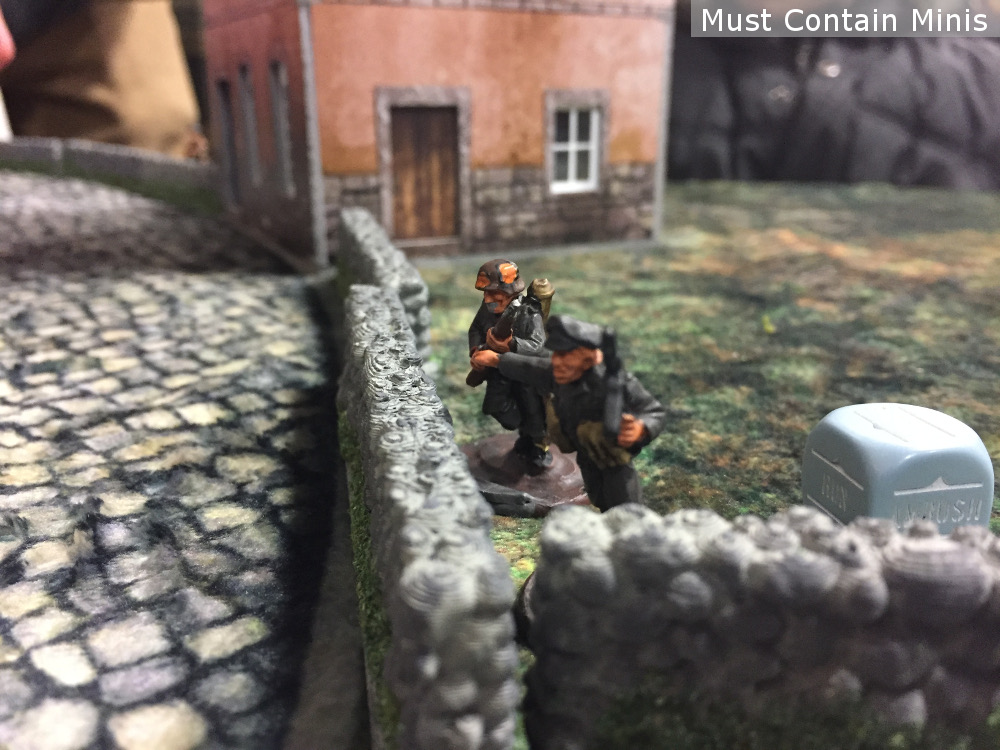
The attacker, in the “Hold Until Relieved” scenario, may deploy all of their infantry during their deployment phase (if they wish). I put out three of my five infantry units, and kept the Lieutenant and the 5-man squad with anti-tank grenades in reserve with the vehicles.

The Battle…
Turn One
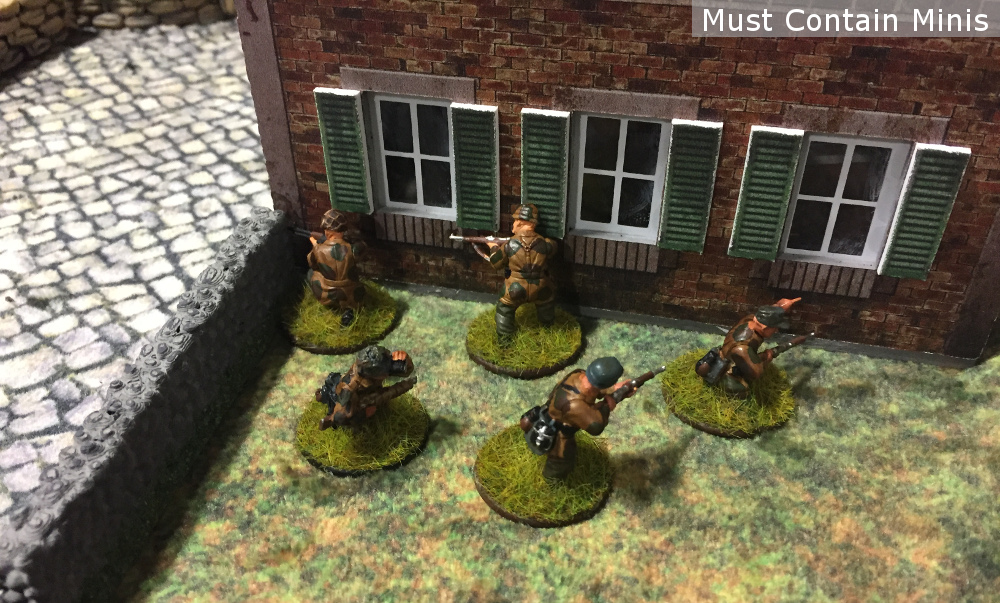
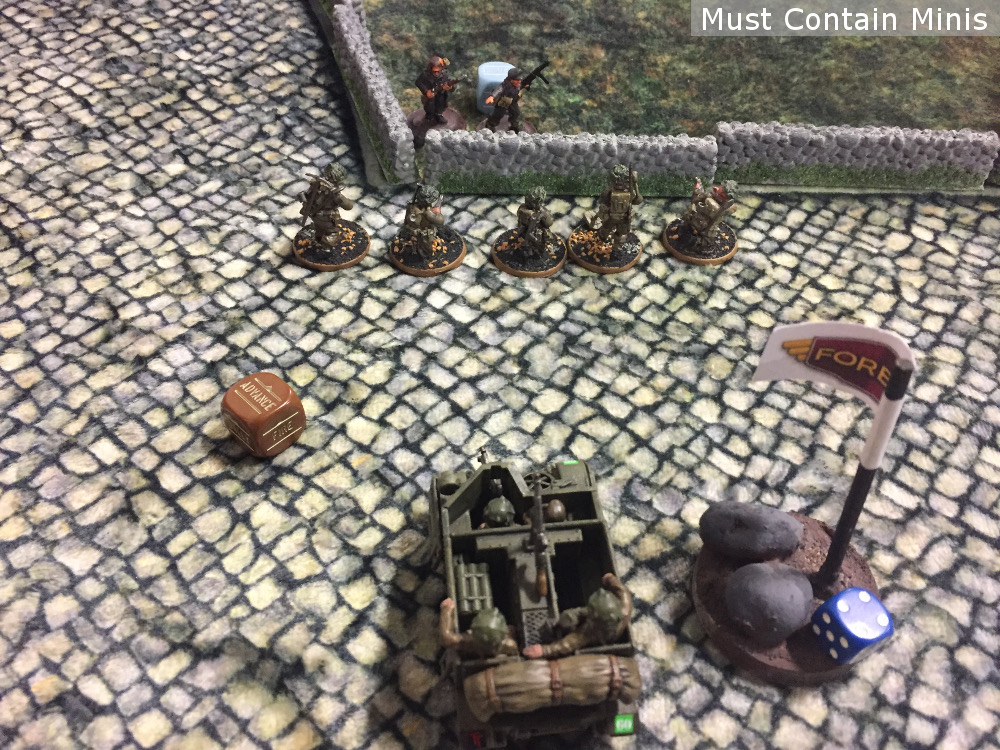
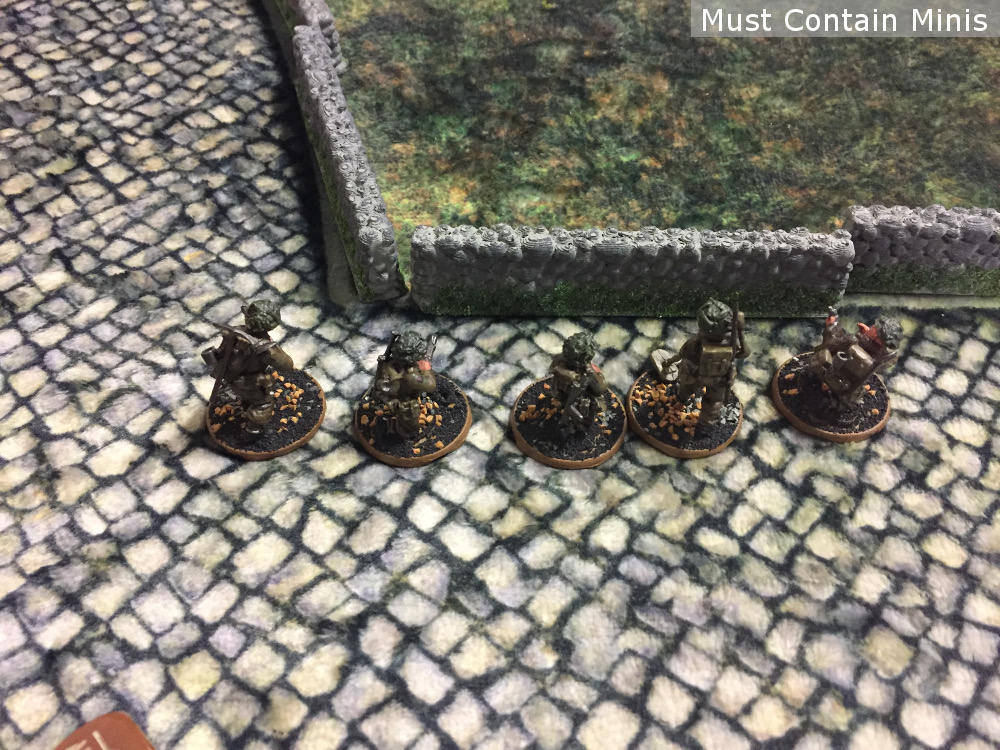
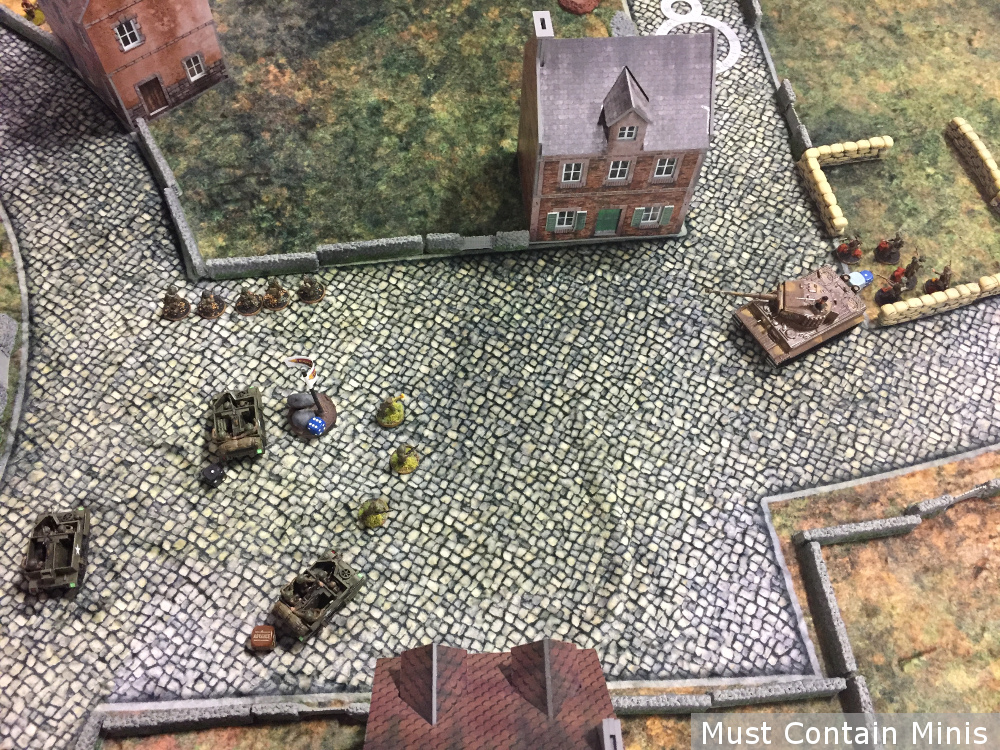
Right off the top, both the German and British players rushed their infantry to the closest possible cover.


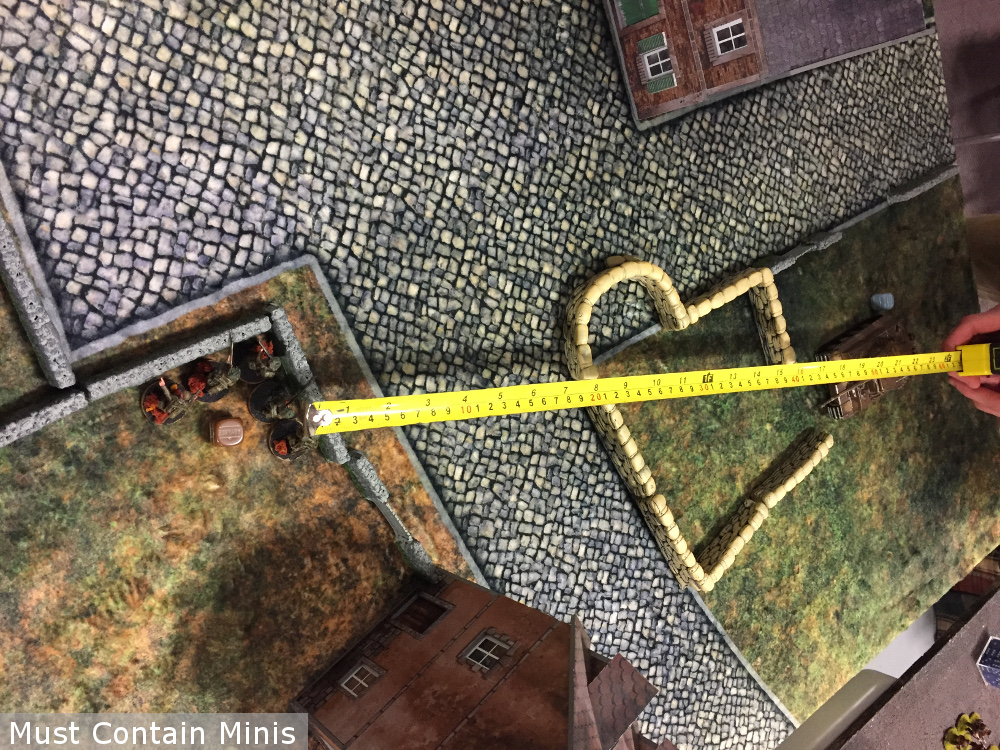
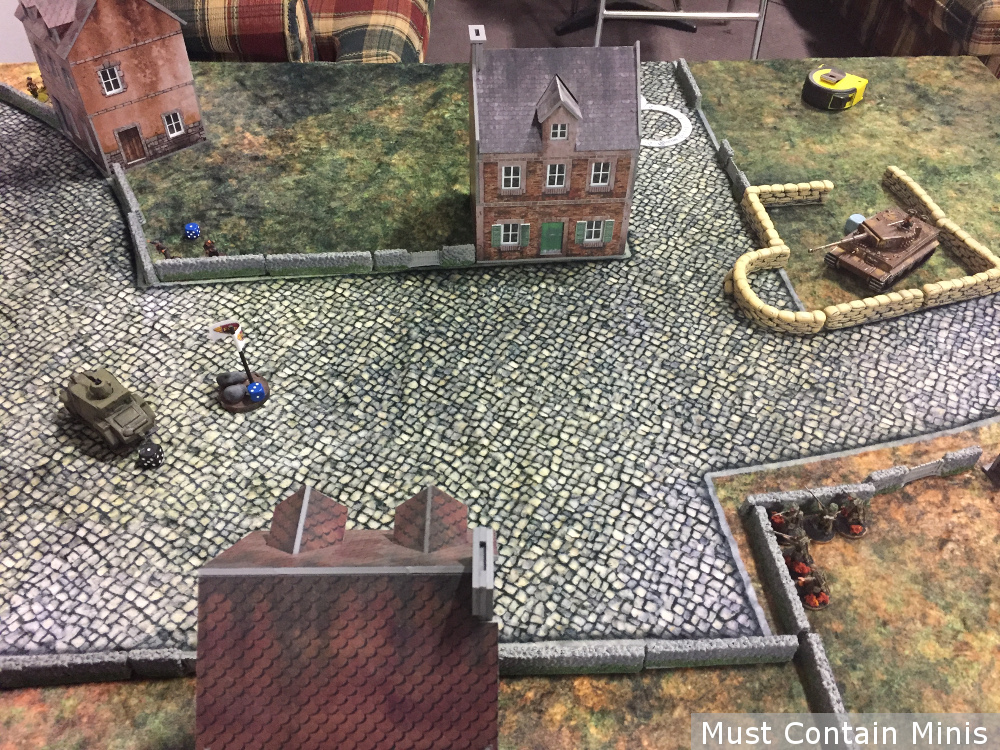
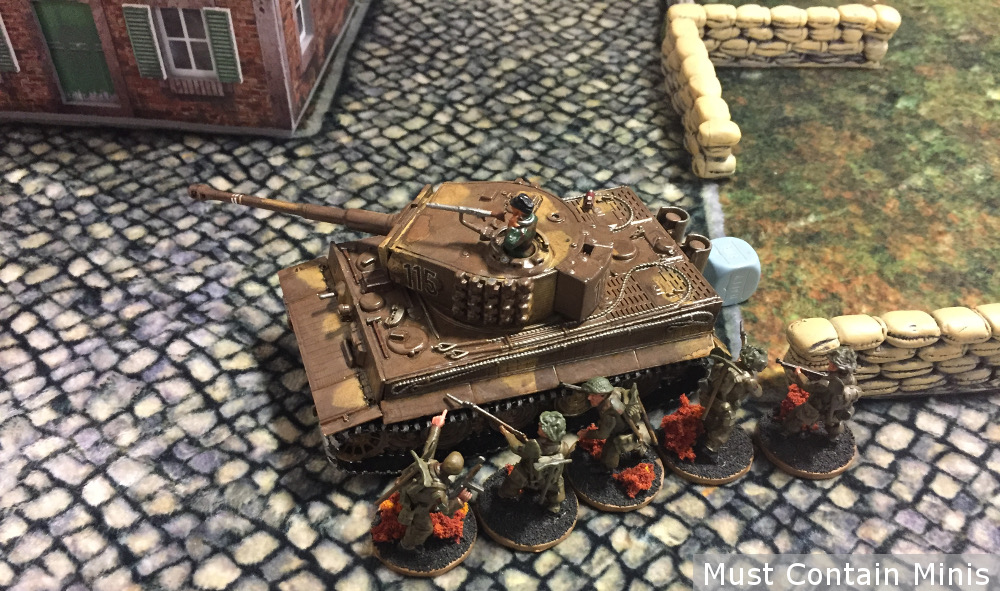
Meanwhile, the Tiger enters the opposite side of the battlefield and pins down the small British 5-man unit.
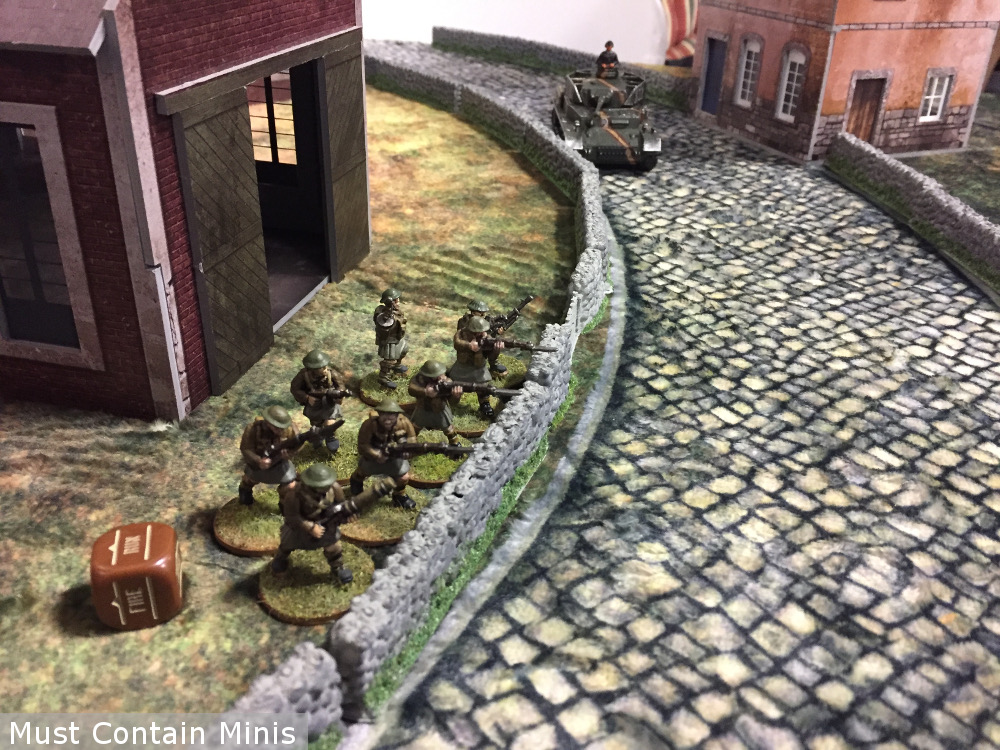
And then the Panzer IV enters the other side of the battlefield and threatens the British Commandos.
It is now the end of the first turn and the Forward Observer calls in an Artillery Barrage near the objective. The Barrage is delayed and the Observer decides not to move the coordinates.
Turn Two

At this point, the British pretty much give up hope in killing the German armour on the field. All the British have left that could harm the armour includes an Anti-Tank Rifle (on the Otter) and some anti-tank grenades on a squad yet to enter the battlefield. These weapons are extremely weak versus a Panzer IV and a Tiger tank.

To finish the round, the Tiger takes a shot at the Otter and misses. Now we roll to see if the artillery comes in. It does!!! The barrage hits the Otter, the German Lieutenant and a 5-men unit that the German player had hidden behind the middle house. Pins all around, except on that unit behind the house…
Turn Three
The German player draws the first die. He moves his Panzer IV but then remembers that the tank has a pin marker, so he rolls an order test. The tank goes down. He then draws a second die and orders his Tiger. He first targets infantry but then asks if he can target the Otter instead. The British Player agrees. The Tiger opens fire on the Otter, hitting it with a solid shot.

“Wait!!!! I forgot that the Otter gets a recce move. Can I do that instead of having the car destroyed?” The German Player agrees and the Otter is all of a sudden alive again and sputters out of site of the Tiger tank.

The British Commandos then declare an assault on the downed Panzer IV. They have to roll moral tests as they have no anti-tank weapons, but they pass the test with flying colours.

Turn Four
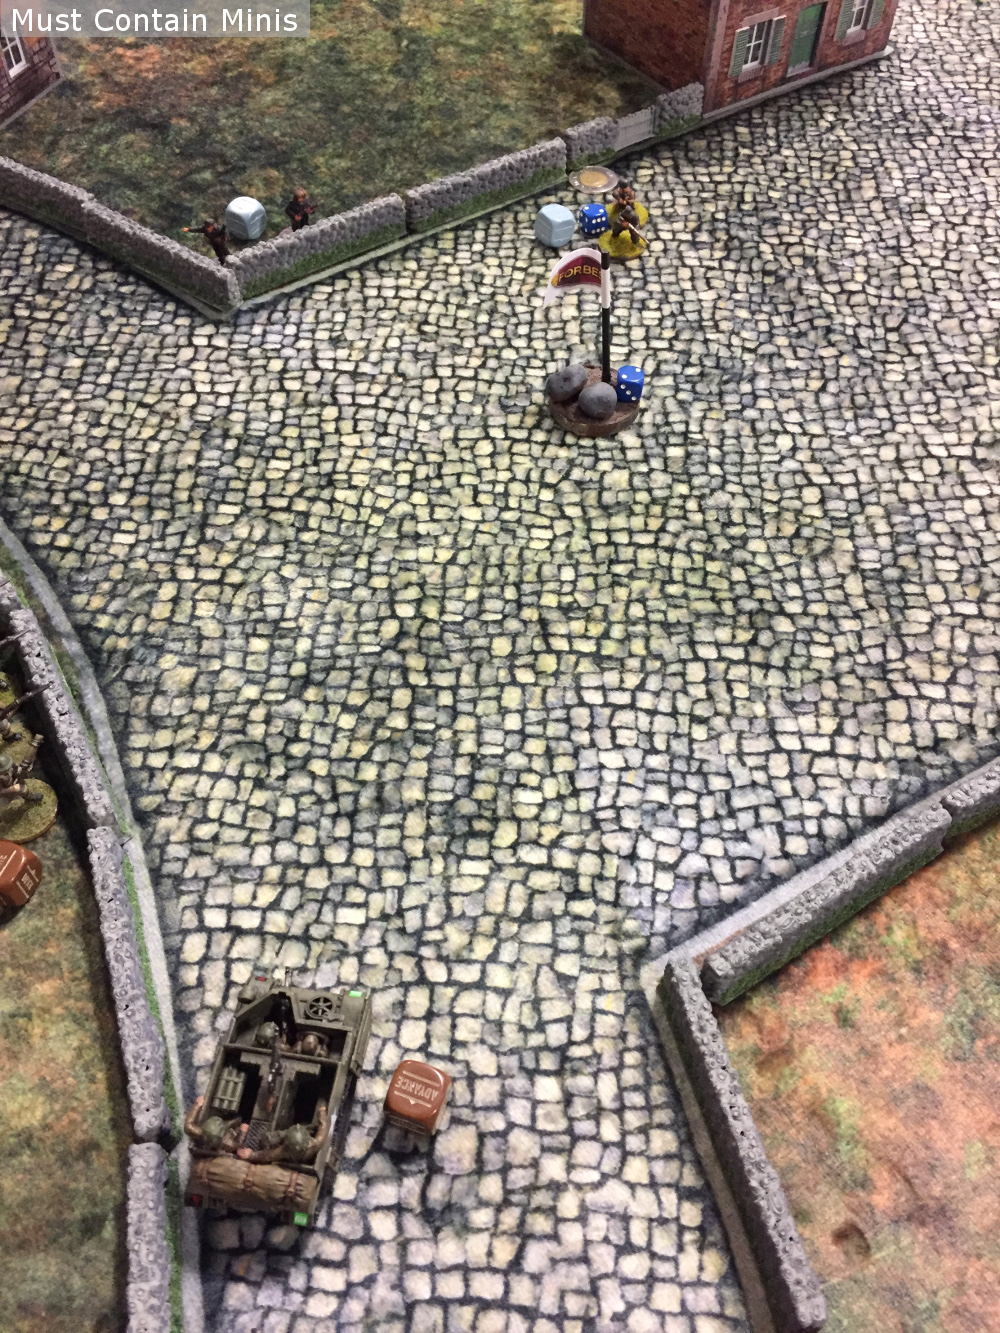
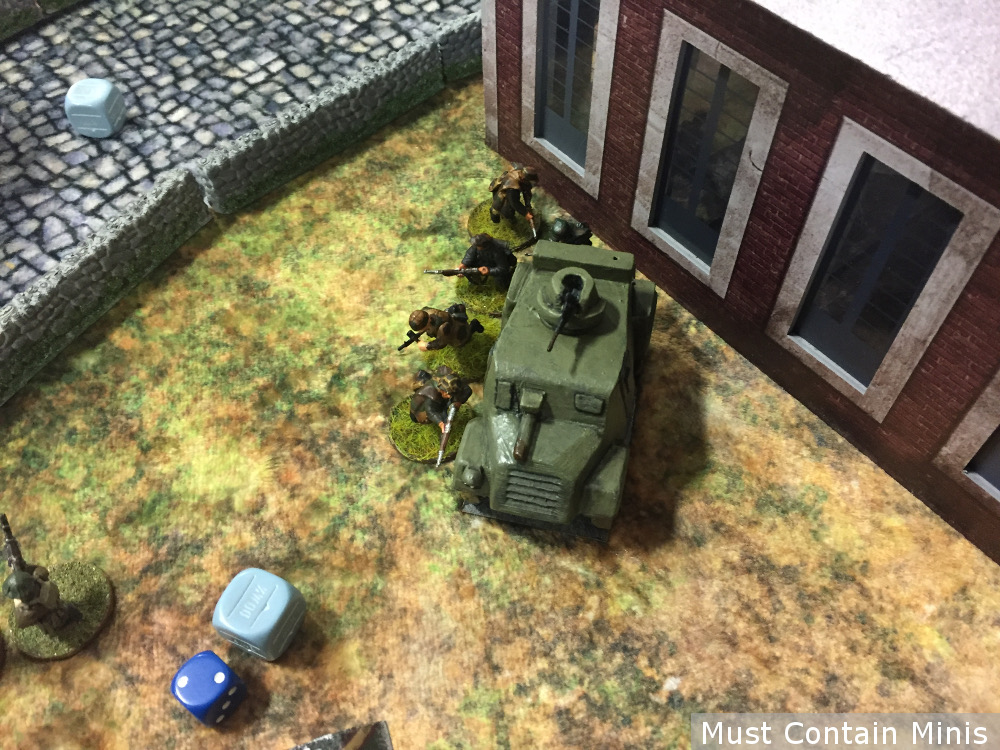
The Bren Carrier closest to the objective opens the round by firing at the German Lieutenant but misses terribly. The Passengers on board jump out and gun down the two man unit. Being able to attack in this fassion is one of the key advantages of this army build.
The two enemy tanks continue to prove ineffective. One won’t pass an orders test while the other has issues hitting targets.
Turn Five

To satisfy his curiosity, the German Player decides to assault the Otter without anti-tank grenades. He causes it no harm.
The British Player counter assaults the German Squad with his Commandos. The Commandos win, despite taking heavy loses.

It is at this time that we reached our agreed upon time limit. The game is called as an allied Victory.
Allied Victory

Having run out of time, it is agreed that the Allies won this game.
Had the game gone into a sixth turn, the German Player figured that the outcome would have still been the same. I, on the other hand, am not so sure. Had he of got either of those tanks to the center of the table, he might have been able to force a draw in turn 6 or 7.
Hopefully you enjoyed this Battle Report. Below are a few more pictures from the game.
Eye Candy


Related Products
[amazon_link asins=’1472814940,B00NFJJ6SU,B00KGS6VTA,B01LYTW70N,B00PFNX6EE,B00V65WI1M,B00Q6WRBZS,1780960891,147281780X’ template=’ProductCarousel’ store=’mustcontainmi-20′ marketplace=’US’ link_id=’99112c3d-33d5-11e8-bc51-498e7a3c0350′]
If you like the look of our table, be sure to check out…
For more on Bolt Action, check out…
Until Next Time, Happy Gaming Everyone!!!

Pingback: Bolt Action 600 Point Battle Report (British vs German) | Must Contain Minis
Pingback: Why I Love Playing Bolt Action - Must Contain Minis [MCM]