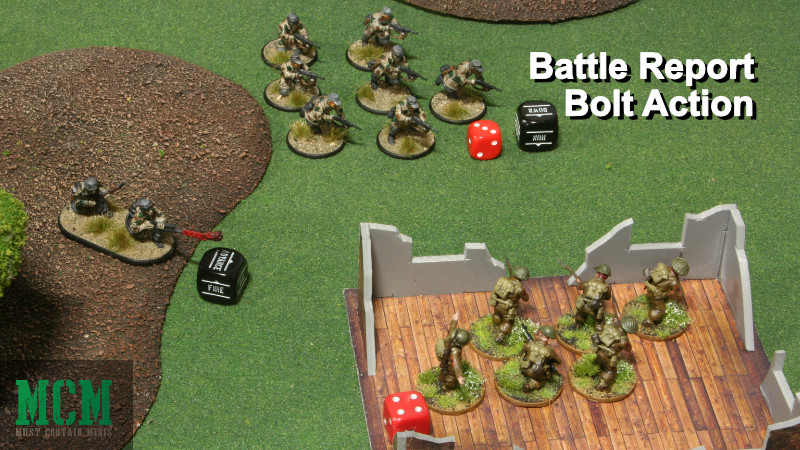
In this post, we take a look at a game of Bolt Action that I played before the COVID-19 shutdowns occurred. Here you will see my 1250 point British Army take on a German force at Forbes Hobbies in Cambridge (Ontario, Canada). This Battle Report features the results of a Bolt Action Key Positions game. This is a mission from the main rule-book.
Now, let’s get into it!
The Forces
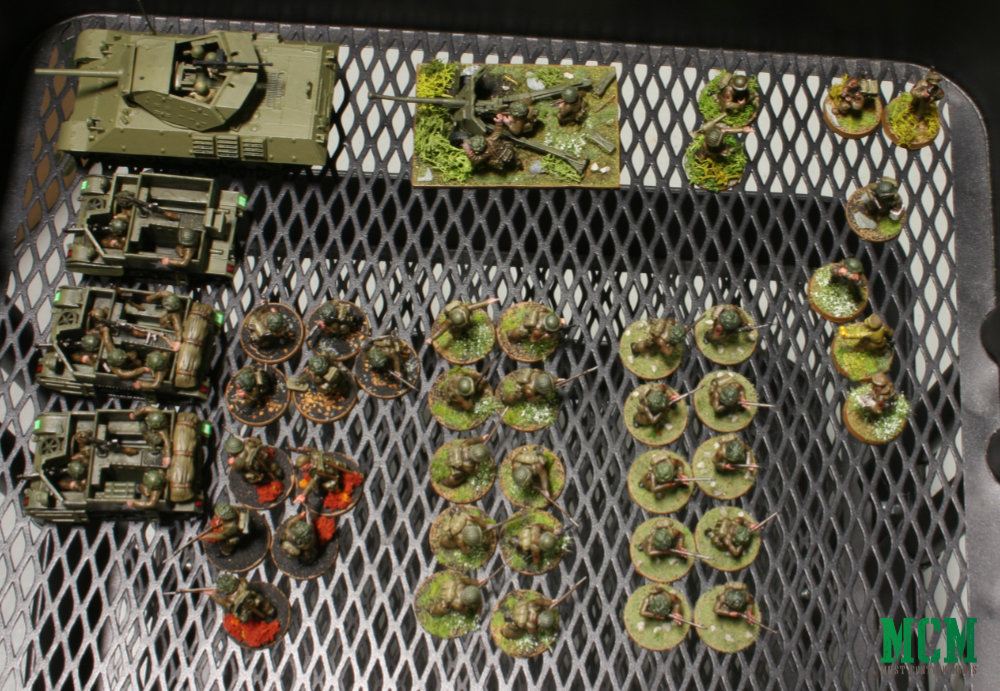
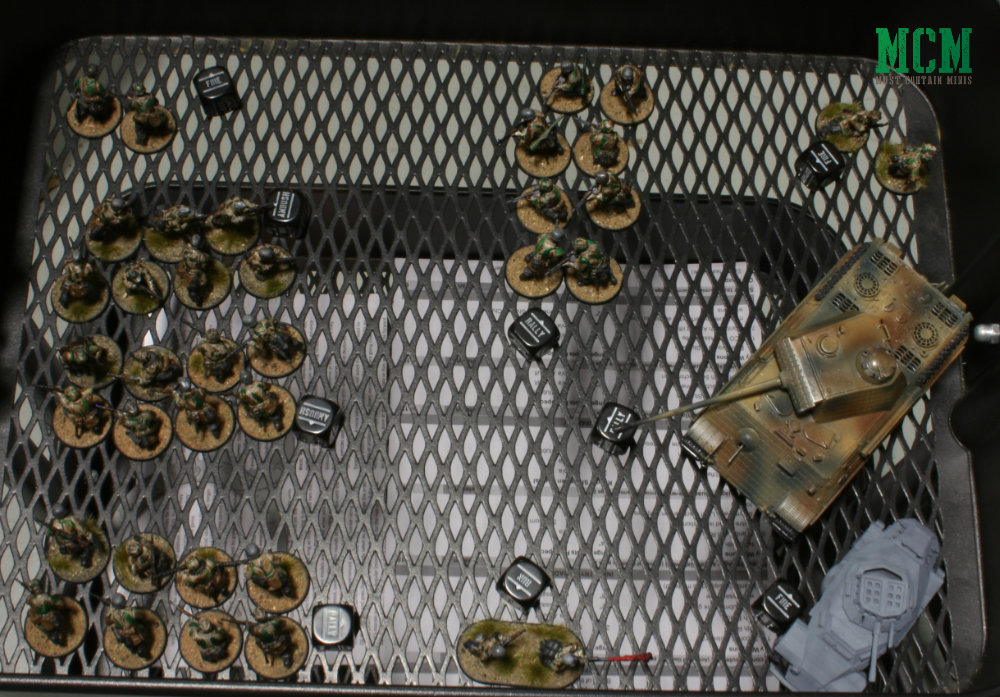
Clearly the British have the edge in numbers, but not necessarily skill. The Germans have heavier armour and better trained troops.
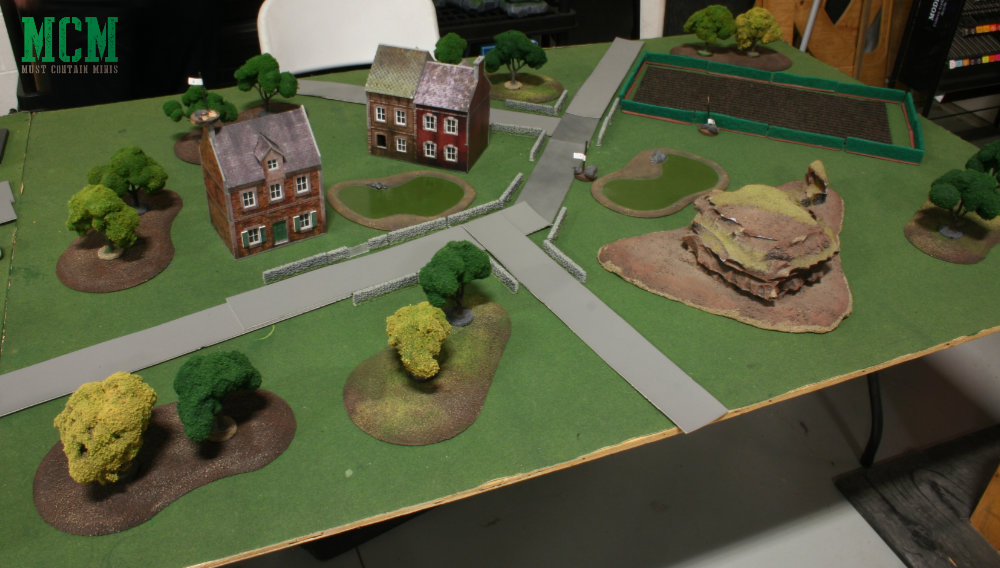
With the sides created, we rolled for scenario and built the table.
The Scenario – Key Positions
We rolled and settled upon Scenario 3, Key Positions for this Bolt Action battle. We then determined that there would be three objectives. I chose to come in with half of my force in reserve and the other half as part of a first wave. My opponent choose to go with his whole force as his first wave. This action would give him access to his full force right from the start of the game.
Forbes Hobbies
As a note for those local to me, I played this game at one of the gaming tables at Forbes Hobbies in Cambridge, Ontario, Canada. They have the best gaming space in the area and they sell those buildings and Bolt Action miniatures. That is some good information to know if you are looking for any nice models.
Back to the Bolt Action Key Positions Mission
Back to the mission. The goal is to end with more objectives in control at the end of the game than your opponent. We placed the objectives before determining sides. There are four in total to control. The game would last for six rounds with a 50/50 chance of there being seven rounds instead.
We then rolled to see who would choose the table sides.
I won the choice of sides and decided to go with the close side. The reason for this is because I have four vehicles in my group and planned to use the roads to grab those roadside objectives quickly.
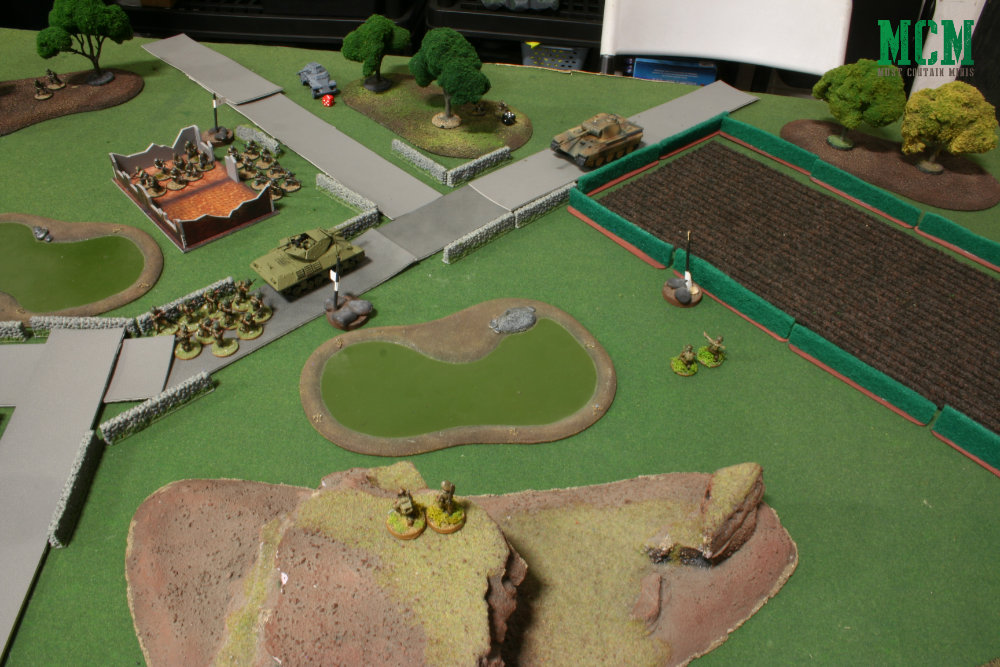
Turn One
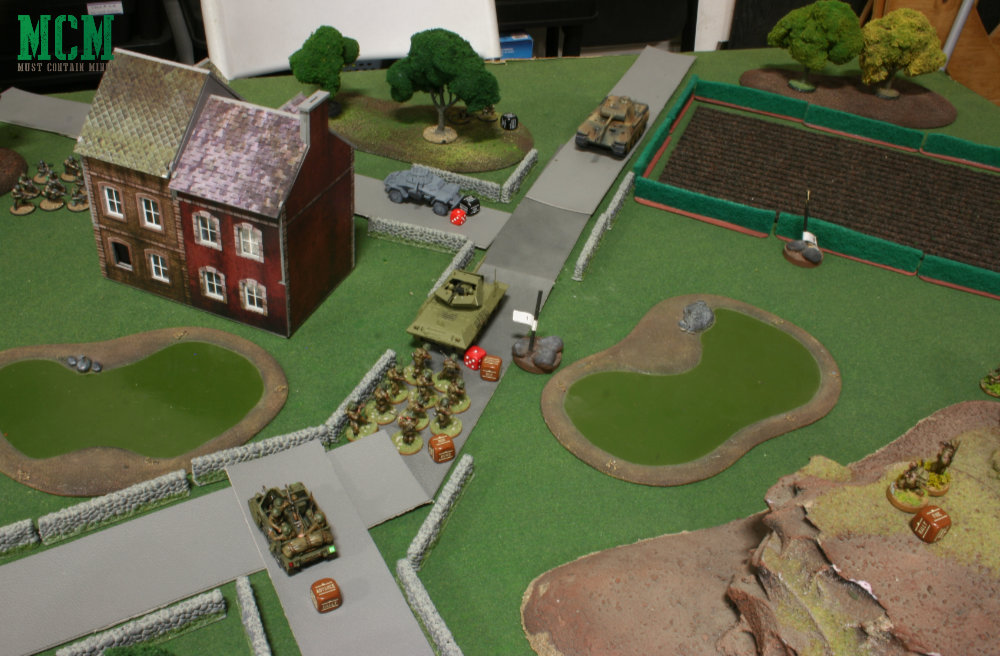
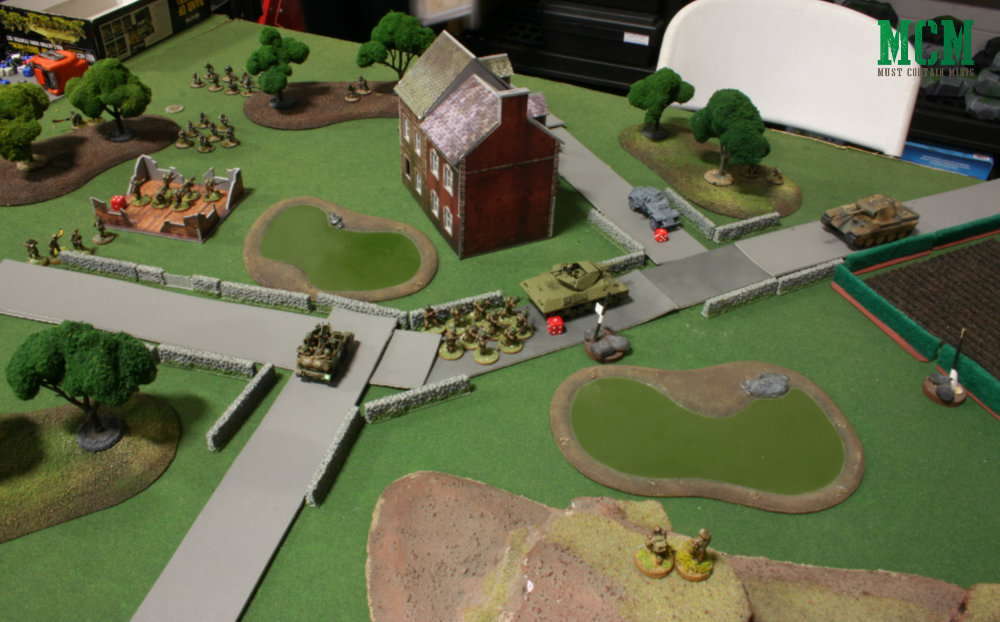
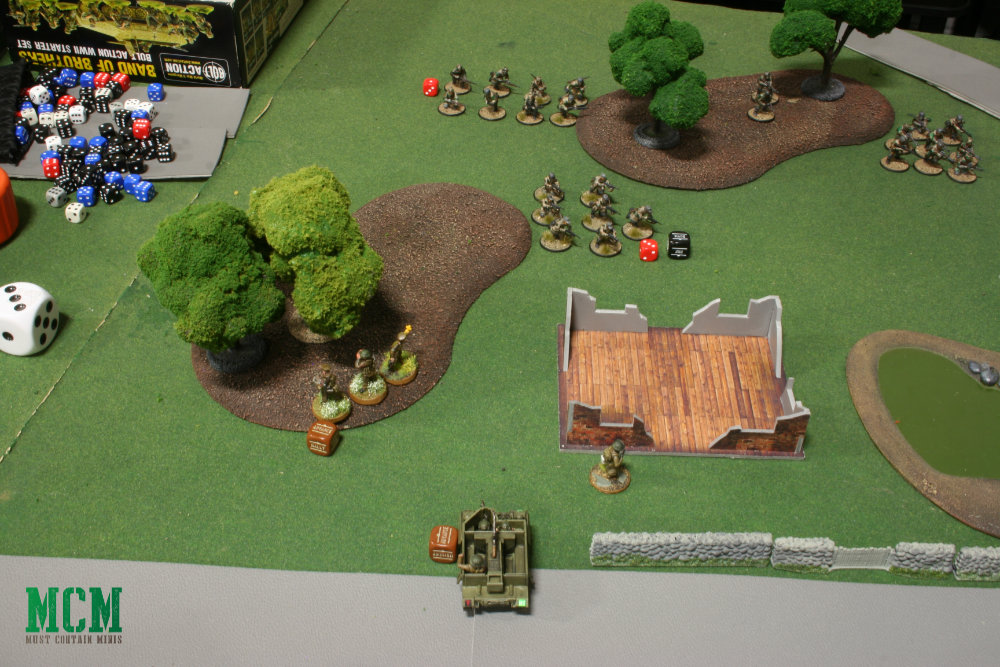
I drew the first few dice and decided to march my footslogging soldiers onto the table with a tank hunter to give them cover.

What you see above, are all of my forces at this time. As you can see, he has two vehicles on the road. What you cant see is his troops behind the houses. Check out the image below. All of these German soldiers start the game running for nearby cover. Yikes!!!
Turn Two
In turn two, I take control of two objectives. Control does not matter until the end of the last turn, but I figured it would be easier to sit on and hold the objectives than try to push my opponent off of them.

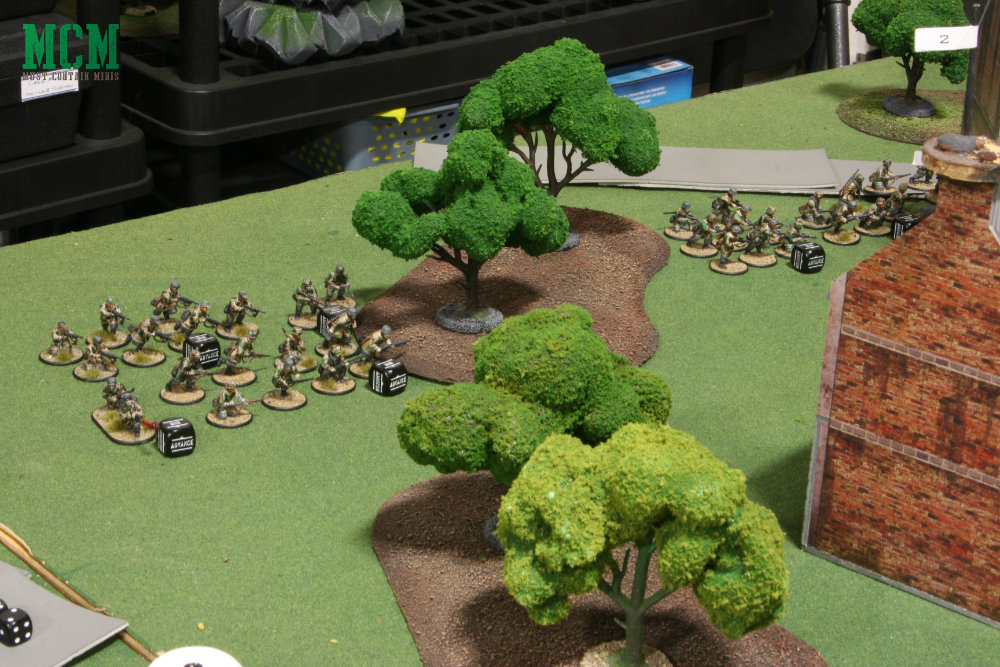
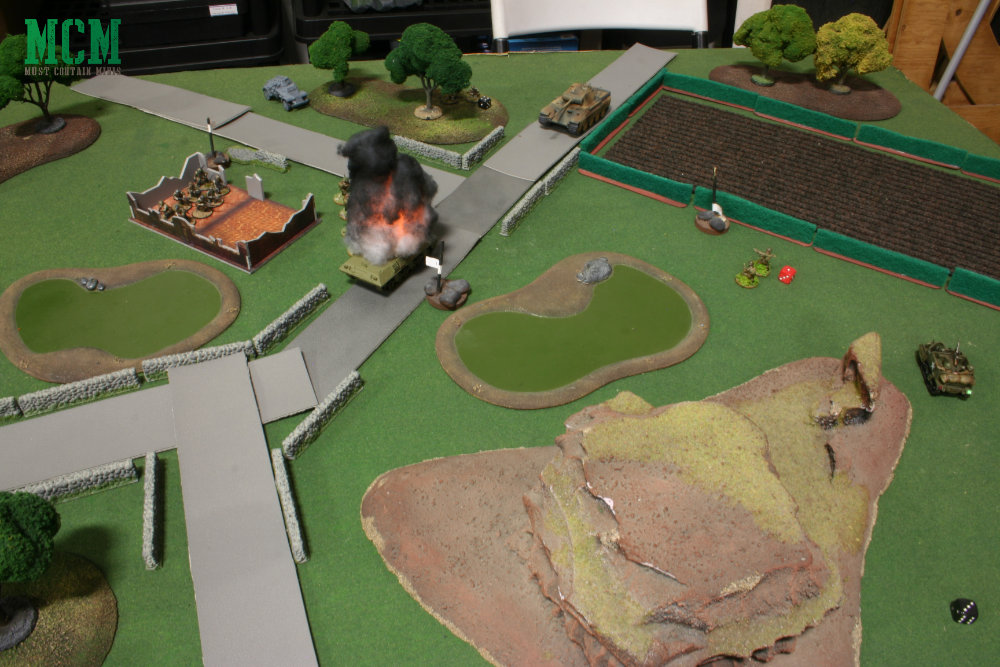
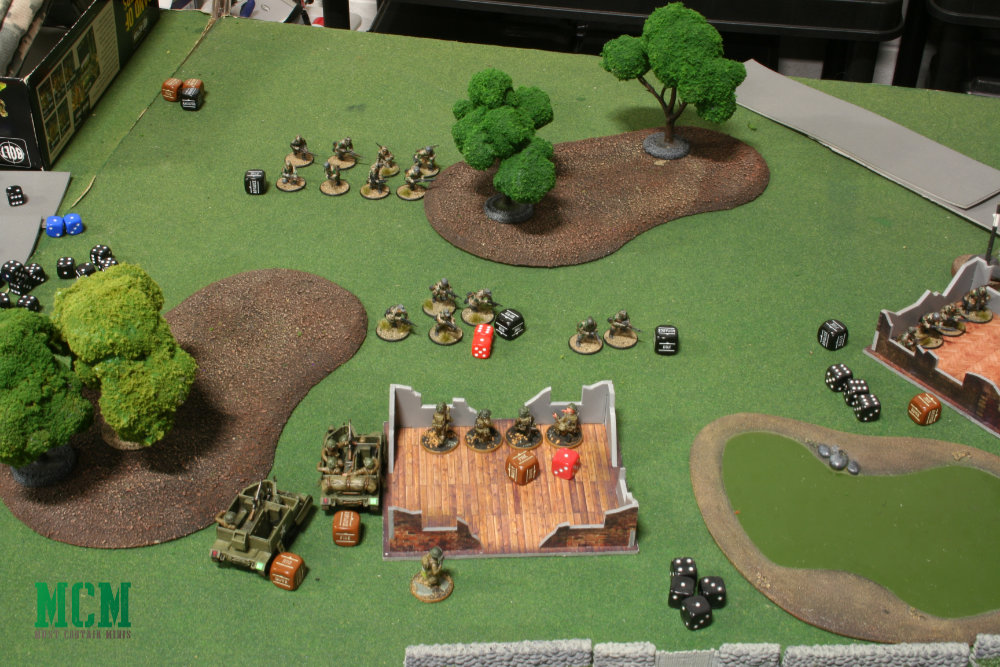
Turn Three – Bombardment
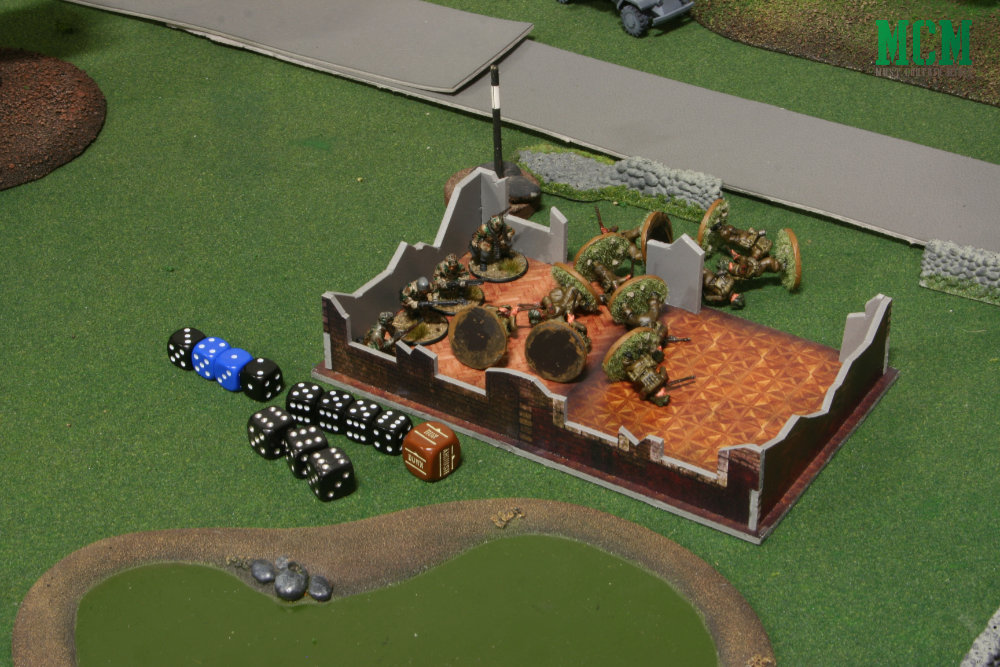
Here is where it starts to get interesting. My troops now control two out of the four objectives. My opponent controls one. Lots of pins spread all around. My unit defending the house even has four pins on it at this point.
The British bombardment comes in to help slow down the advancing Germans.

With the bombardment out of the way, let’s look at the other action from this round!!!
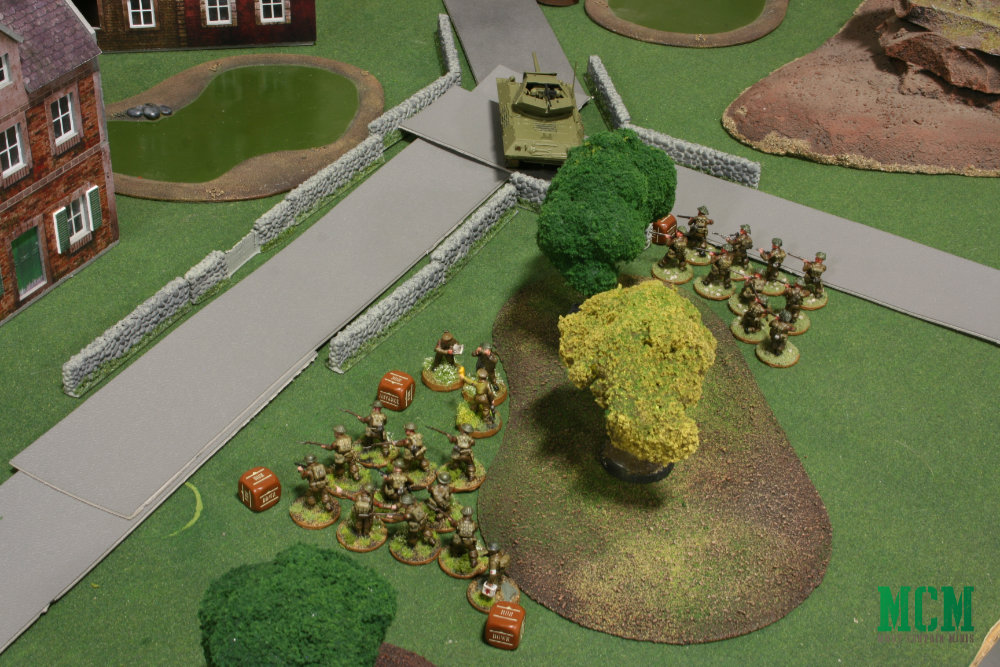
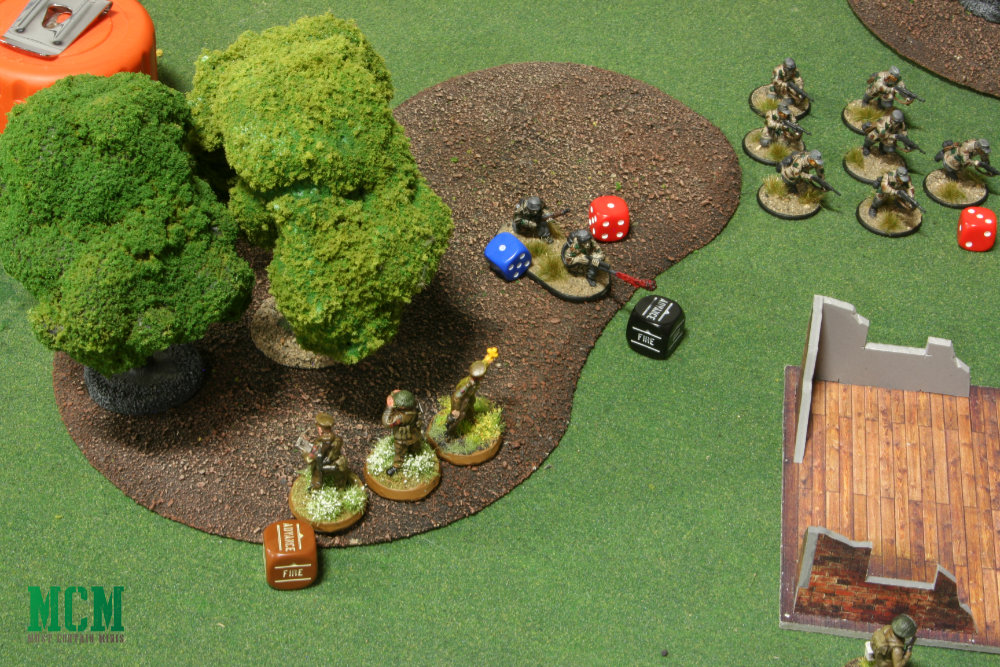
Turn Three – The Flame Thrower Incident
Both sides really push for Bolt Action key positions during turn three. Let’s check out the action!
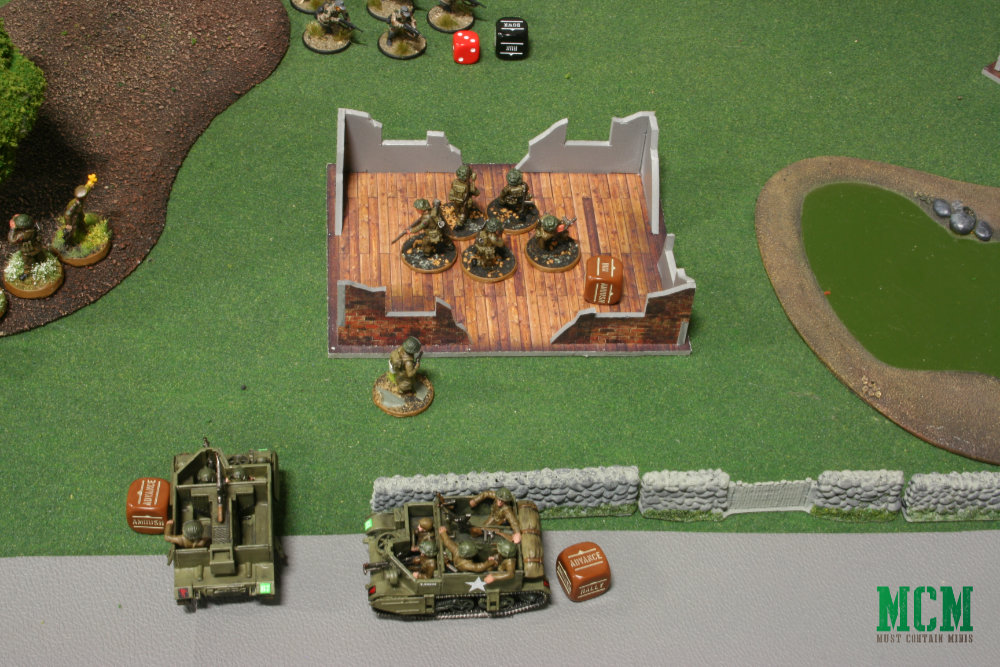
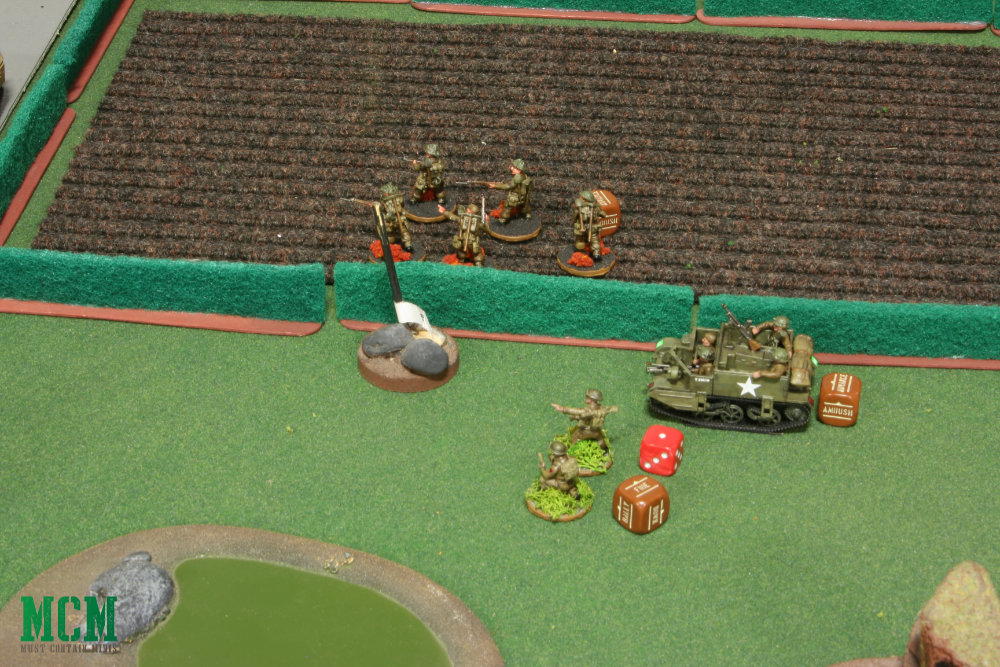
Turn Three – Reinforcements
At this point I firm up my positions with reinforcements.
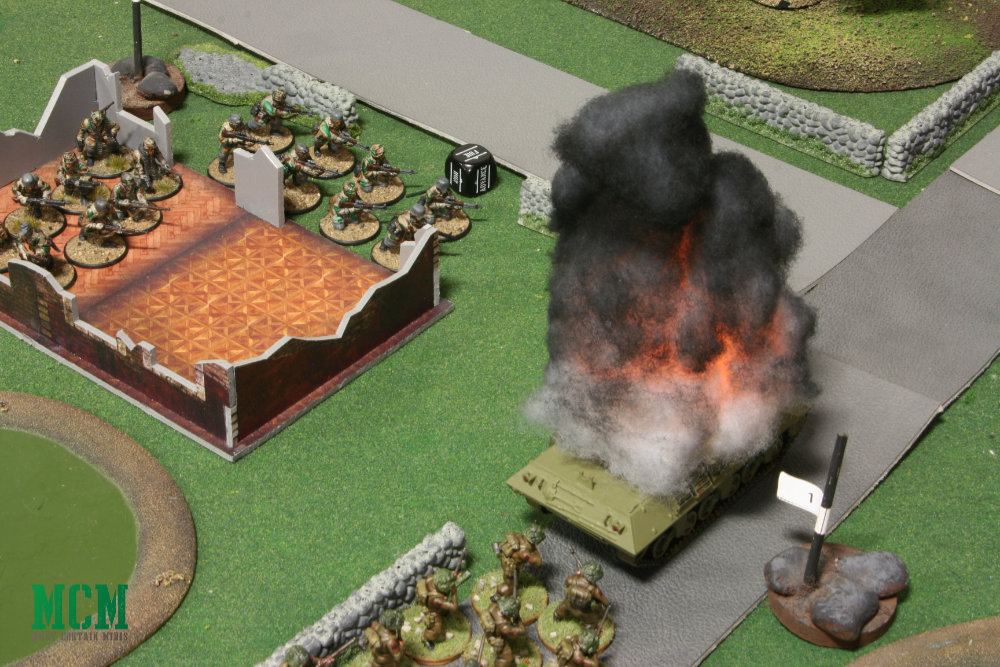
Turn Four
At this point, the Germans control one objective and the British control three.
Right off the top, German soldiers take out the British Tank Hunter with a Panzerfaust strike.
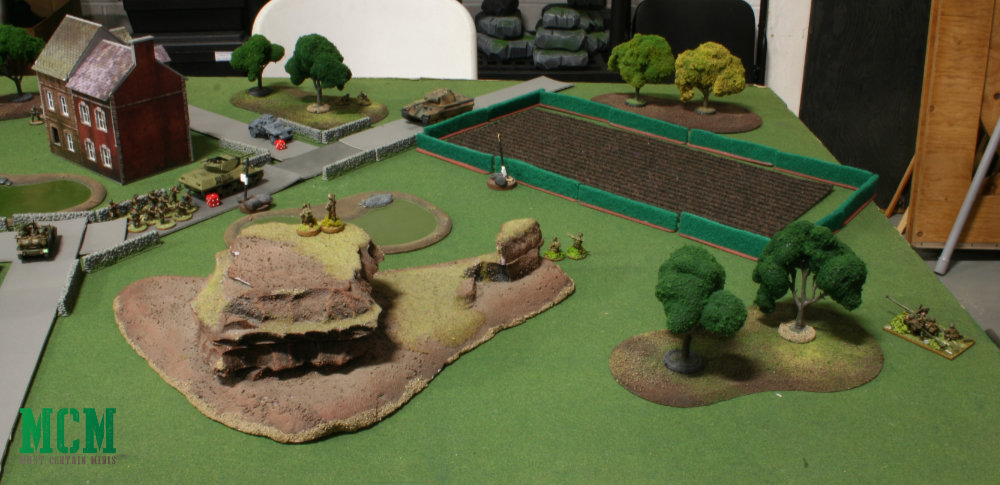
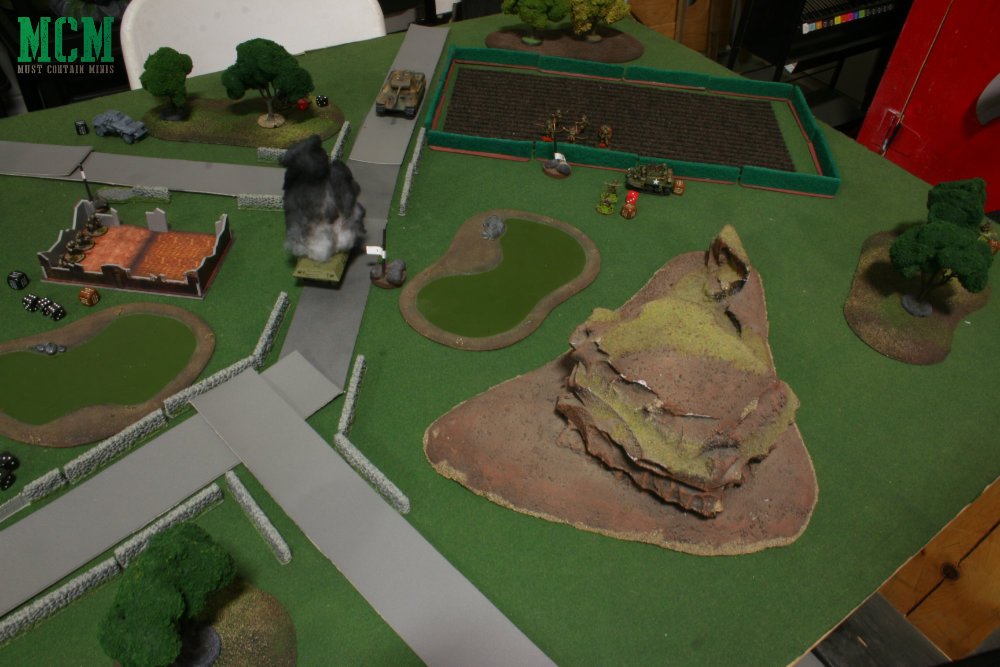
Turn Five
Over on the other side of the table, my Forward Observer team came down from its perch on the hill to make a rush towards an objective in case there is a turn 7. He would be able to make it to the one by the Tank Hunter between now and turn 6 or 7.
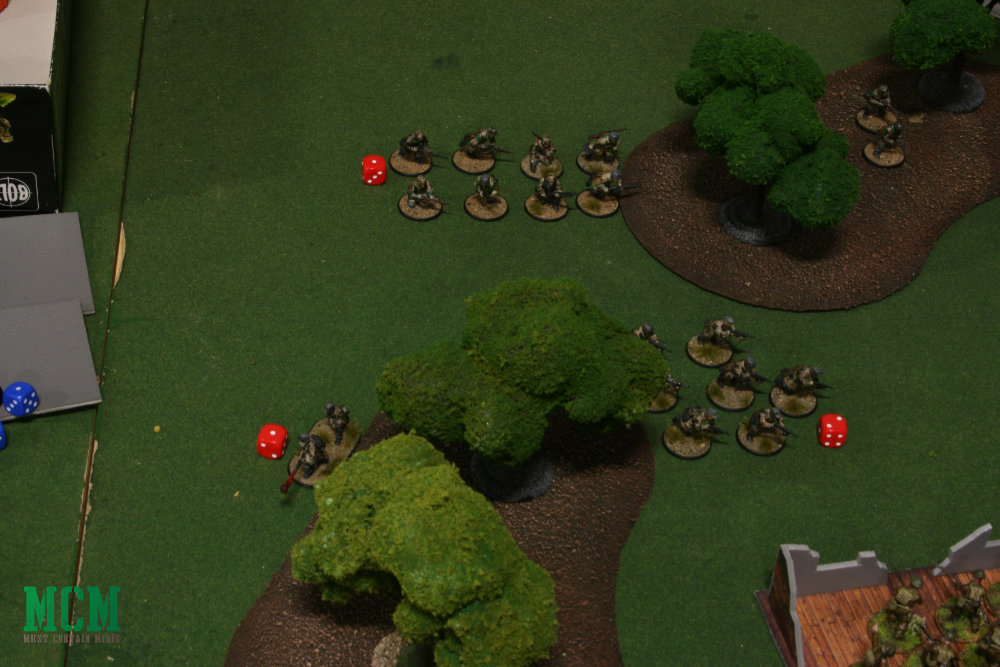
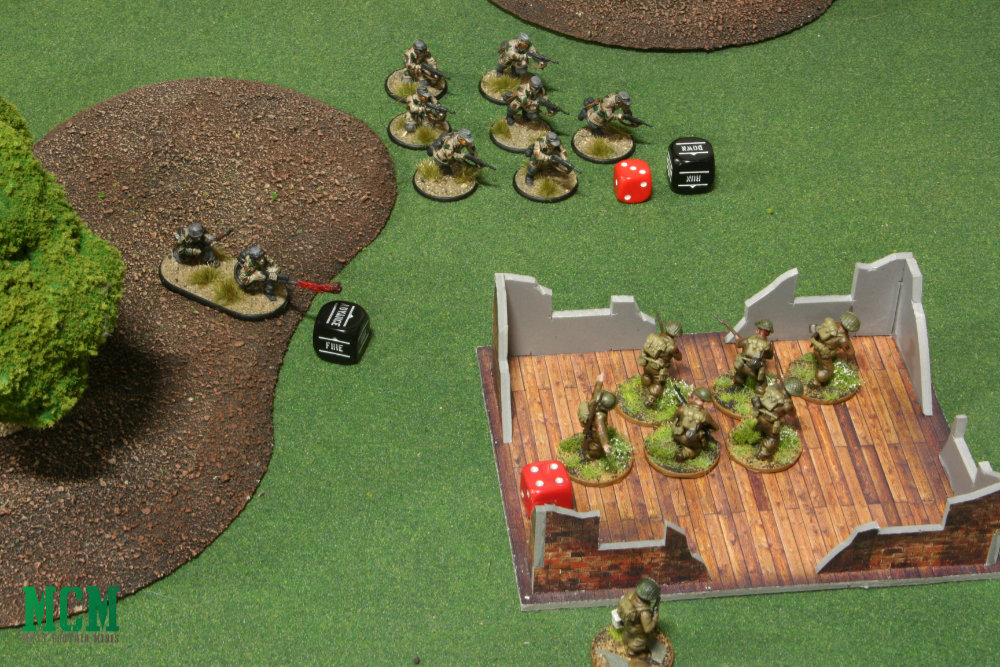
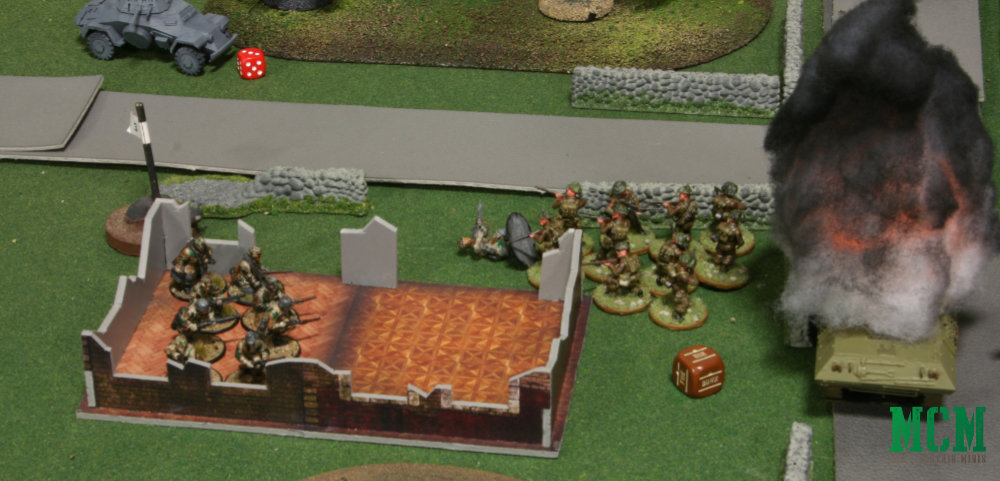
Turn Five – Absolute Devastation
Feeling emboldened from turn 4, I decided to push my footsloggers by the burning Tank Hunter. I had a 10 man unit taking on an 8 man unit. I figured that I had an okay chance. My troops ran in and took out four soldiers. The enemy landed seven hits on my squad, forcing my squad to lose the fight.
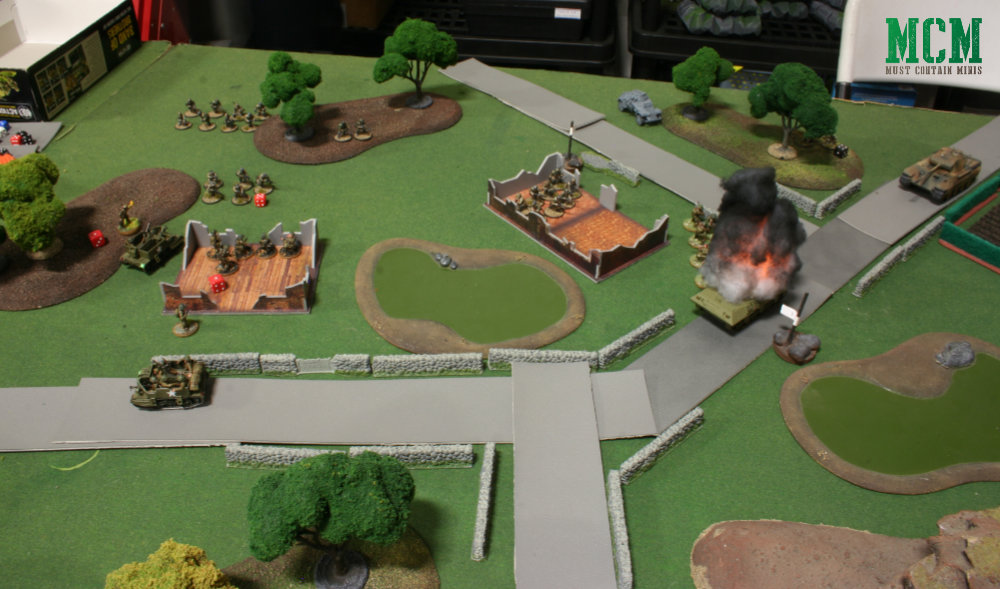
Turn 6 – Opponent Concedes Victory
Having seen his troops positions deteriorated, and with the night getting late, my opponent decided to concede victory over to me. At this point, my troops hold two objectives and his hold one.
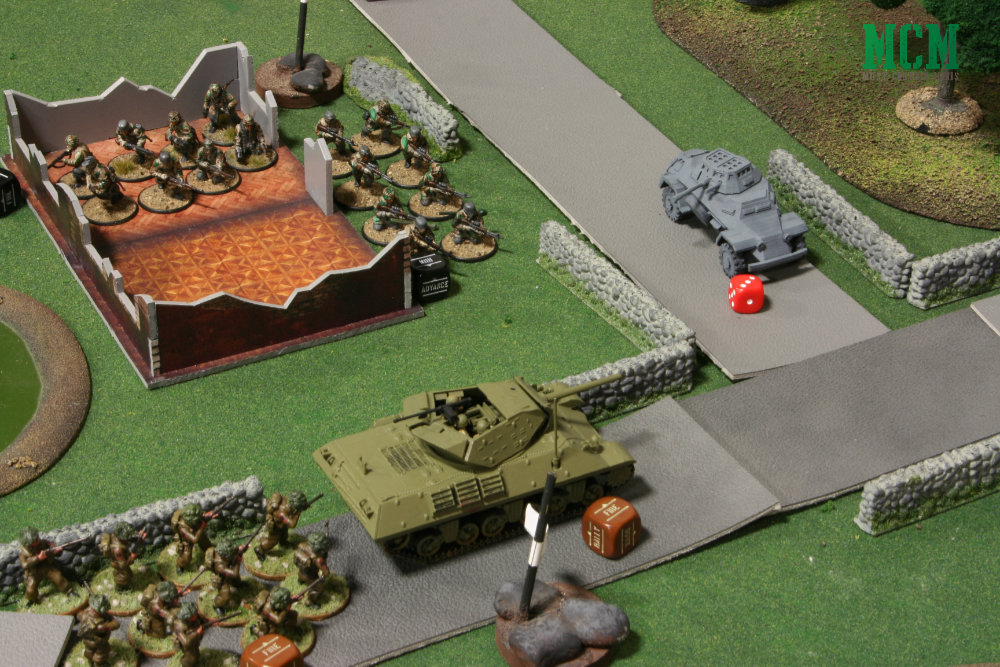
We do not play a sixth round and analyze the table. My opponent concludes that his force with 7 pins is done for and that the firepower of the team inside the objective house is too much for him. The team behind the pinned one is too far away to get to assault the house on turn 6.
There is no way for him to reach the second objective that my side claimed. He could get to the uncontested objective with his armoured car, but he fears the six pounder and I would have sent in two teams of soldiers, to the objective would have been in contention.
If I remember right, we rolled to see if there would have been a turn 7. There would not have been. My opponent was happy with his annalysis of the battlefield and the British win the game.
Wrapping it up…
There you have it. The British win the battle!!!
This Battle Report for Bolt Action key positions was a long time in the making. I always enjoy writing battle reports, but they take a lot of effort. This game dates back to December, but it is finally up!!!
If you haven’t checked out Bolt Action before, the game is by Warlord Games and the books are published by Osprey Games. Both are great companies that I really like. Special thanks goes out to Forbes Hobbies for providing the gaming space and scenery for this battle. If you like Bolt Action, they keep well stocked of Bolt Action Army Boxes and PlastCraft Games Model kits (the houses in this battle report).
Until next time, Happy Gaming Everyone!!!
Amazon Suggestions…


Great battle-report! Thanks for sharing.
Thanks so much! I am really happy that you shared your appreciation. A lot of work goes into these.