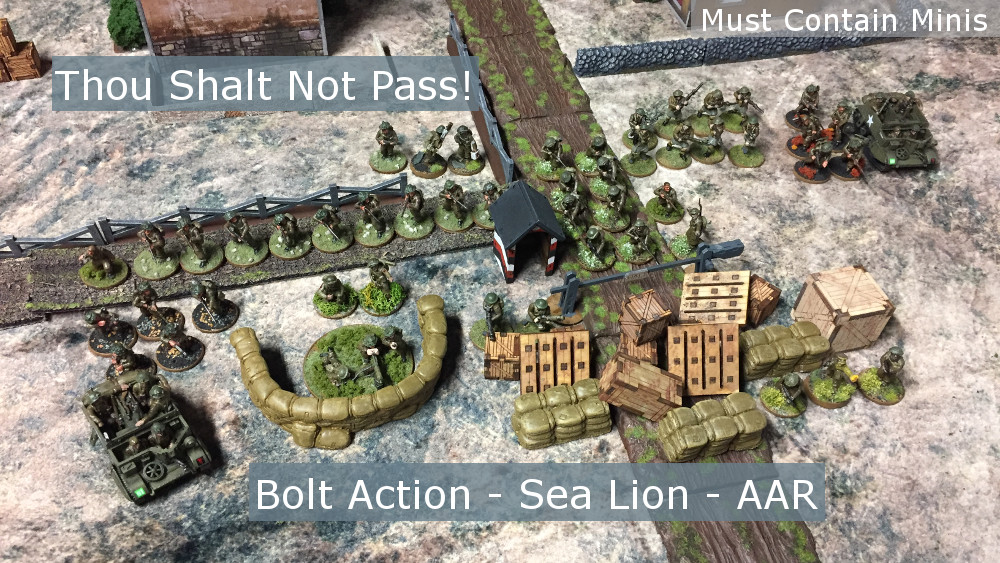
This post is a Battle Report for a game of Bolt Action: Campaign: Sea Lion that my friend Dave and I played. In this one, Germany invades England and the British set up a roadblock to slow down the German forces. To win, the Germans must capture the Security House with no British unit in range of contention by the end of turn 6 (with a variable chance for a turn 7). I played as the British and Dave controlled the Germans.
I got a lot of good pictures from this game. After the report I added some “eye-candy” pictures. These are pictures that I didn’t use to tell the story of the battle that unfolded, but wanted to include.
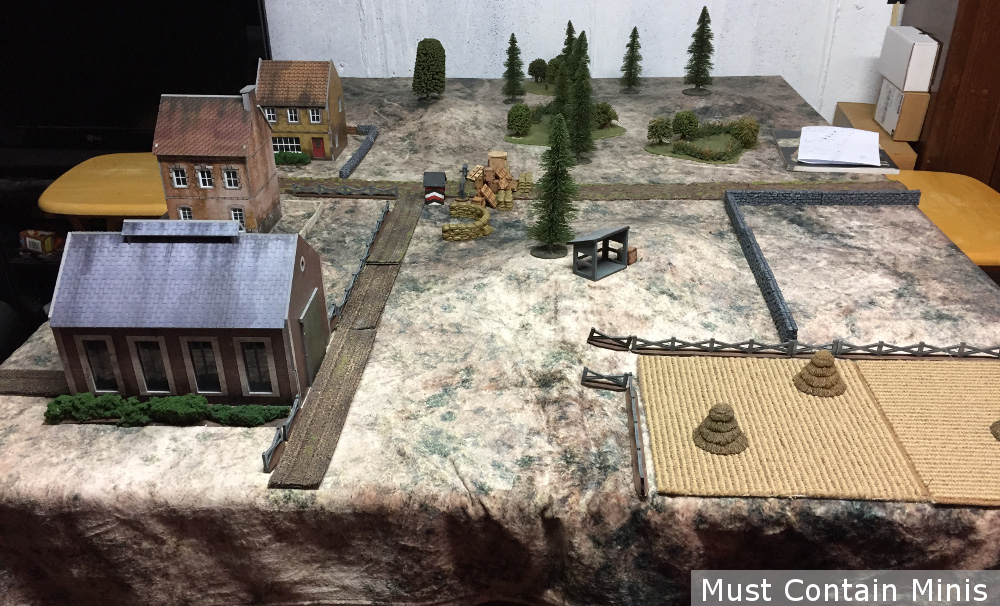
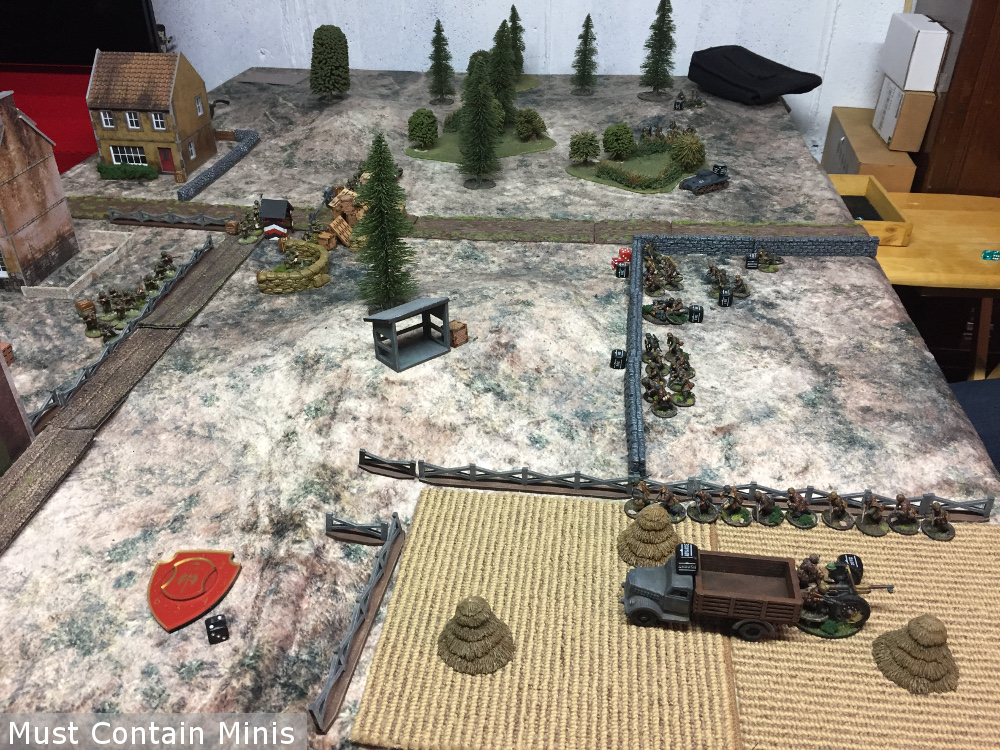
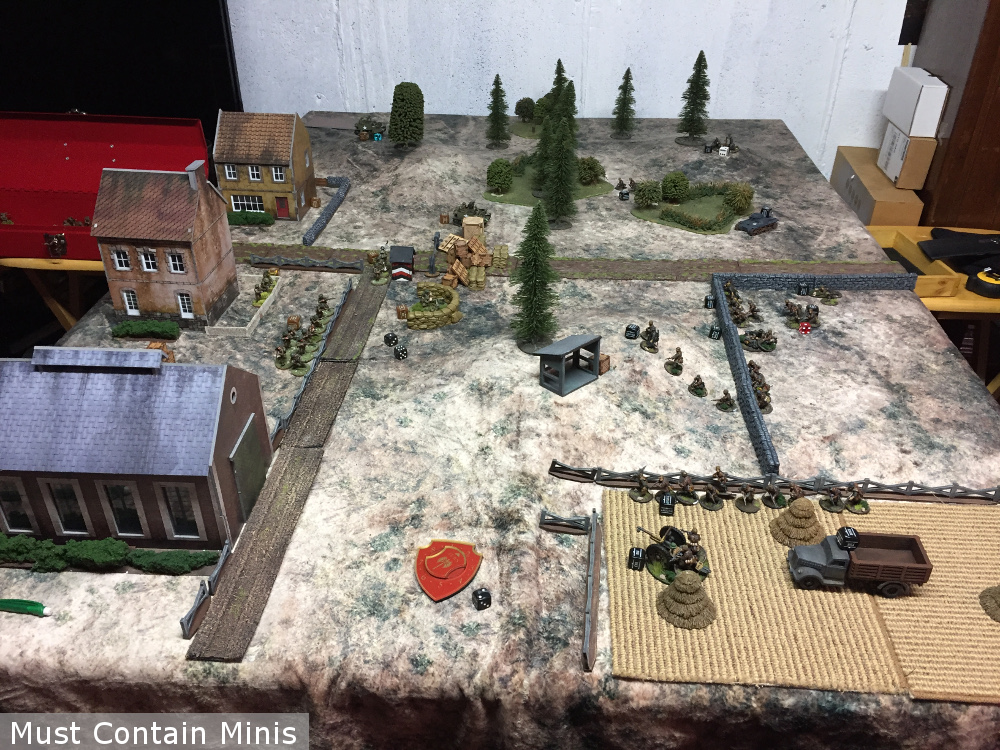
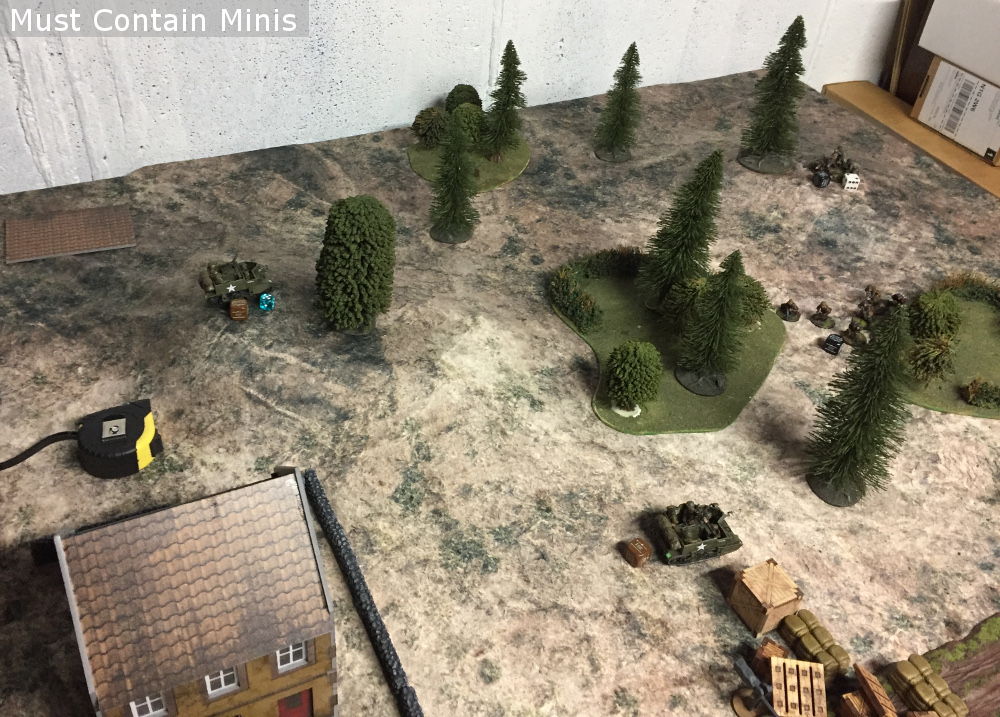
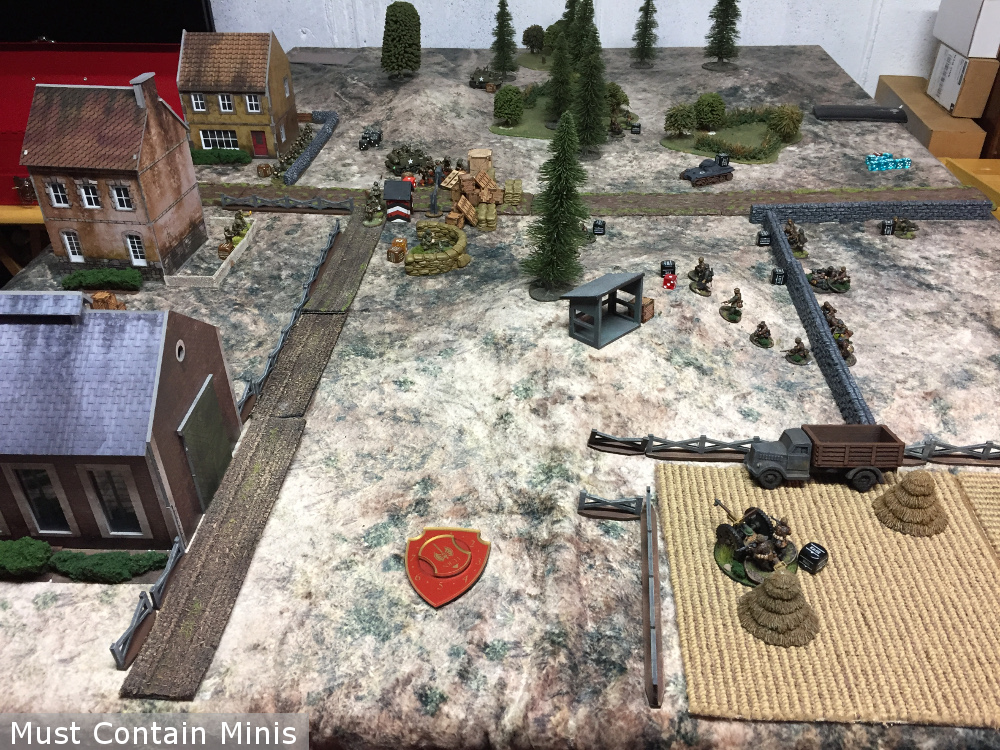
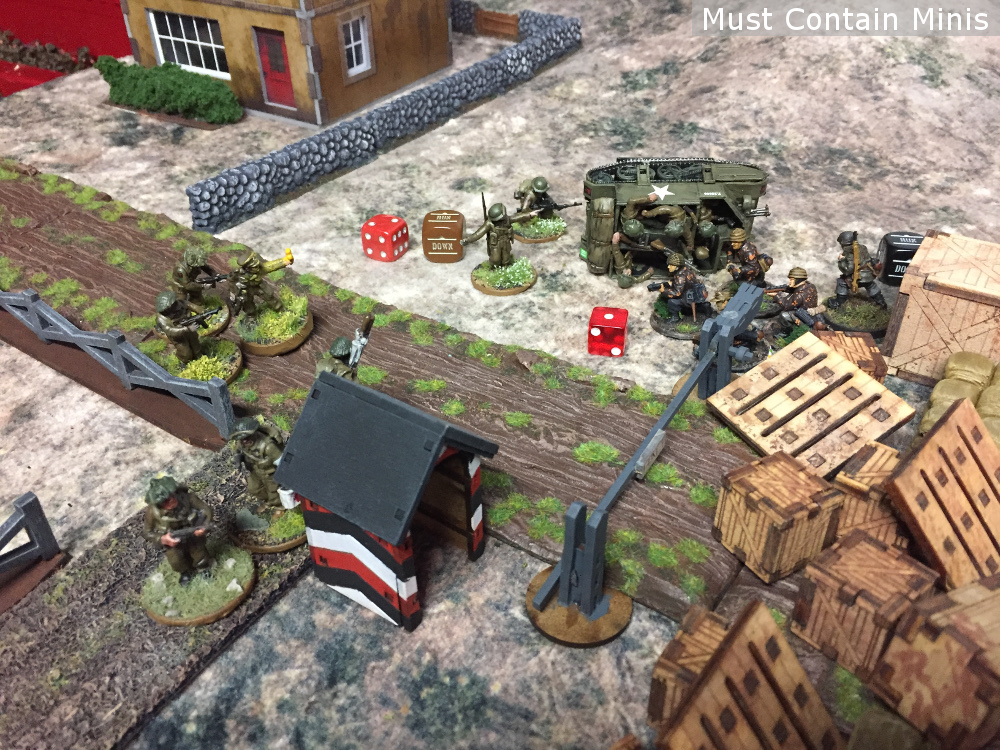
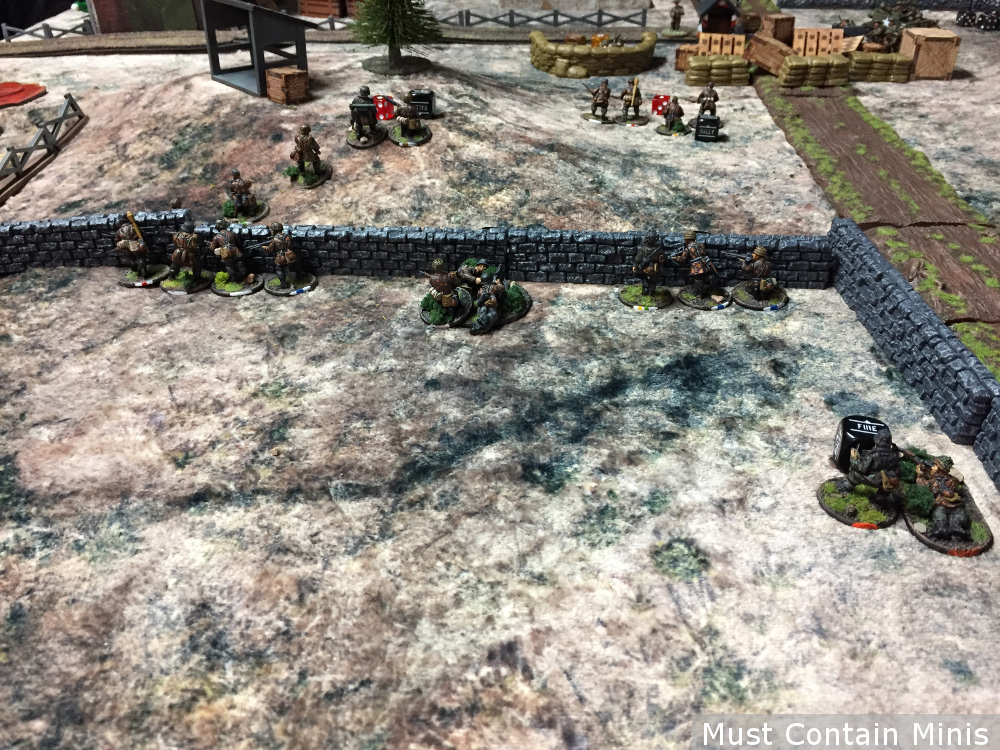
The table we set up for the game. We decided to make it a little more sparse in terrain than our last Sea Lion game for something different. That little hut with the red, white and black arrows (by the roadblock) is the objective that the Germans must capture.
Armies on Parade
Unfortunately, I did not get a shot of the German force before the game. They had a Panzer 1 (armed with the twin machine guns), a heavy howitzer, a number of infantry squads, a medium mortar team and a sniper.
My force, contained two universal carriers (used as transports), two 5 man teams, two 8 man teams and one 10 man team. I also had a light mortar team, a MMG team, a sniper, an anti-tank rifle team, a medic and a first lieutenant. Attendants followed both the lieutenant and medic to help as necessary.
Above is my army for this game. I believe my troops were Regular, but the could have been inexperienced instead.
Deployment
For this mission, the British started with half their force on the table. The Germans would start with no units on the table, but could instead bring their units in from the opposite side of the board using the First Wave rules.
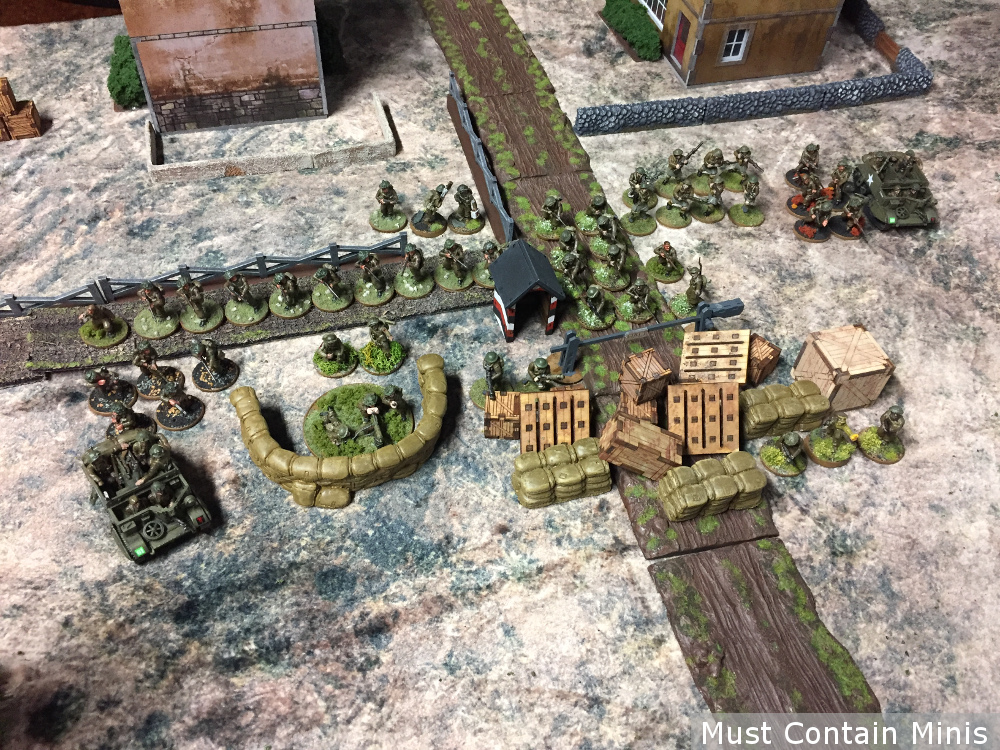
I set up my forces to guard the road block.
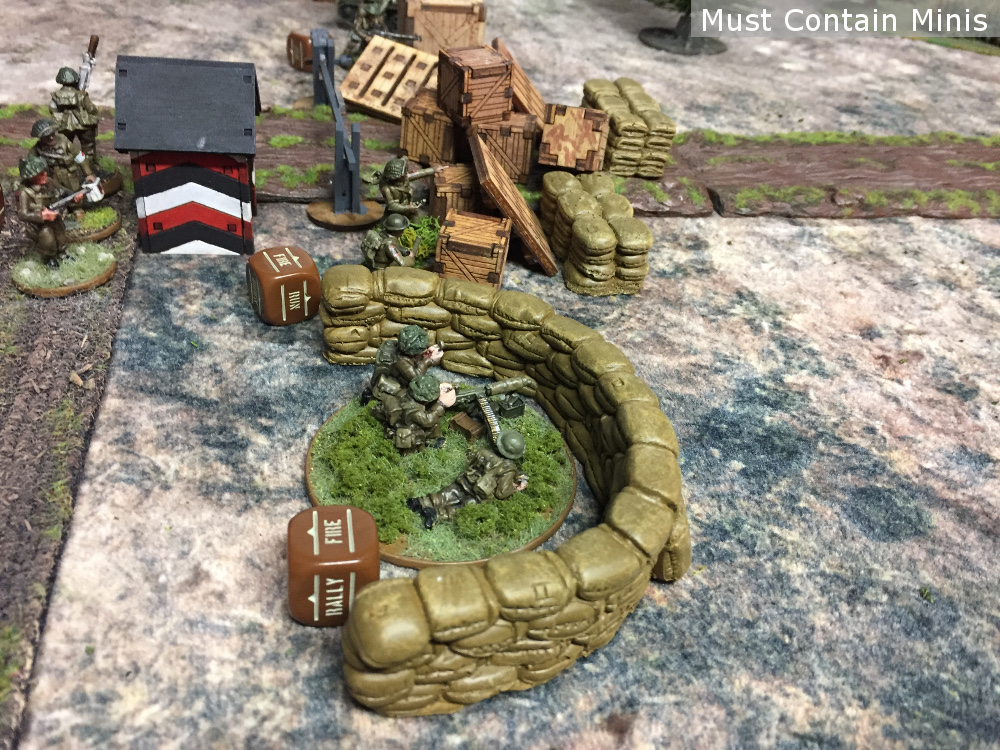
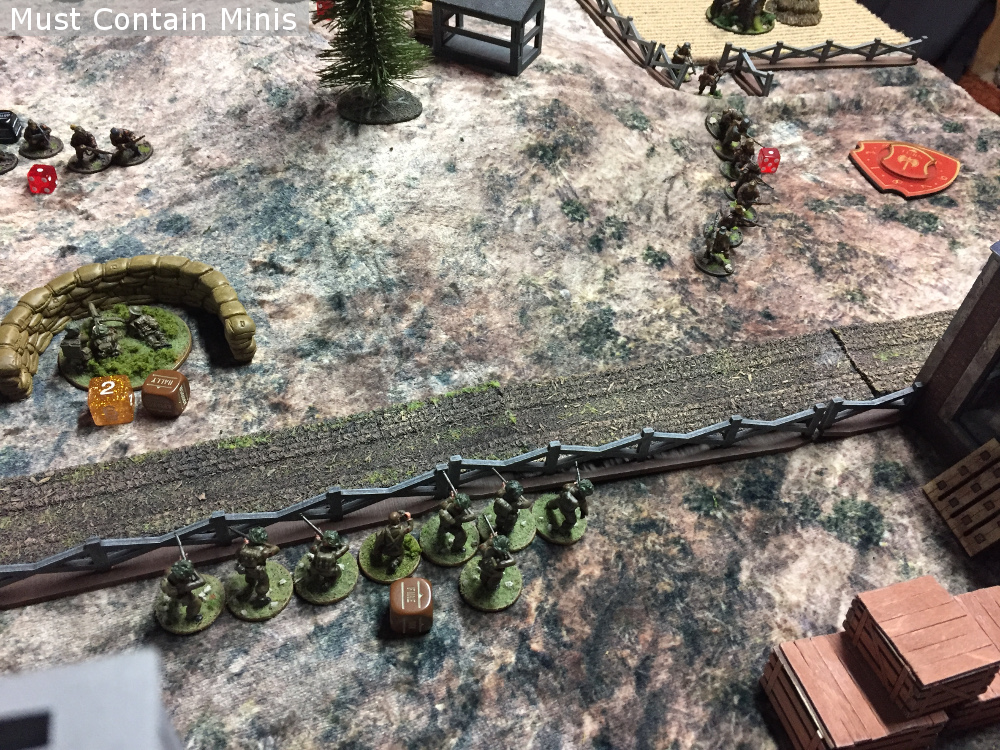
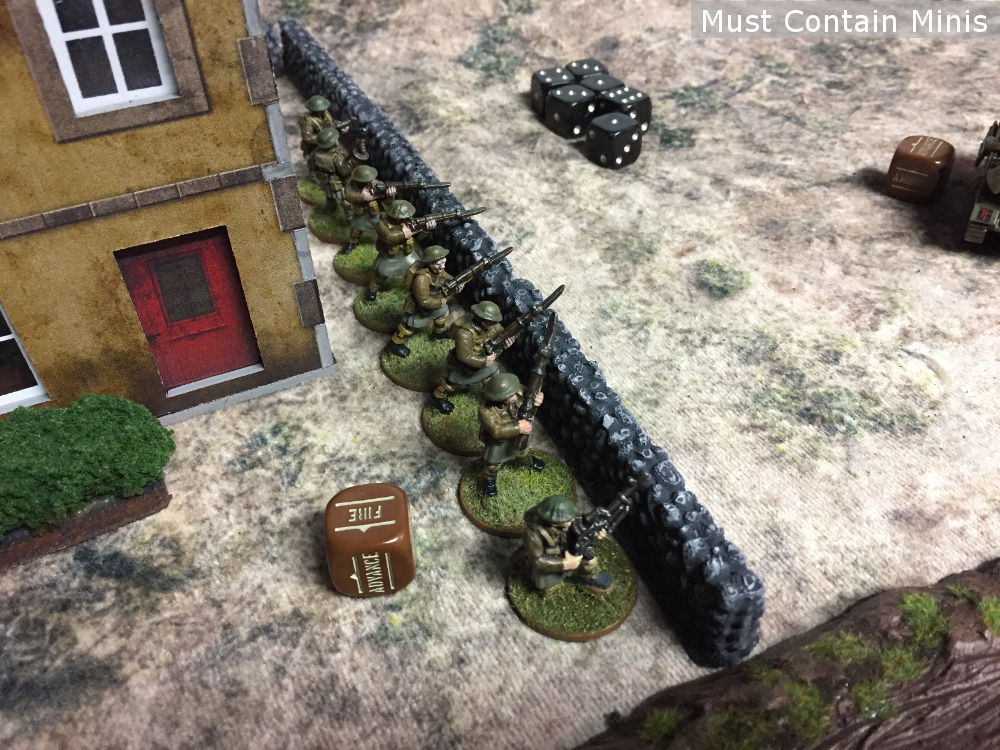
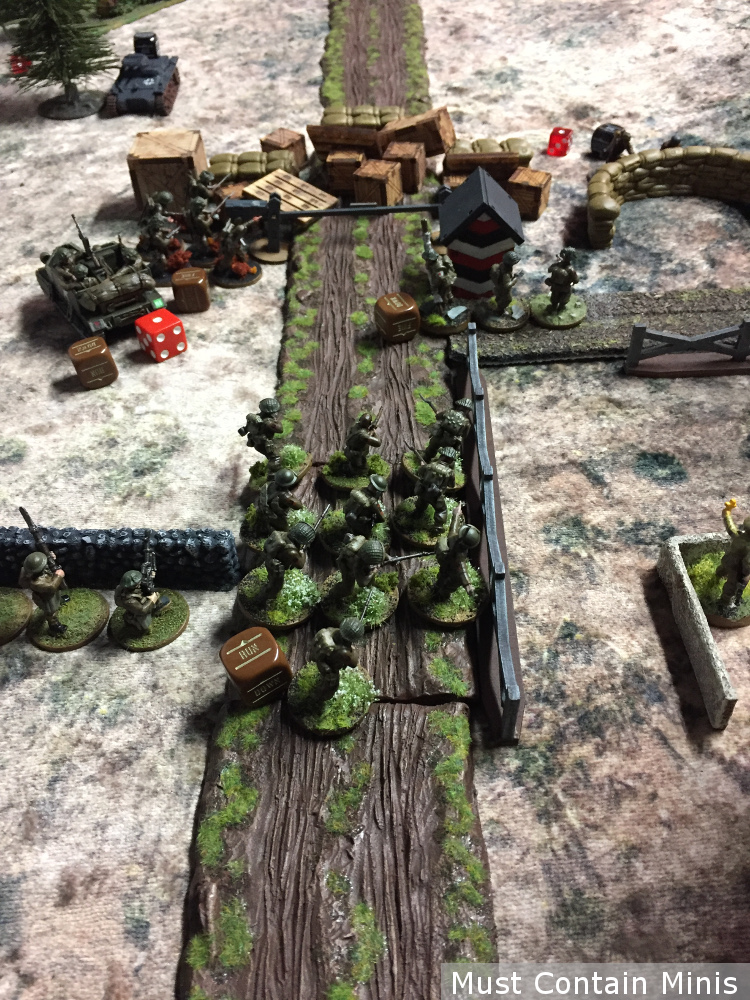
Above is how I deployed my forces for this battle. I placed the 10 man force behind the fence for soft cover, the MMG team in the sandbag entrenchment along with a light mortar team slightly behind them. To back them up, I placed the medic team by the hut. On the right side, I placed my Anti-Tank Rifle Team behind the barrier. Beside that I set up a carrier (the passengers are shown behind it to show who is in the ride).In the house, I placed a sniper at the second floor window. From there, he had good view on a couple of choke points.
With the British force set, we started the game.
Turn 1
The British forces started on the board hidden while the Germans brought on the board their first wave.
Even though they had hidden status, the British opened fire with everything they have on the advancing German troops.The firing teams caused some pins on the advancing German troops. The red die that says 5 on it is to remind us that the light mortars range in on a “5” for the next round.By the end of turn one, the Germans brought out all of their forces. Notice the Howitzer behind that truck. That is going to keep my guys out of the buildings. HE is extremely deadly to camped out units in 2nd Edition (especially for those in buildings). On the very far side of the table sat the German mortar team safely out of range from my units. I had an unpleasant surprise planned for them! 🙂
Turn 2
On turn two, the British reinforcements would start to arrive on the table. Meanwhile, the Germans push their advantage with their extra men on the table.
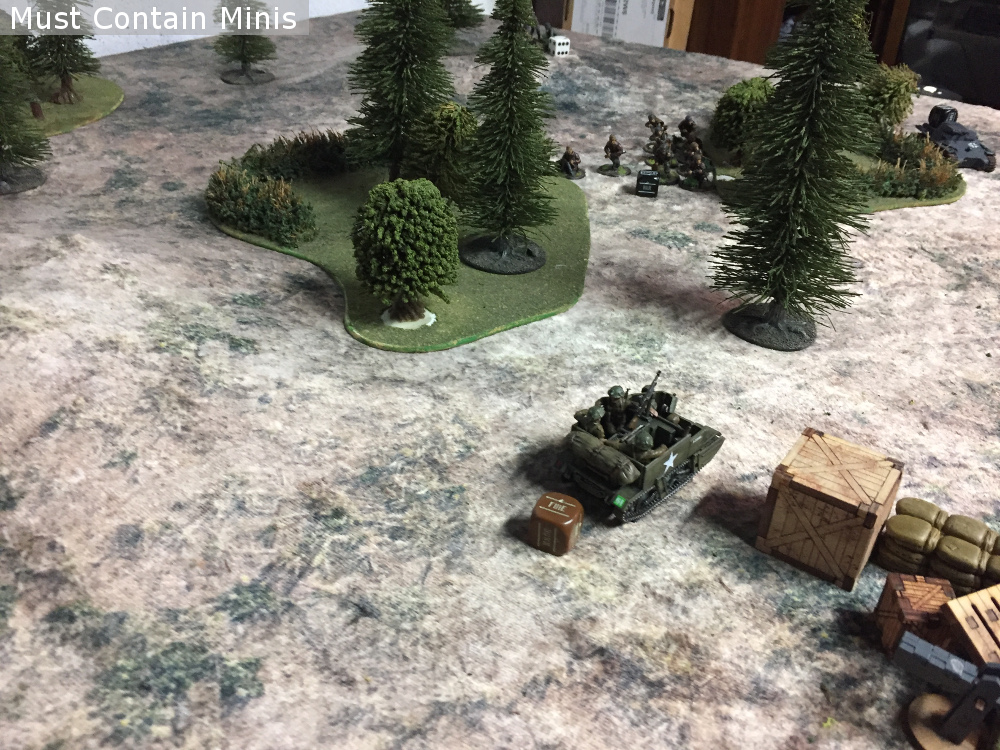
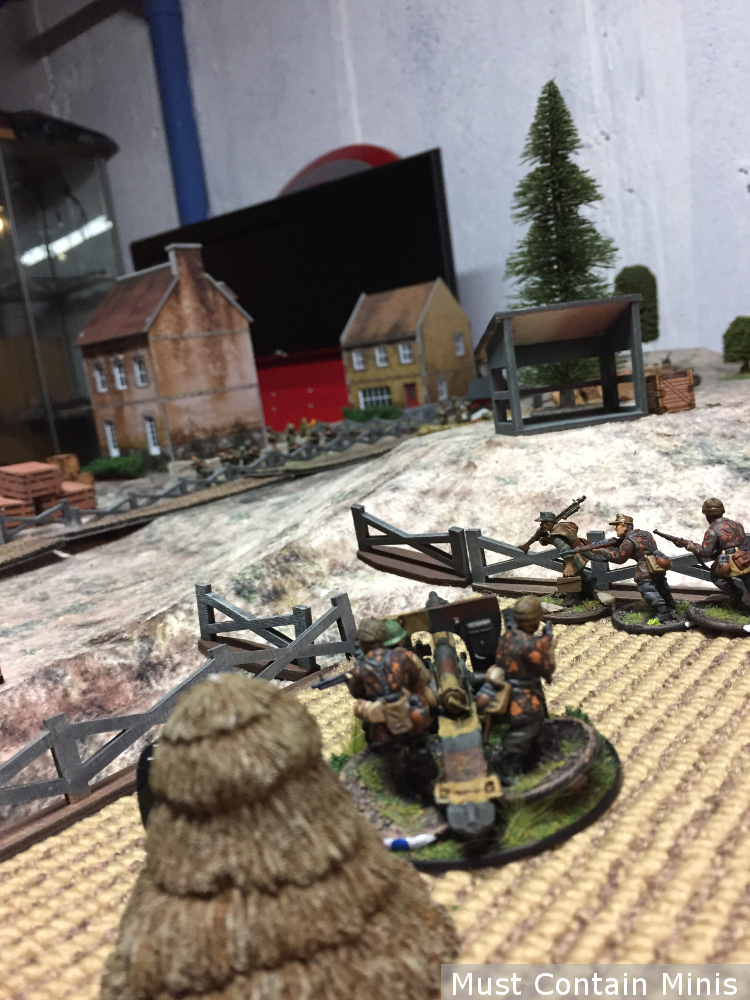
Near the top of the turn, the Germans dropped off their Howitzer and started running infantry across the open field.From between the forests, the Germans advanced a group of men intent on taking out the universal carrier.Meanwhile, the British brought in their surprise for the German mortar team – a universal carrier loaded with five soldiers and two Bren guns. The mortar team was shocked and immediately started attacking the carrier that sped onto the scene. They missed, but would need a “5” to range in on the next turn. Also, please make a note that the anti-tank rifle team the British had near the roadblock no longer exists. They were the first British casualties in this battle.
Turn 3
On this turn, things really started to look bleak for the British defenders. The Germans started by firing their howitzer at the house where the British hid their sniper. The sniper would not survive the turn. He was obliterated in a single shot of HE. Meanwhile, the Germans rush the objective with the bulk of their forces.
The German howitzer fired at the building that housed the British sniper.A look at the direct line of fire of the gun. Nothing would be left of the sniper in its line of fire!A look at the table near the end of turn three. Here you can see the Panzer 1 advancing towards the roadblock along with three squads of German Infantry. Without my Anti-tank Rifle Team, that Panzer 1 is a concern! That was my only anti-tank asset!
Turn 4
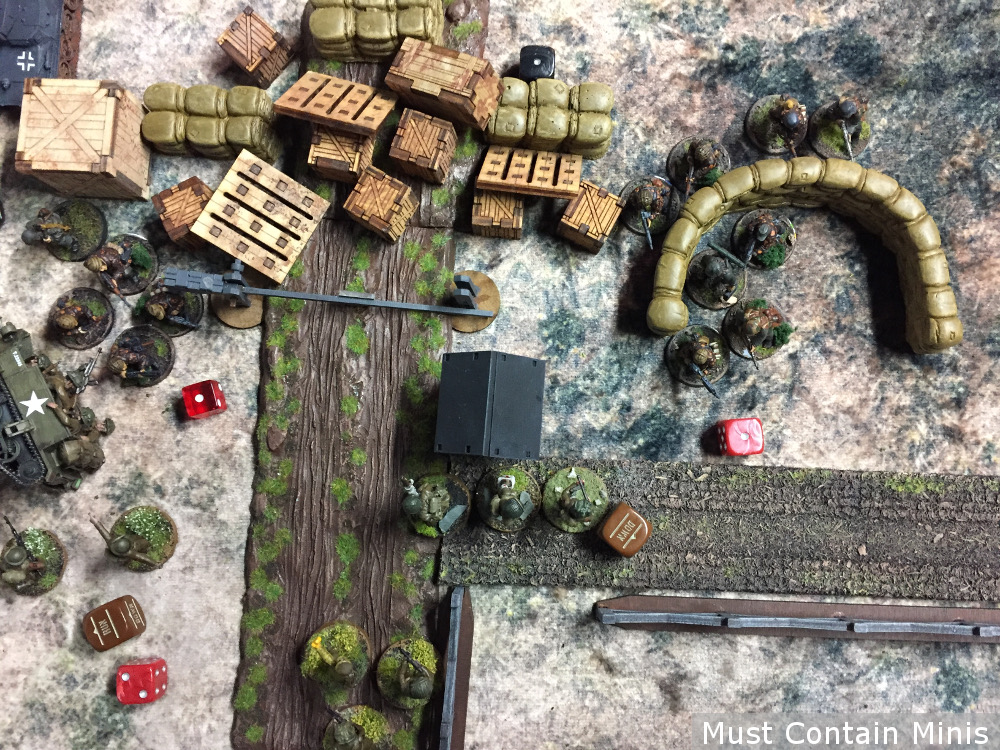
The Germans continue to press forwards to their objective. Can the British hold them off? The MMG Team is proving its worth well beyond the points it cost to buy.
The Germans press forward running right into the fire of the MMG. They have lost many of their soldiers crossing the open ground.A large number of German troops concurrently maneuver for a pincer attack. That 8-man team behind the fence would not survive. The Howitzer took out what was left of the team after some small arms fire.
After the large infantry unit was take out, the Germans on the side wing ran closer to their target (the MMG team). Of that large German squad (pictured in the last image), only two of them made it to their desired location. The gold die shows that the MMG has already suffered a loss and is down to two team members.
Fortunately, I have a large squad of infantry not too far away!Meanwhile, 4 members of the squad rushing the MMG team end within assault range of the gun (should they last to the next turn). 🙂At the end of turn four, here is how the table looks. Notice that the two man unit that got behind the MMG Team did not make it!
Turn 5
Things are getting close to the end now and not too many Germans made it through, but there are still more coming!
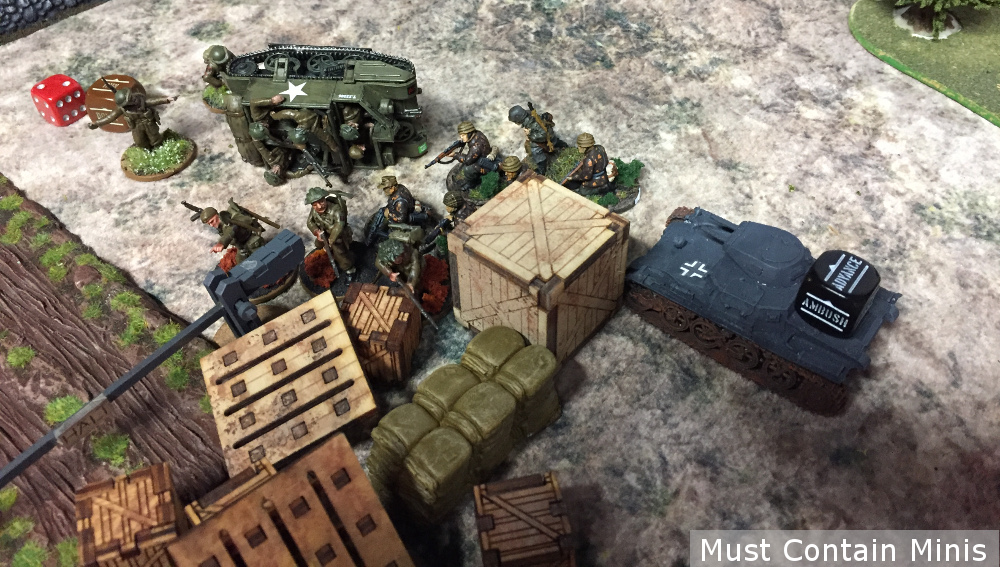
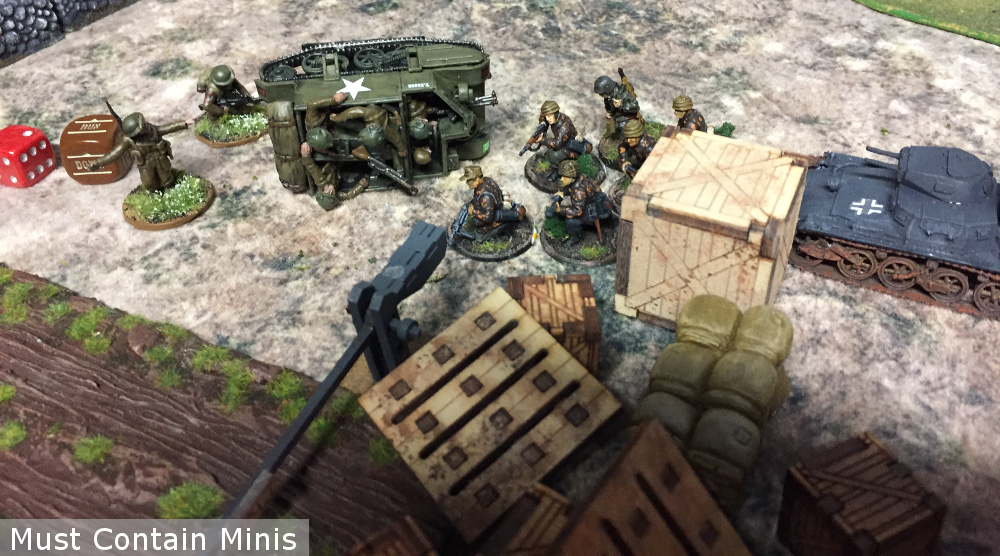
Right off the top of the turn, the German assault unit makes it to the MMG Team.The Germans take out the MMG. The Panzer 1 approaches ever closer and peppers the Universal Carrier with machine gun fire. This is not a good situation. The only anti-tank asset the British had was the anti-tank rifle taken out at the start of the game. In my mind, I plan to slow down the tank using units as sacrificial speed bumps and tank-assaulting the unit with infantry if I am lucky.Not to worry, reinforcements are running up the road to help the British.The Howitzer aims at the advancing reinforcements and misses.Meanwhile, another squad of British Soldiers plan to retake the Sandbag defense structure.
Turn 6
The fighting continues. At this point, it could be anyone’s game.
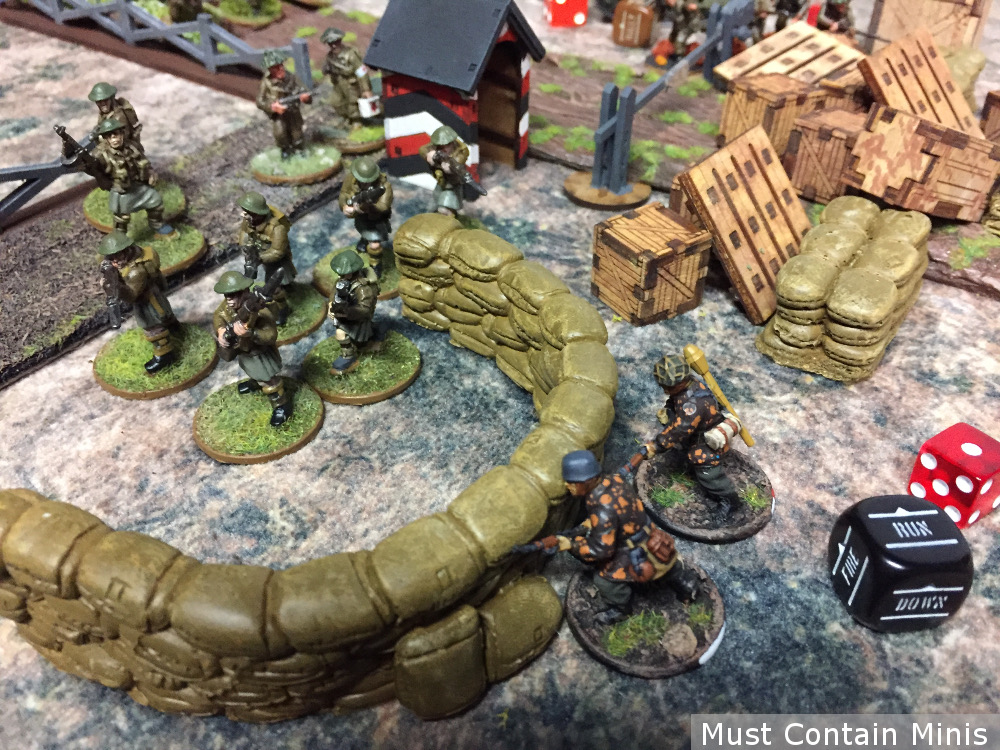
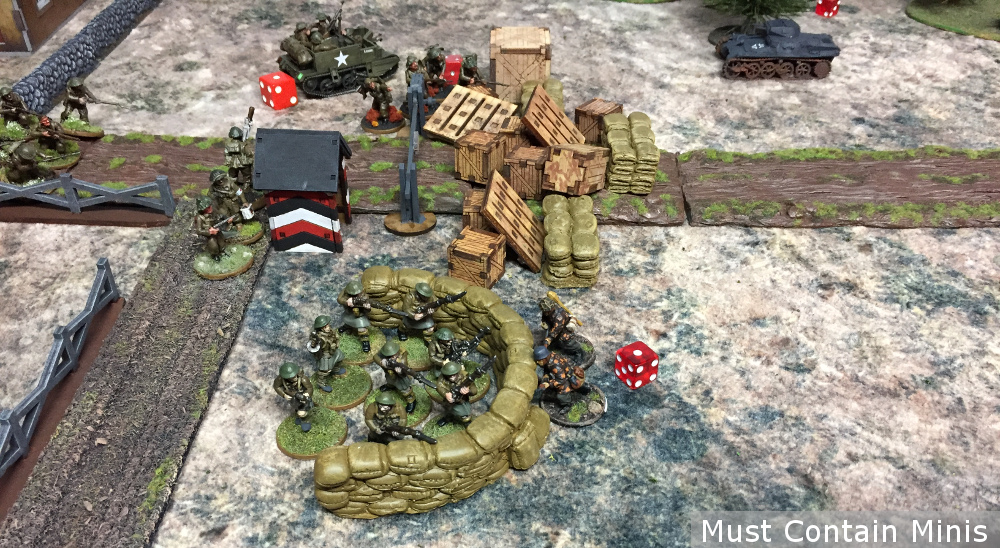
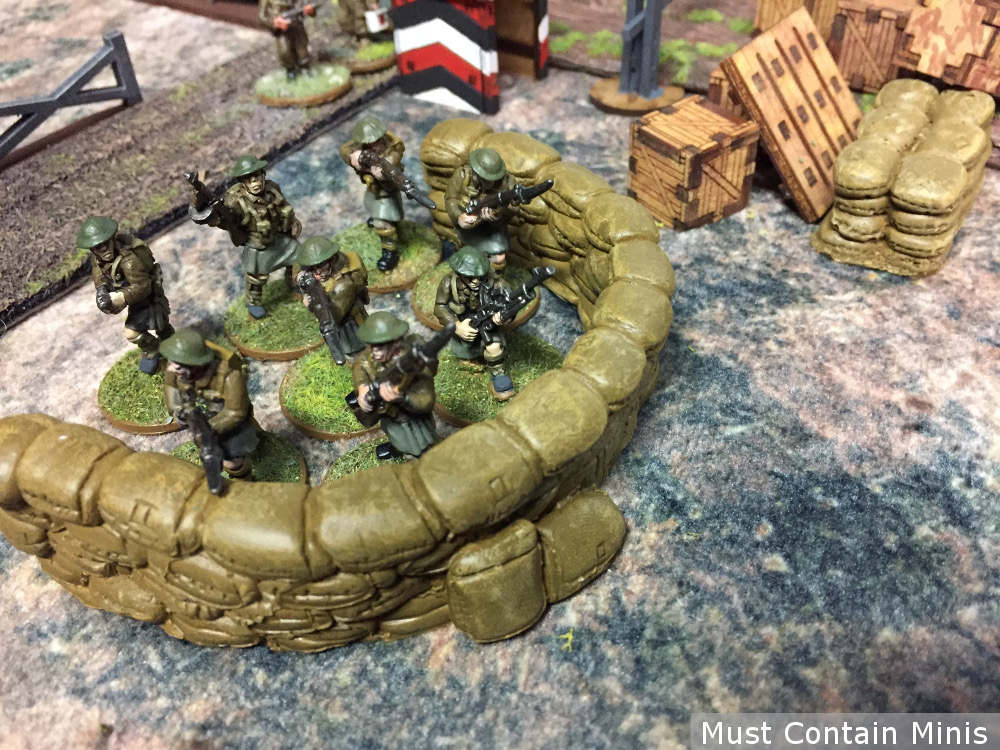
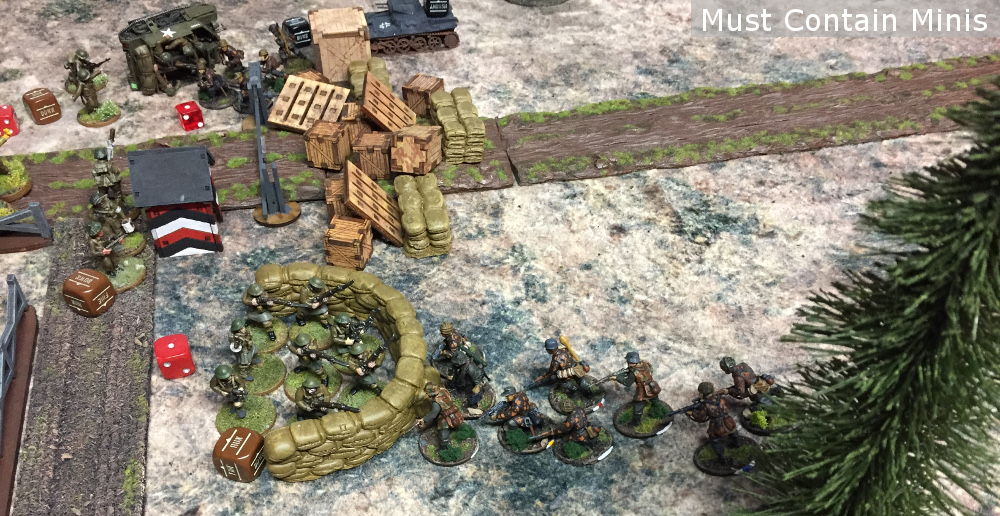
The British assault into the defense structure and take it back.The British now feel well defended.Somehow the Universal Carrier was taken out and the Germans assault the defenders that dismounted earlier.The Germans destroy the British unit with overwhelming force.The look of the Security hut just after the assault.Meanwhile, a large column of Germans assault the British in the Sandbag defenses. The British Commander felt fairly confident about this fight.But the British lost that skirmish and gave out very few casualties in return. We rolled to see if there would be a turn seven, but there would not be. This is how the game ended. The Germans had to eliminate and hold the objective. Because the British still held the objective in contention at the bottom of the game, they won. Their goal to delay the Germans while the home forces prepared for battle was successfully completed. That said, this specific force suffered a lot of casualties, but war is not pretty.
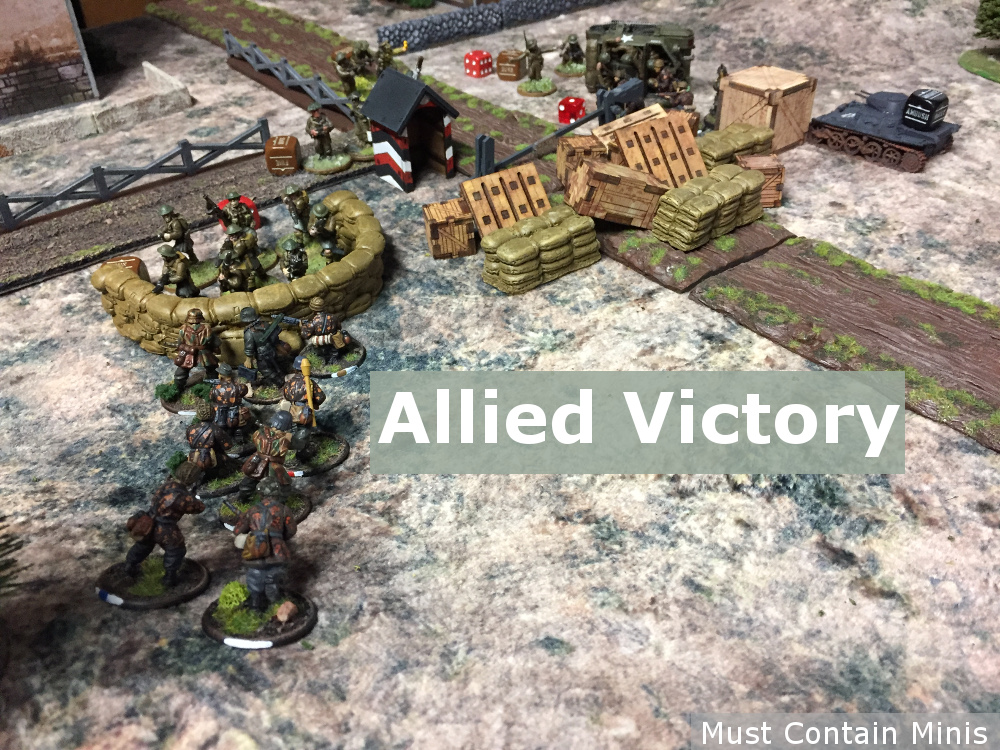
Allied Victory
In the end, it was the British that won the game. They held off the Germans with a roadblock long enough for their cities to better prepare for the coming battles.
The British won this game!
In our last game, Dave and I came to a draw. I was very happy to win this one. That said, the real reason I like to play Bolt Action is for the narrative that unfolds on the tabletop and this was a fun game!
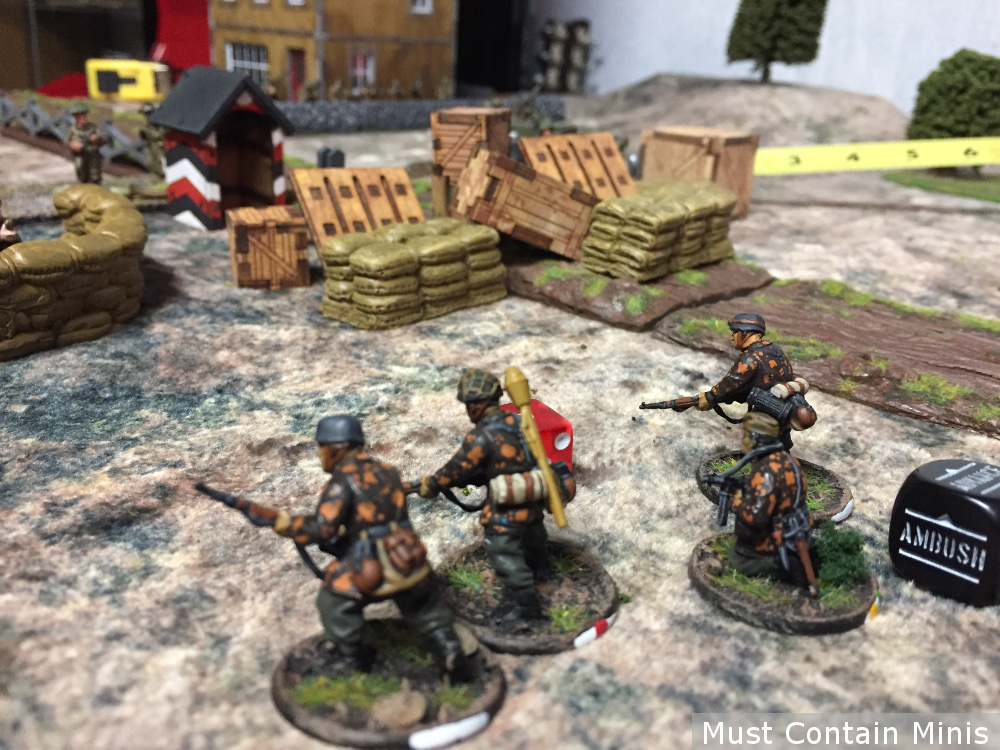
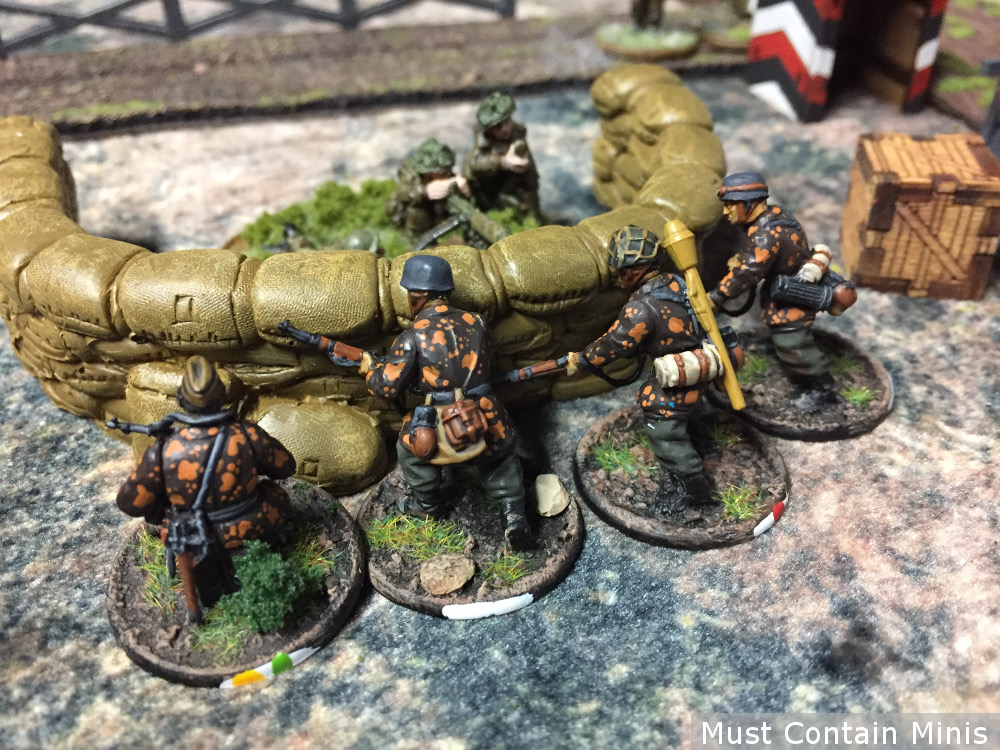
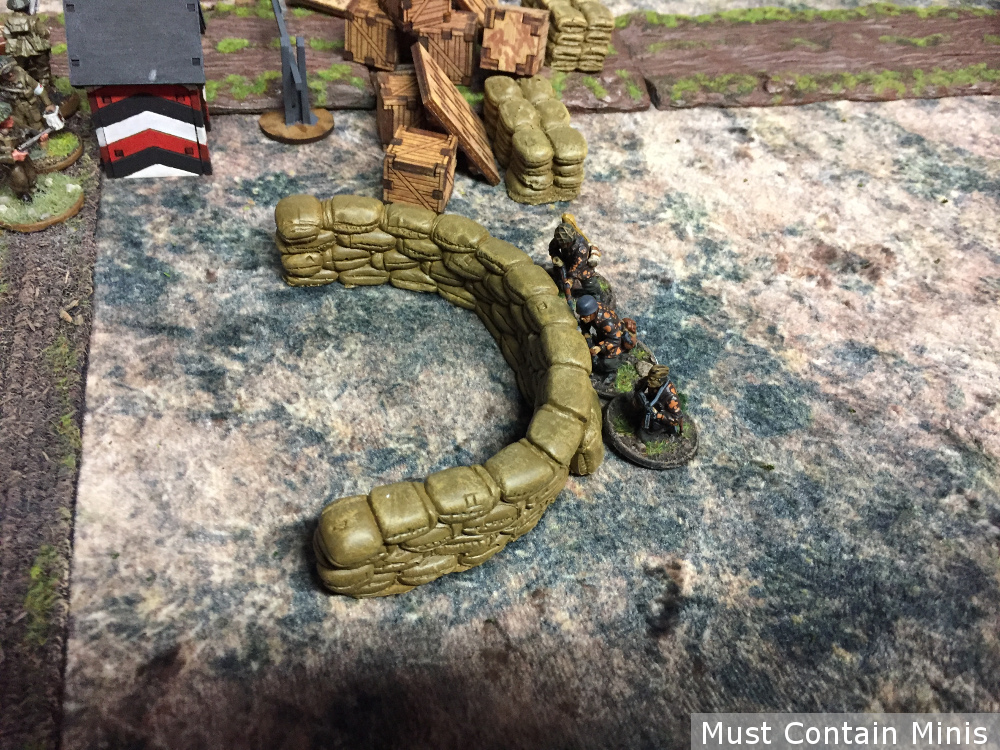
Eye-Candy
Below are some of the pictures that I didn’t use to tell the narrative of the battle, but I still wanted to share.
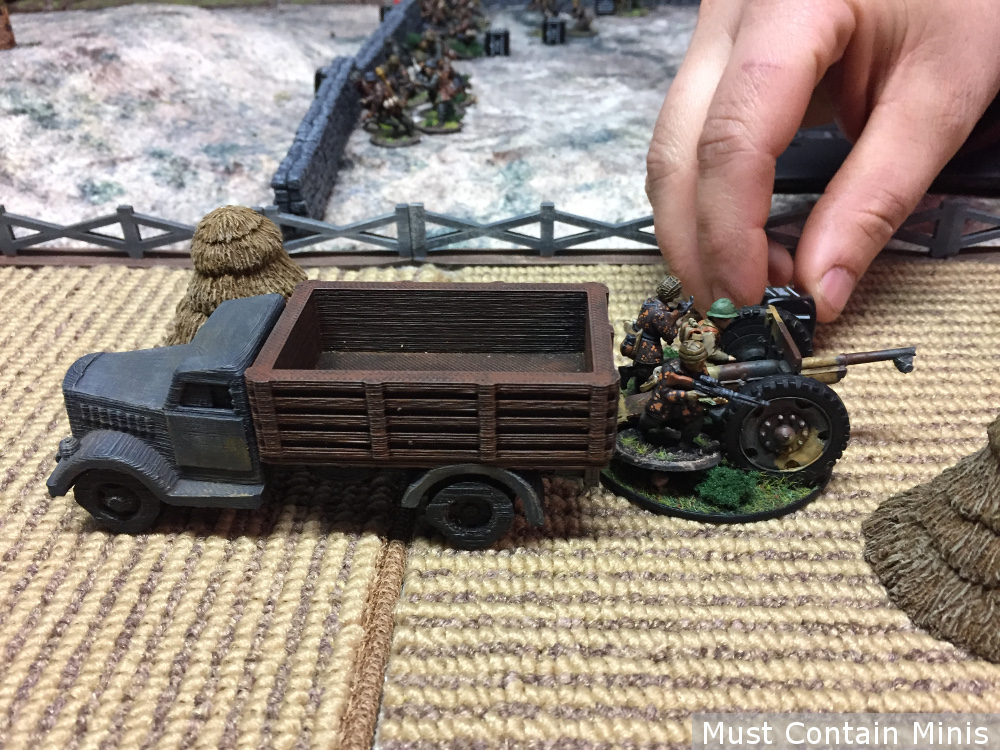
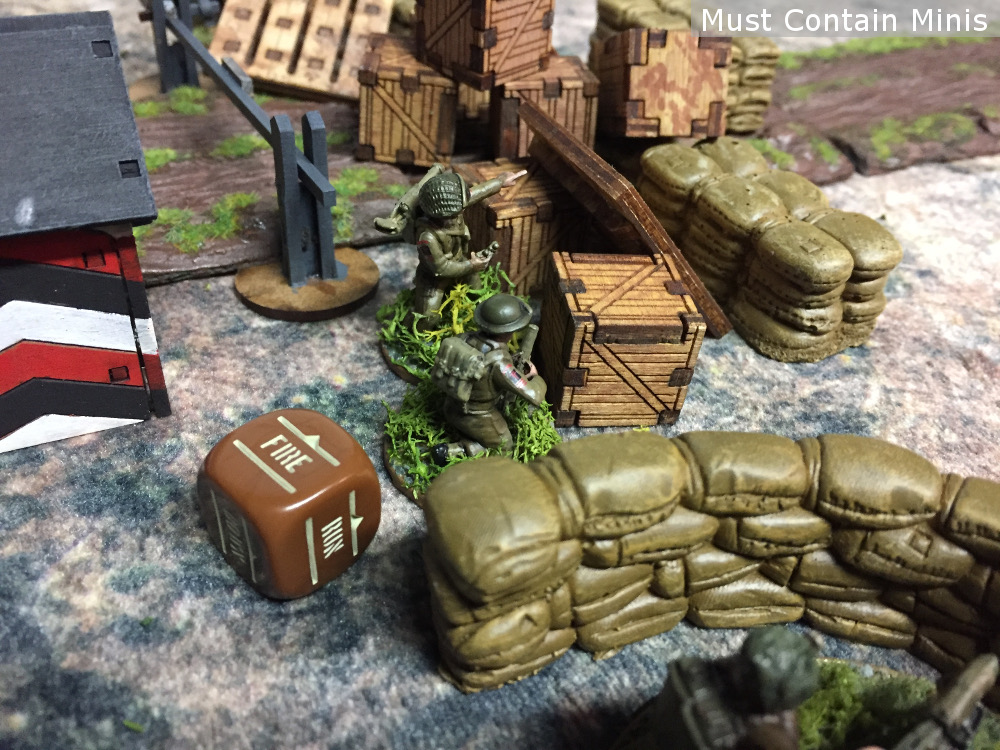
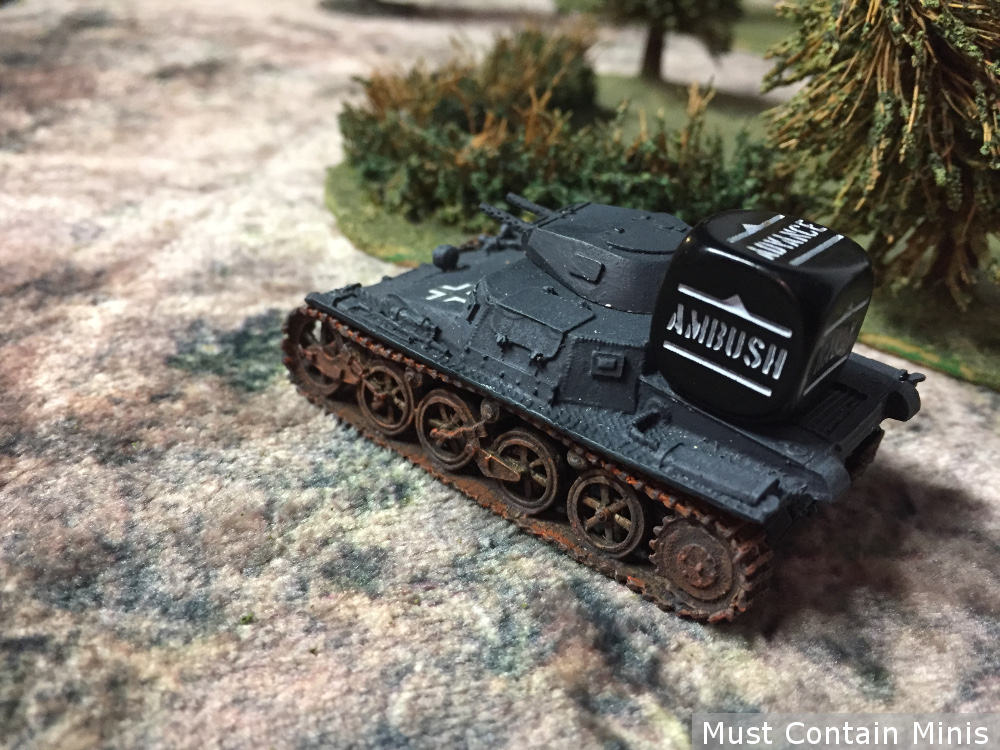
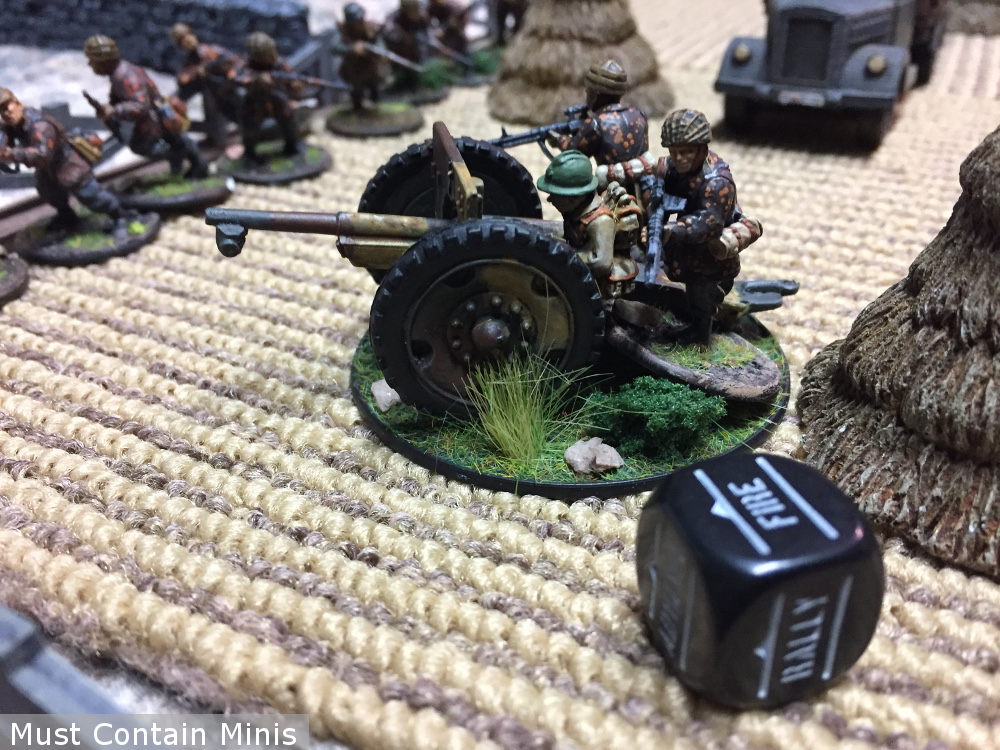
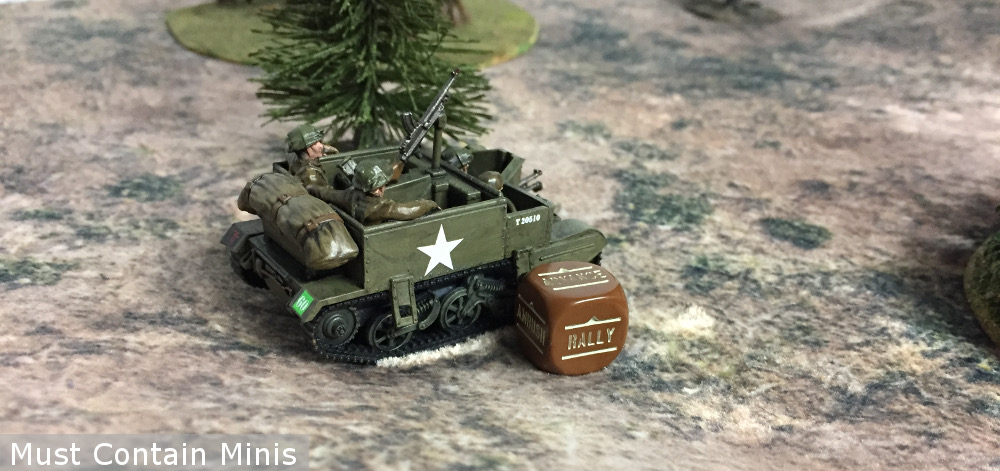
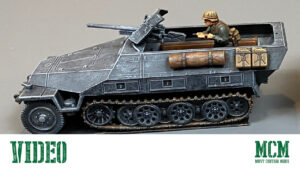
A German unit of Infantry.A French Gun in use by German Soldiers. The truck is 3D-Printed. Dave’s work with the 3D Printer has improved since he made this model, but it is still cool.A British Light Mortar Team. For anyone wondering, those sandbags are by Six Squared Studios. A Panzer 1.A close up of the Howitzer.A British Universal Carrier. I love these little rides!You can’t see this from many of the pictures in this Battle Report, but we had hills under the Cigar Box Battle Mat. Above is a model’s eyes’ perspective of the hills.
Wrapping it up…
Hopefully you enjoyed this Bolt Action: Campaign: Sea Lion Battle Report. We had a great time playing the game.


