I am not sure about you, but I live in a climate where I cannot paint miniatures outside all year round. Due to snow, humidity and sometimes heat, using a spray can to prime miniatures is simply not an option. When that is the case, brush-on primer is a great solution.
Have you ever asked yourself “how do I prime my miniatures in the winter,” “how do I prime my miniatures when it is too hot out,” or “how do I prime my miniatures when it is humid out?” If so, then this post is for you! It is a complete tutorial on how to use brush-on primer. While I focus on just one brand, the tips within will work with whatever brush-on primer you choose to use. Now, let’s carry on.
The Army Painter sent me some of their Brush-On Primer to test. The reason for this was because I had some heat and humidity issues when I used their spray primer outside in the spring time. Now that winter came into my area, this primer helps me keep my hobby going despite the snow. Check out the picture below. That is how things look outside for me right now.

I gave the Army Painter Brush-On Primer a try and am bringing you how to use it in this quick tutorial. If you go further down in this post, you will find the video version of the tutorial. In that version, I outline my successes and failures as I learned how to use the primer. It is well worth a watch if you haven’t seen it.
Now, let’s talk about brush on primer.
Easy Steps to Using Brush On Primer
Special thanks goes out to the Army Painter for sponsoring this post. Now, onto the Coles Notes version of how to use their Brush-On Primer.
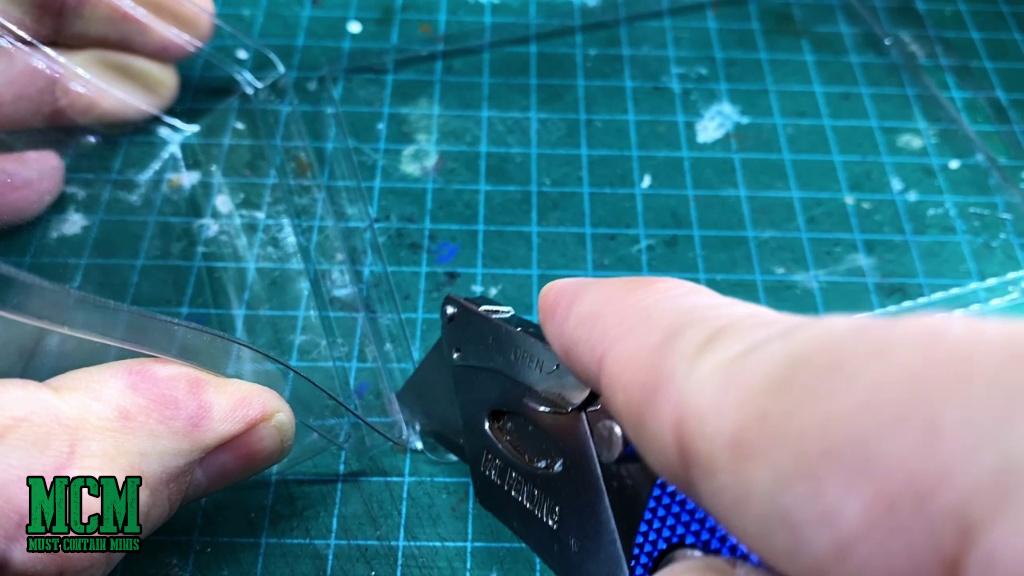
Step One – Find a pallet
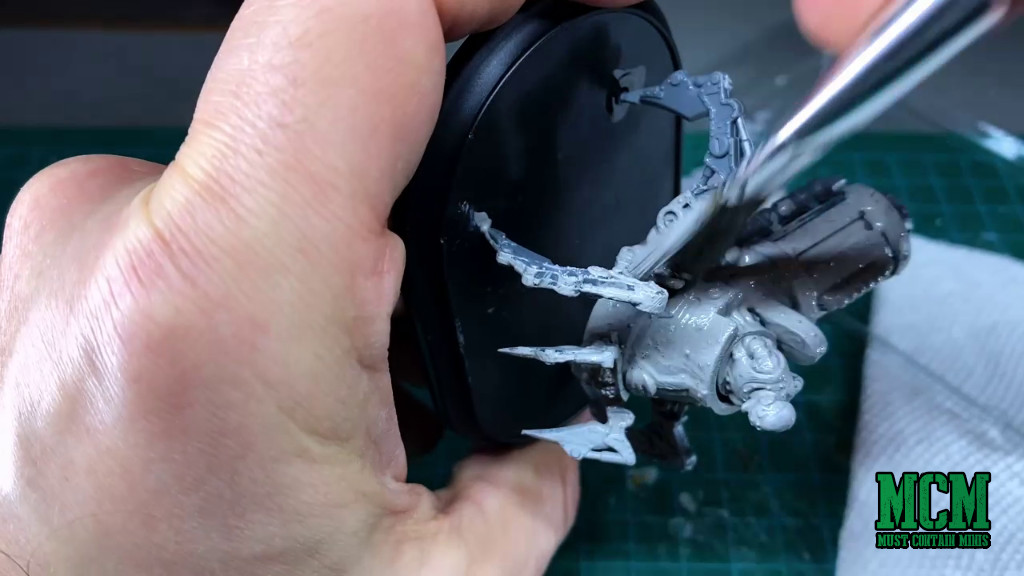
The first thing that I did for this project was make a pallet. I did this by cutting an old clam shell in half. For me, these are easy to obtain as my miniatures are often shipped in them. I am guessing many of you are in the same situation.
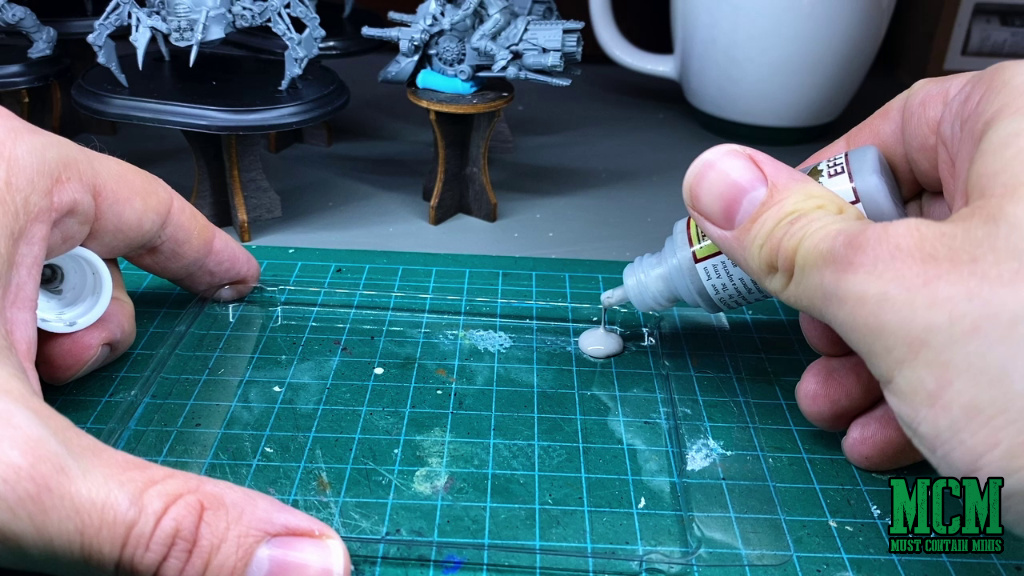
Step Two – Shake it up!!!
Next, you have to shake the daylights out of this stuff. Sure, you can shake it up by hand, but I use a vortex mixer. It makes things so much easier!!!

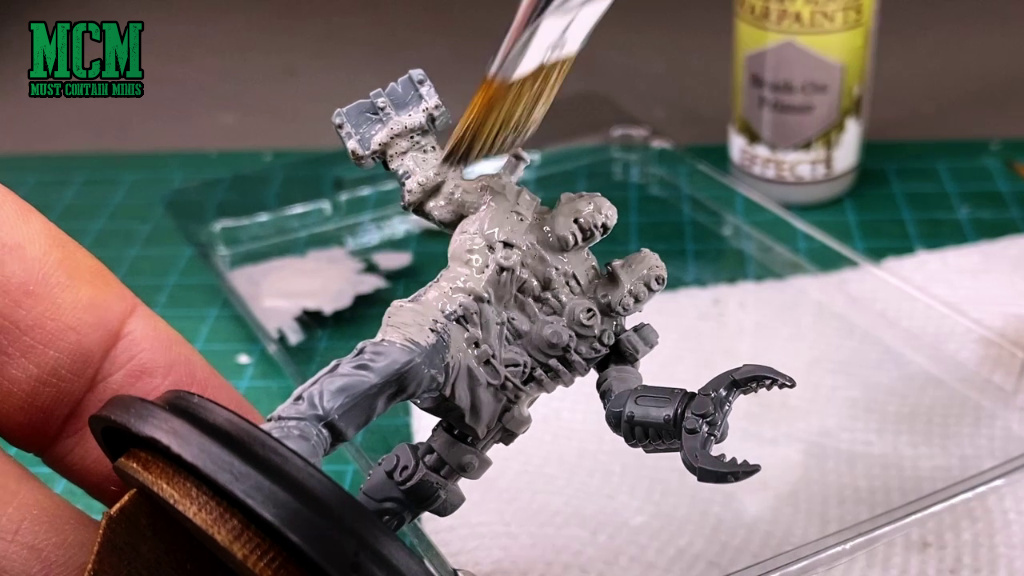
Step Three – Apply primmer to your pallet
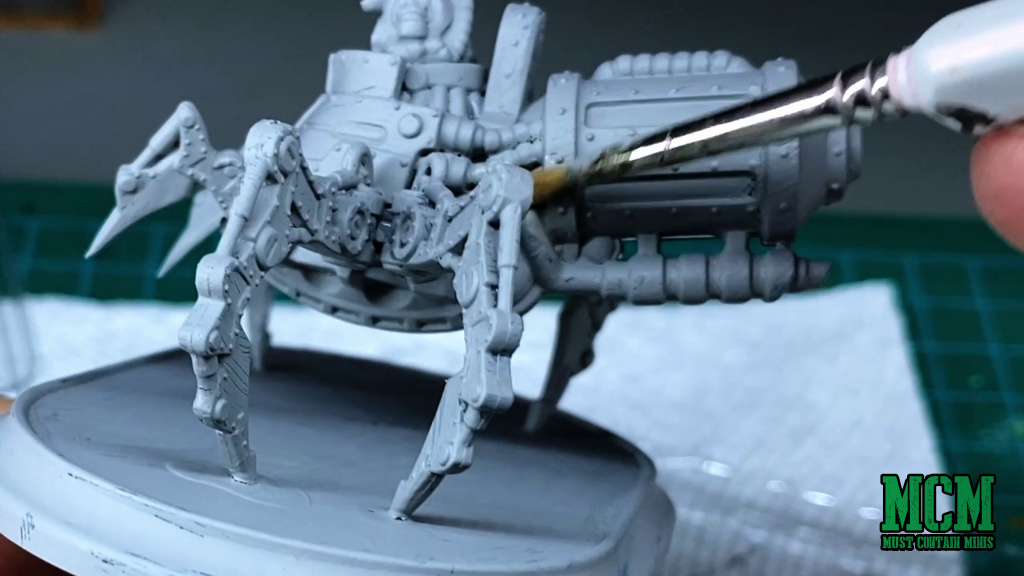
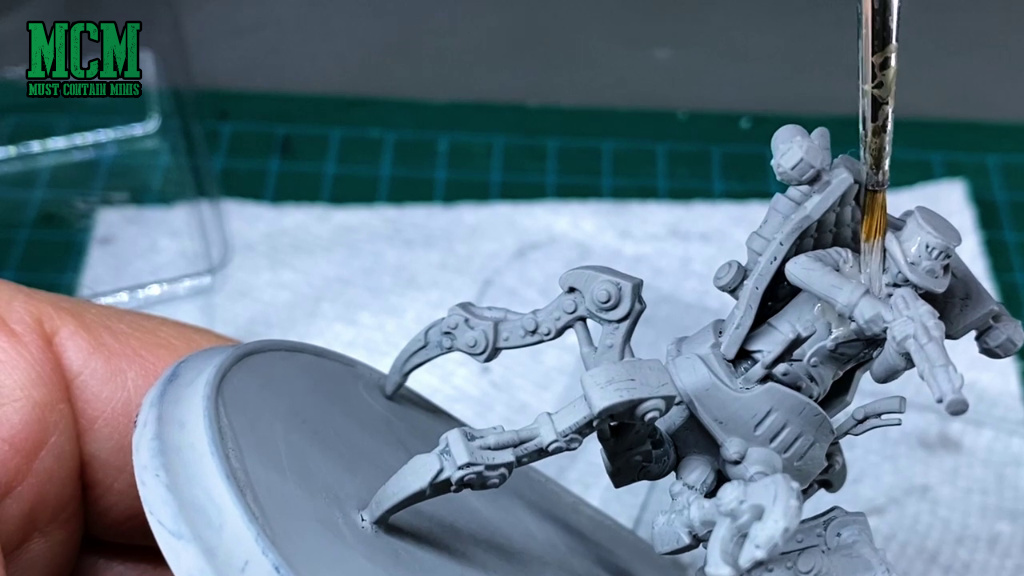
Step Four – Start brushing
I made a few mistakes here that you will see if you watch the video later in this article. The Army Painter Website has instructions on how to use the primer. I should have gone there first. Oh well, now I am sharing it with you.
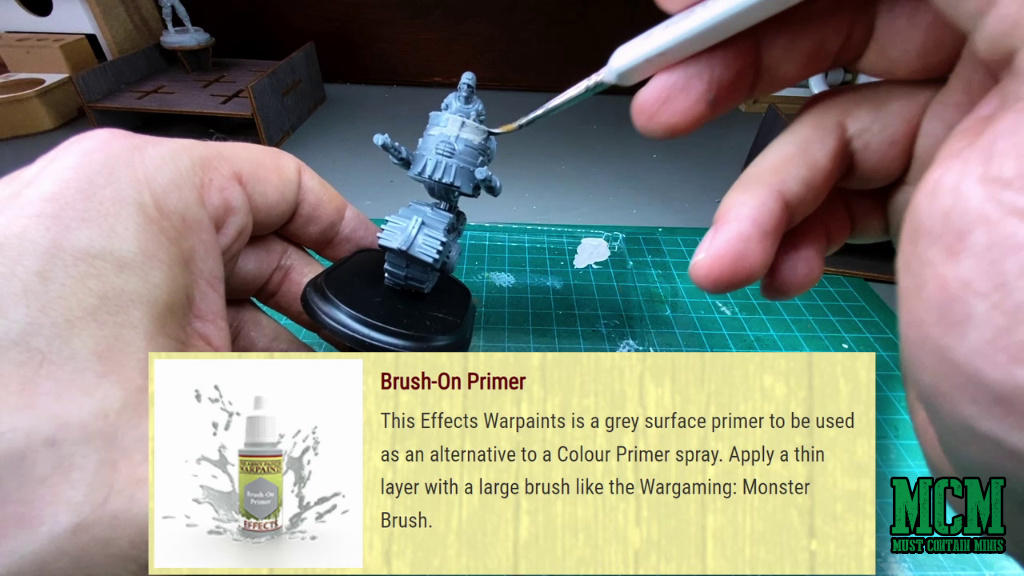
Use a large brush and paint in the direction of the details or dab it on. Then spread the primer around until it is nice and smooth.
Step Five – Let it dry and start painting
After brushing on the primer, I let the miniatures sit to dry. Then, they are all ready to paint!!!
No spraying outdoors necessary!
With this last step in our written tutorial, let’s watch my learning journey with brush on primers in the video below.
The Video Version of this Tutorial
Check out this video below. It is this tutorial, but you can see what I am doing as I learn how to use the primer. If the embedded video below does not work, you can use this link.
Like the video?
A friend of mine edited this video for me. If you liked the video, and make videos of your own, check out Dave Mann from Highland Media. He does freelance work and is available for hire. You can reach out to him at Highland.media.biz@gmail.com to inquire about his freelance editing work.
Want more? We have some more related content. Below are some suggested links.
Related Links
If you liked this article, you may be interested in the links below.
If the link has the word “Affiliate” beside it, Must Contain Minis gets a small commission at no extra charge to you if buy something from that store.
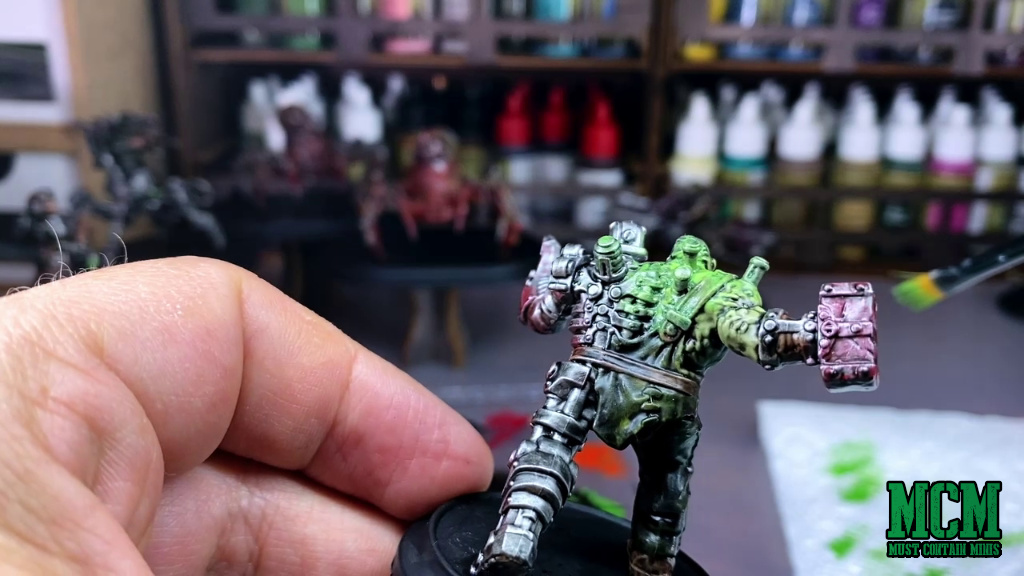
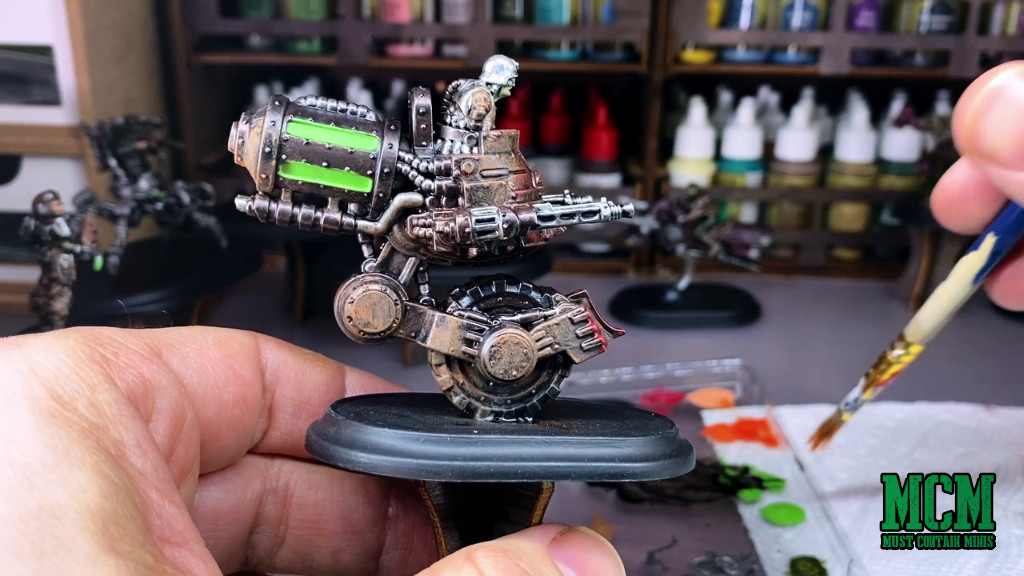
- How I painted these miniatures
- The Army Painter
- Wild West Exodus
- Wayland Games [Affiliate]
- Vortex Mixer on Amazon [Affiliate]
- Brush-On Army Painter Primer on Wayland Games [Affiliate]
- Brush-On Army Painter Primer on Amazon [Affiliate]
- Unboxing Wild West Exodus: Showdown at Retribution
Now, let’s bring this article to a close.
Wrapping it up…
If you find yourself wondering “how do I prime my miniatures in the winter,” “how do I prime my miniatures when it is too hot out,” or “how do I prime my miniatures when it is humid out,” then this article is for you.
Hopefully it helped you out. If not, make sure you watch that video too. It gets more into my learning process and discusses more of my mistakes.
Special thanks goes out to The Army Painter for sponsoring this article.
Until next time, Happy Gaming Everyone!!!
