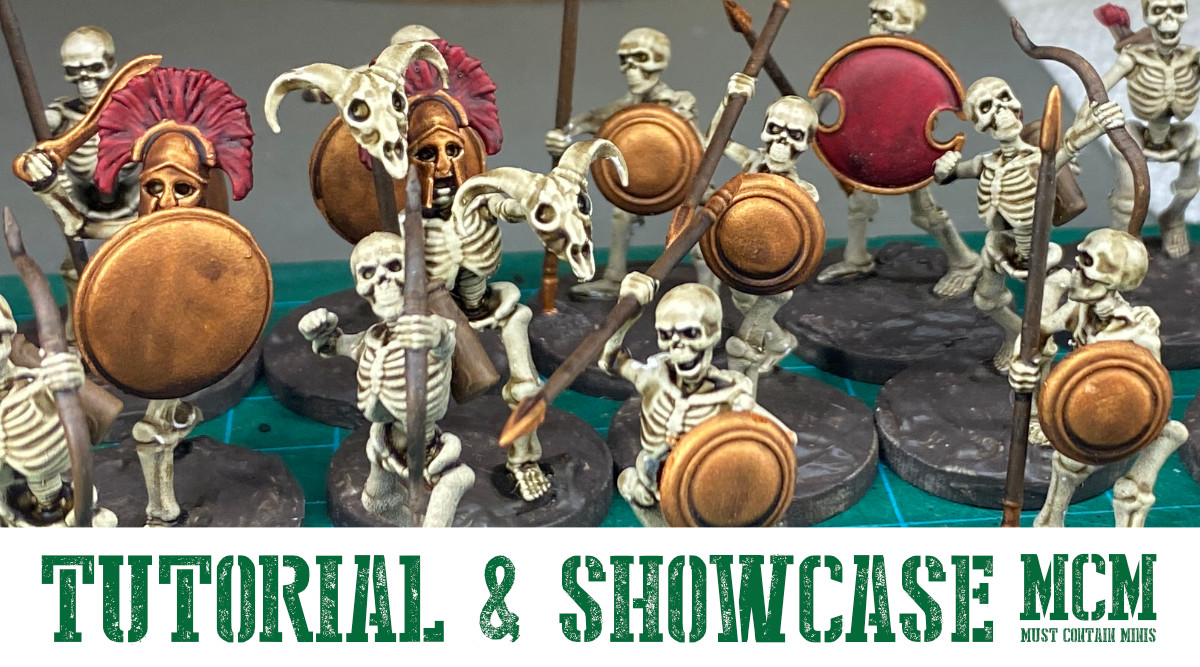
Ever wonder how to paint up 28mm Skeletons?
In this post, I provide a quick tutorial on how to paint miniature skeletons and showcase some miniatures that I painted. These easy to paint figures come from Wargames Atlantic.
Today’s article is brought to you by The Army Painter. They make great paint at extremely affordable prices. Special thanks also goes out to Wargames Atlantic for sending me these miniatures.
As a note, some links in this article earn me a commission if you buy anything after having used them. I identified those links as “[Affiliate].” By doing so, you know whether I am compensated for you using that link.
With all that out of the way, let’s get into it.
Starting Out – Painting and Priming the Skeletons White
To start the paint job, I primed the miniatures Matt White with The Army Painter Spray Primer. I then readied my wet pallet and pulled out the white paint.
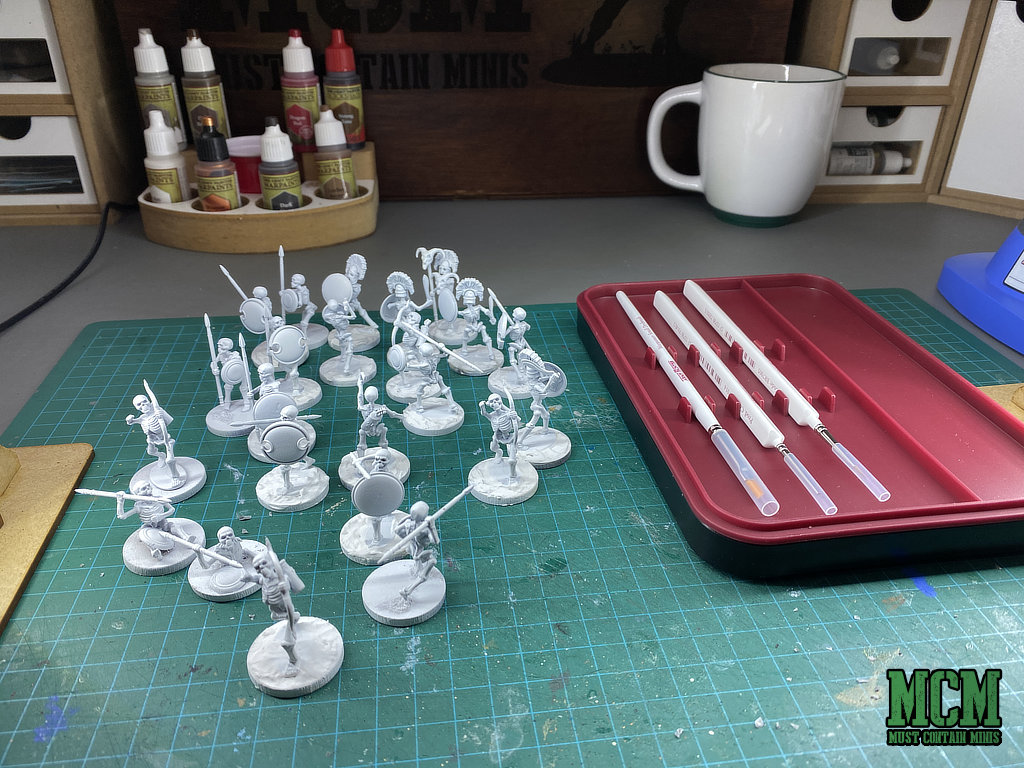
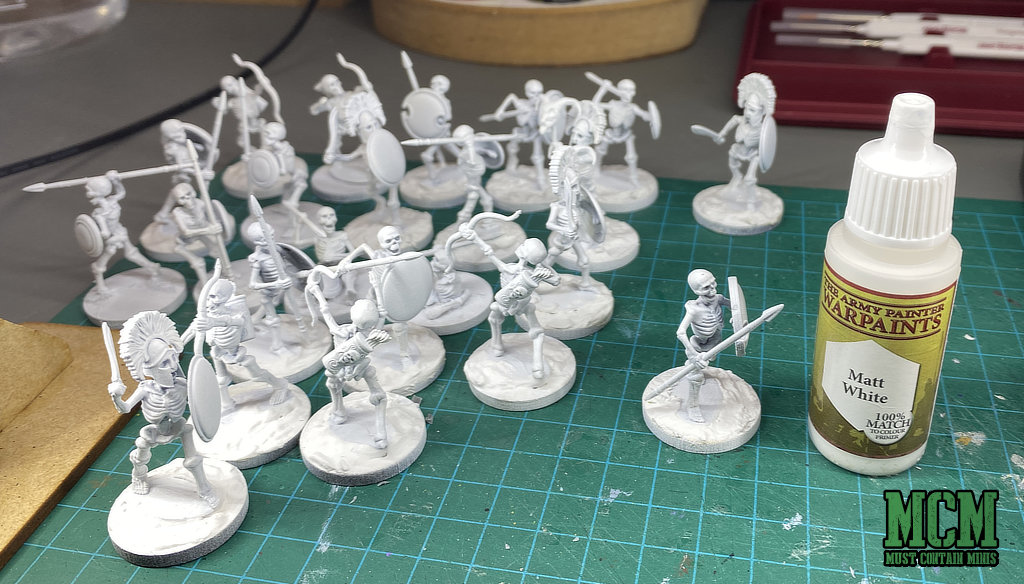
The Army Painter has a color called Skeleton Bone. I decided to use Matt White instead of Skeleton Bone because I knew that my wash would darken the miniatures – giving it a similar effect to the other color.
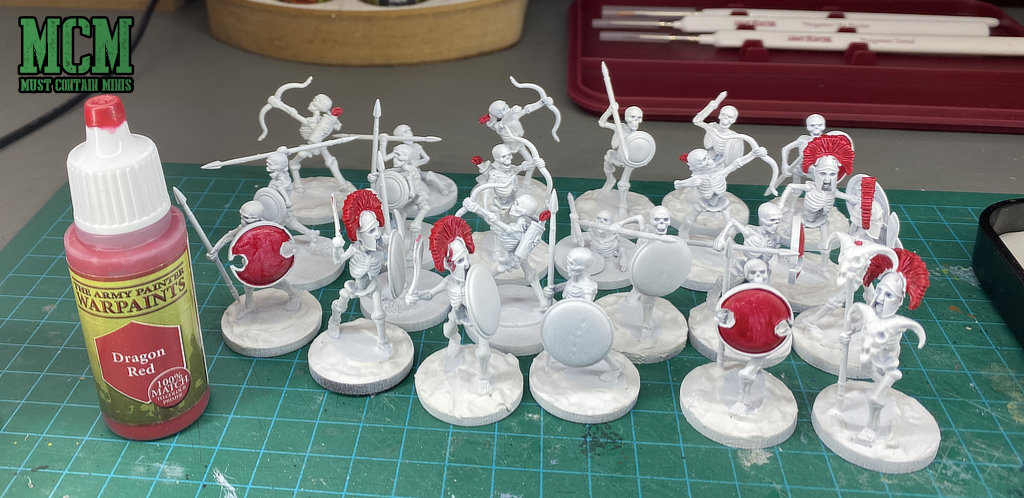
I painted these miniatures with a two step process. Step one, base coat your miniature. Step two, wash the complete miniature with strong tone quickshade. That is it, and I was very happy with the results. As you scroll down, I think you will like the results too.
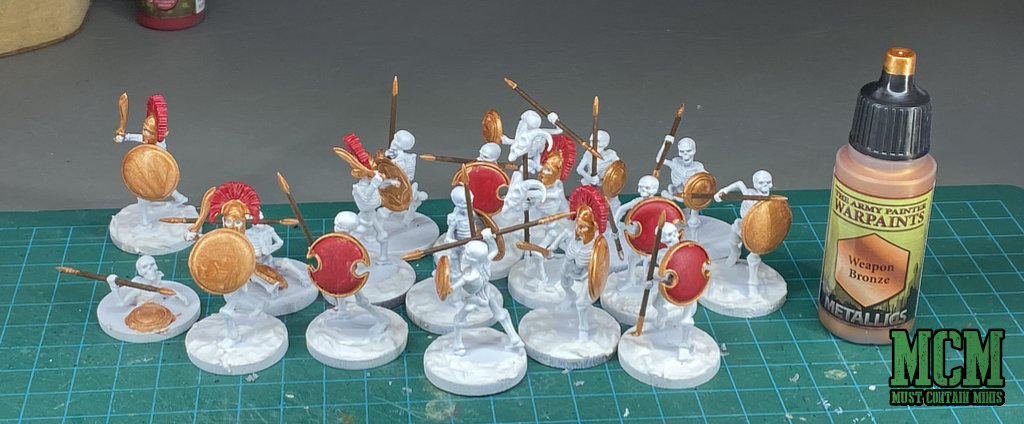
How to Paint 28mm Skeletons – Step One: The Base Coat
With the miniatures painted white, there was not much left for me to paint. The weapons, shields, quivers and bases all needed a little bit of color added to them.
For this step, I just slop the paint on while trying to stay in the lines. Working on the deep details first and working up to the raised areas helps make the job easier. I do two coats of each color before moving on to the next paint.
Helpful Tools for Working with The Army Painter Paints
There are a few tools that I use to make my painting easier.
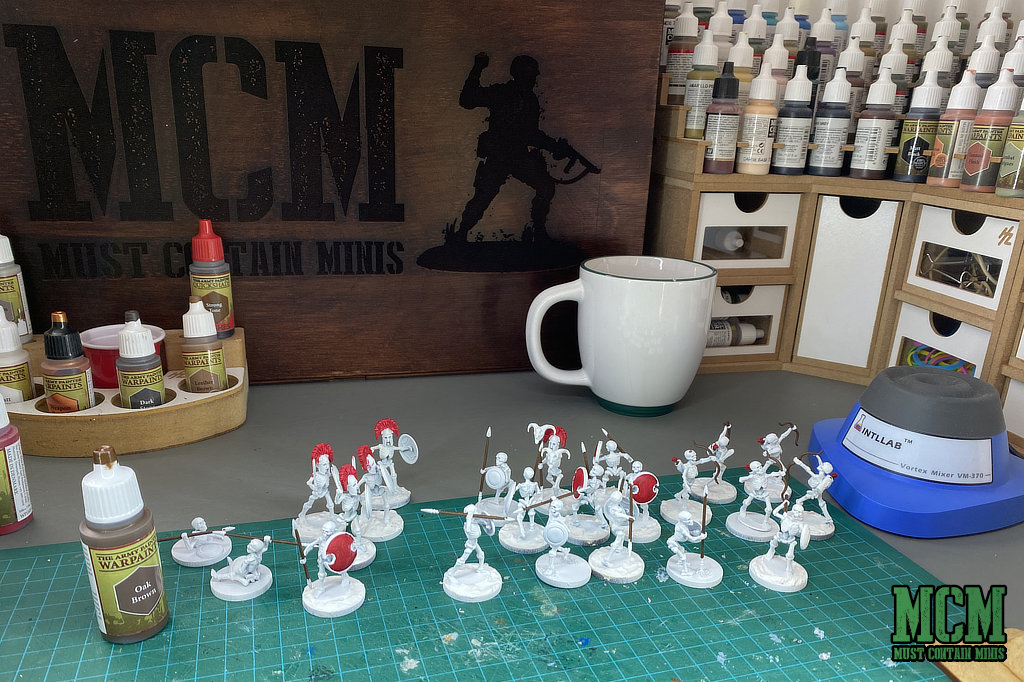
In the above picture you can see my Intllab Vortex Mixer. This thing is fantastic. When I first started using The Army Painter Paints, I thought they were thin. Turns out I was mixing them wrong.
When you first use them, you need shake the bottle, remove some of the clear medium at the top of the bottle, and then shake it again.
After you shake it again, the paint should be good to go. The Army Painter needs a lot of shaking. The Vortex Mixer helps speed up that shaking. I love mine and am very happy that I bought it.
You can check the price of this mixer on Amazon here, or click on the image below [Affiliate Link].

I then coupled the vortex mixer above with The Army Painter Mixing Balls. The result was splendid! The vortex mixer alone is enough, but these mixing balls make it even easier!
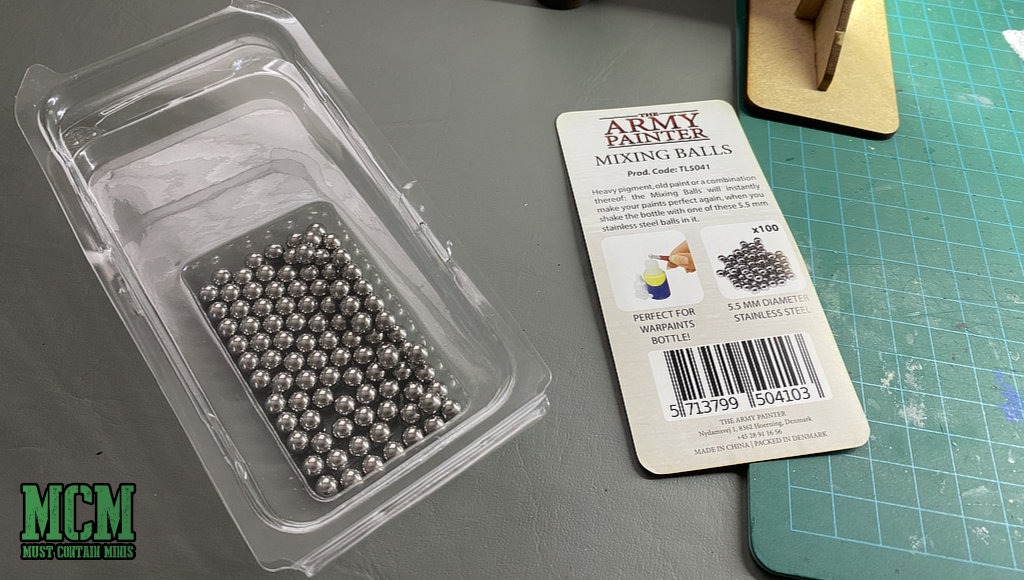
If you don’t have a vortex mixer, but get your hands on these mixing balls, they certainly help reduce the difficulty of shaking The Army Painter Paints.
I also used The Army Painter Wet Pallet. It worked extremely well. It kept my paints workable for hours and days after I applied the paint onto the pallet.
Now, let’s carry on with the tutorial.
Back to Painting the Skeletons
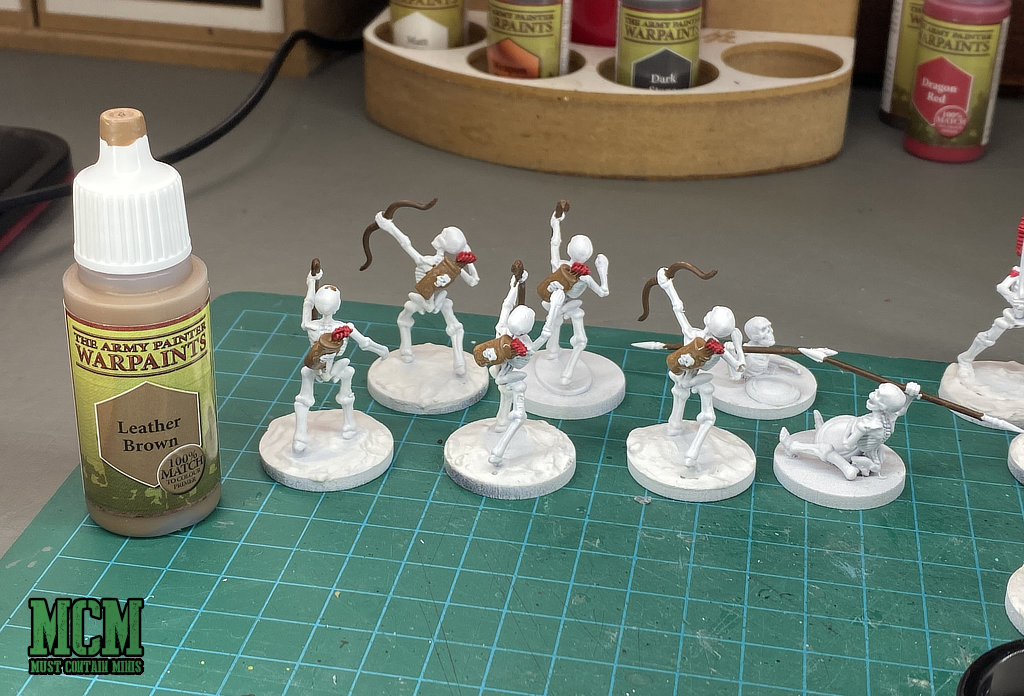
After painting the wood items with Oak Brown, I brought out Leather Brown for the quivers.
Again, I am just slopping on the colors at this point to try to get things done quickly. I have 32 miniatures to paint up here.
Afterwards, I go over the miniatures one last time with each color. This time, I am just cleaning up the miniatures where I slopped paint where I did not want it. Next I washed the Miniatures.
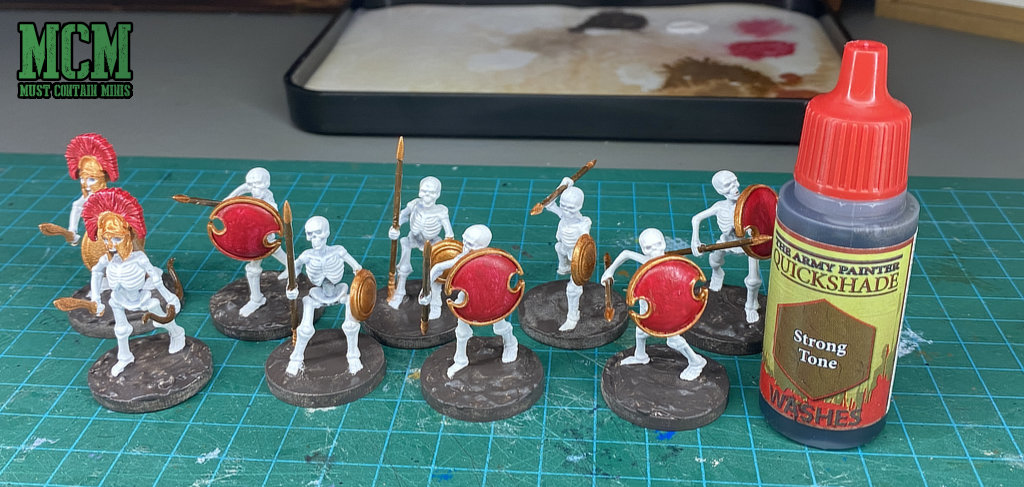
How to Paint 28mm Skeletons – Step Two: The Wash / Quickshade
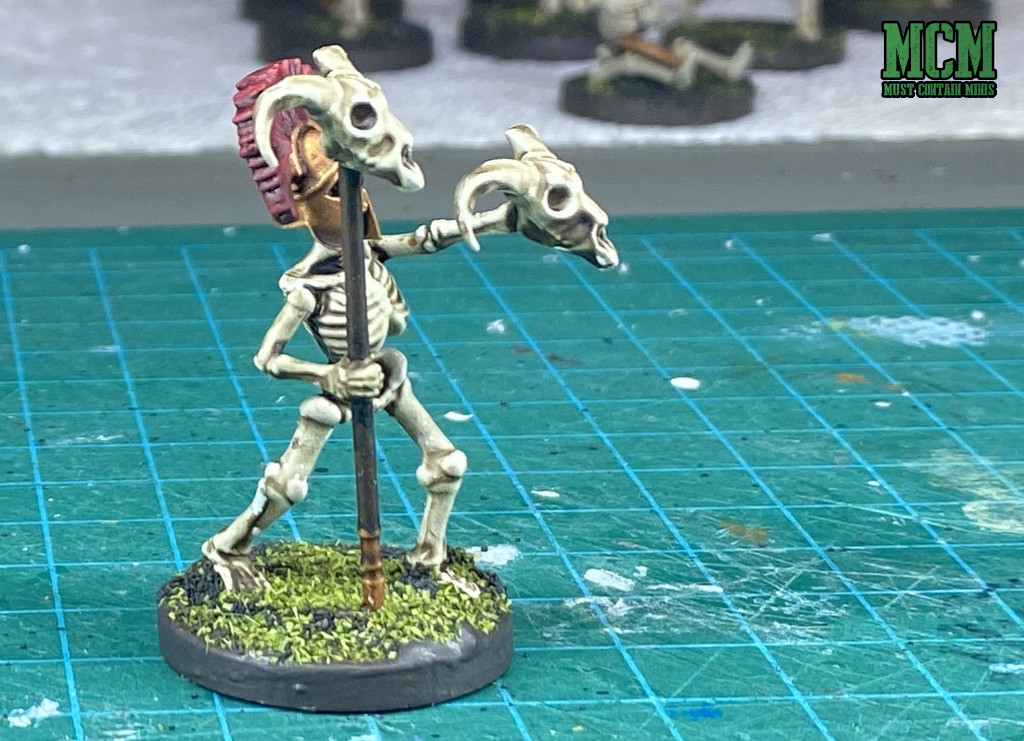
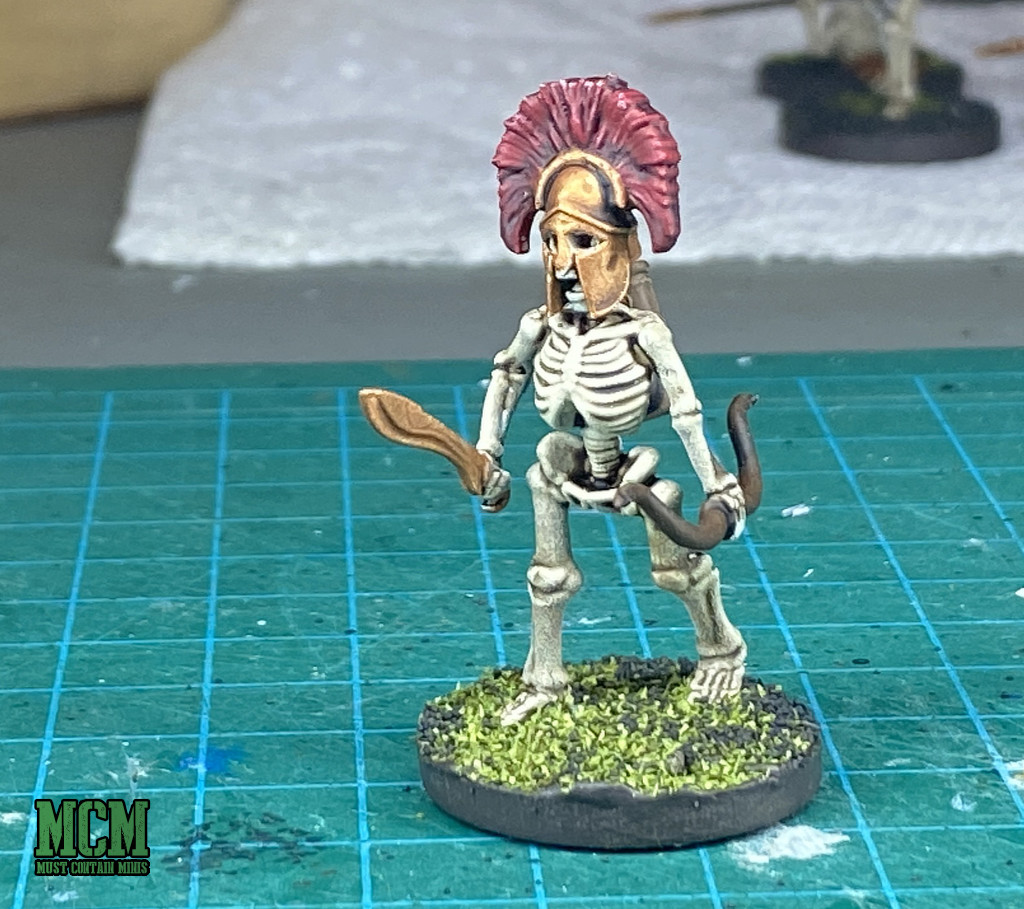
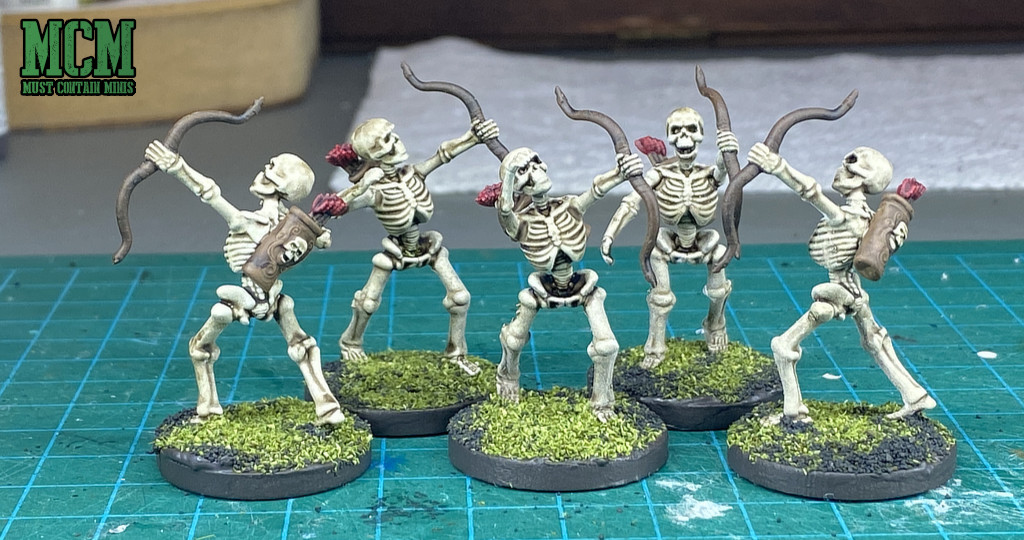
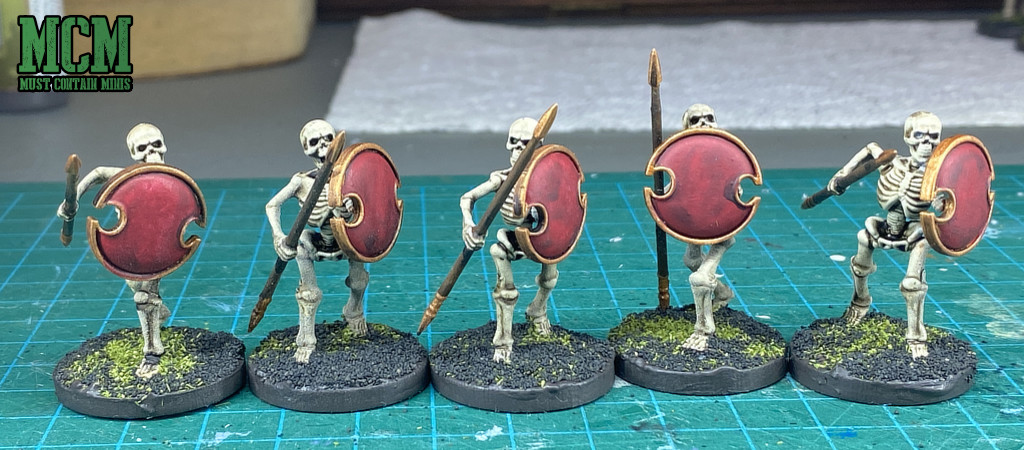
One of the top tricks in my hobby basket is shades (or washes) for my miniatures. This stuff naturally gathers in the deeper areas of the miniature. This creates the illusion of shadows. Check out how Strong Tone Quickshade improves (and completes) the look of these models.
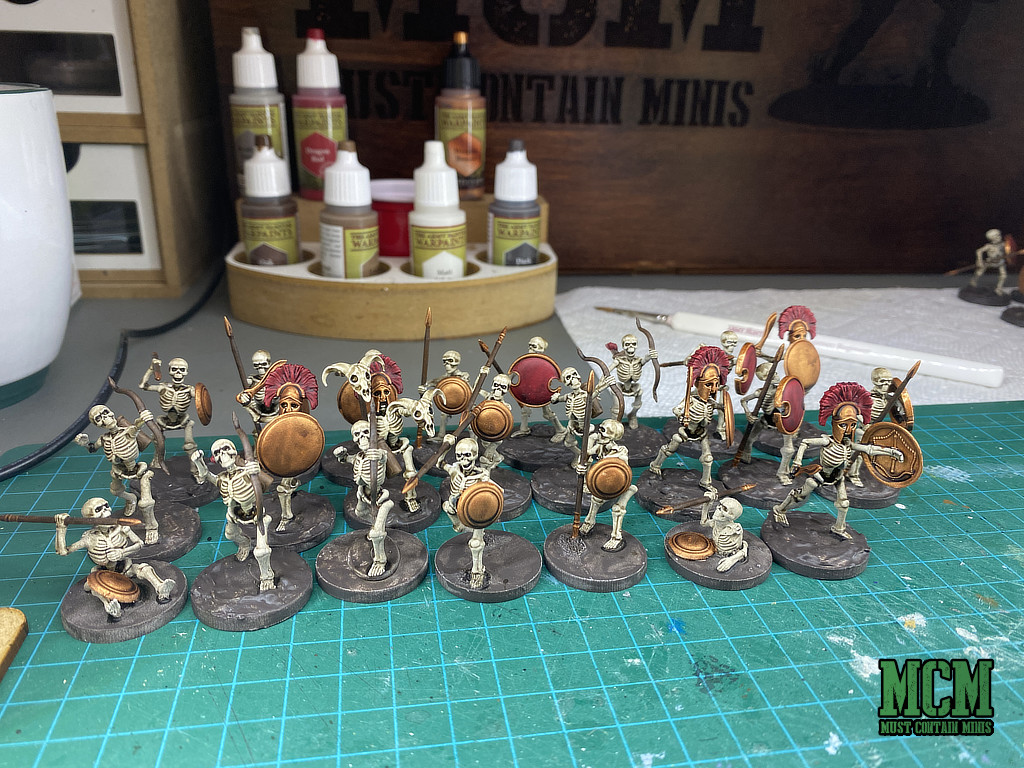
I am really happy with how these miniatures turned out and they weren’t even that hard to paint. One of the things that drew me to building and painting these miniatures by Wargames Atlantic is how simple they looked to paint. They are mostly bone! No armor or clothes to worry about here.
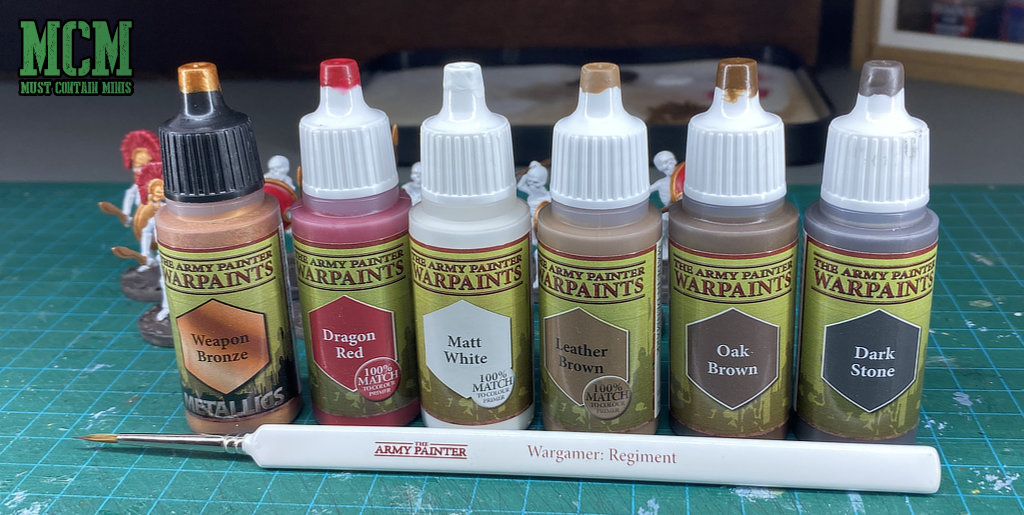
The Color Chart – Wargames Atlantic Skeletons
Below is a quick chart to let you know what colors I used on these miniatures. Again, I just tossed that paint on and ran a quick wash on it after I was done.
Army Painter makes all of the paints mentioned below.
| Paint | Items Painted with that Color |
|---|---|
| Matt White | Skeletons and Bones |
| Dragon Red | Shield fronts, Helmet Plumes, Arrow Feathers |
| Oak Brown | Wood Items |
| Leather Brown | Quivers |
| Weapon Bronze | Spearheads, Shields, Helmets |
| Dark Stone | Bases |
| Strong Tone Quickshade | Entire Miniature |
To finish, I added basing materials to the bases.
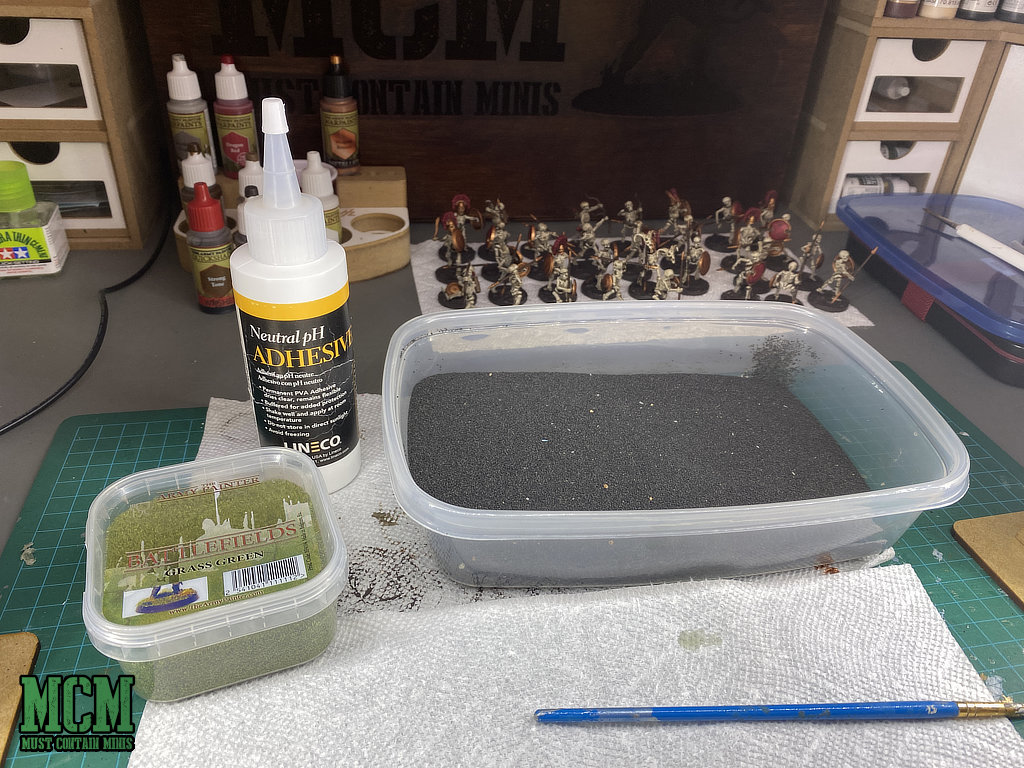
Basing the Miniatures
To finish the miniatures, I glued green flock and black stones to the bases. The green flock is also by The Army Painter. You can check its price on Amazon here [Affiliate].
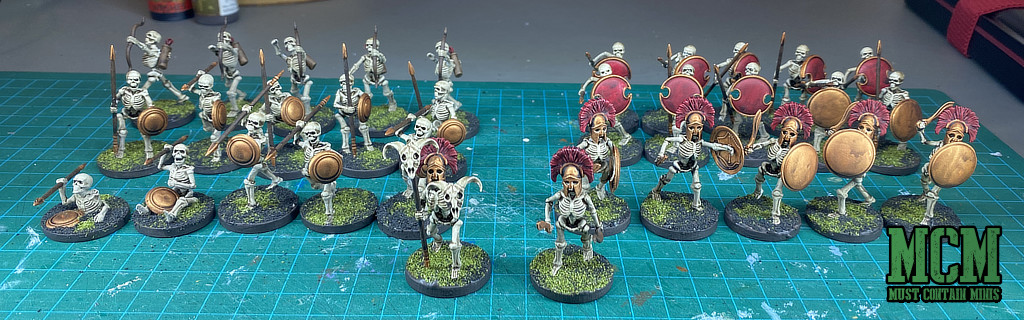
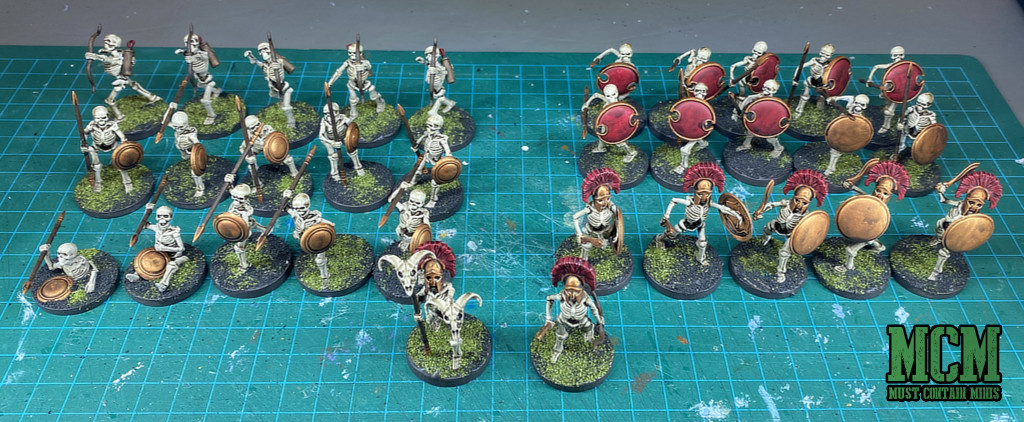
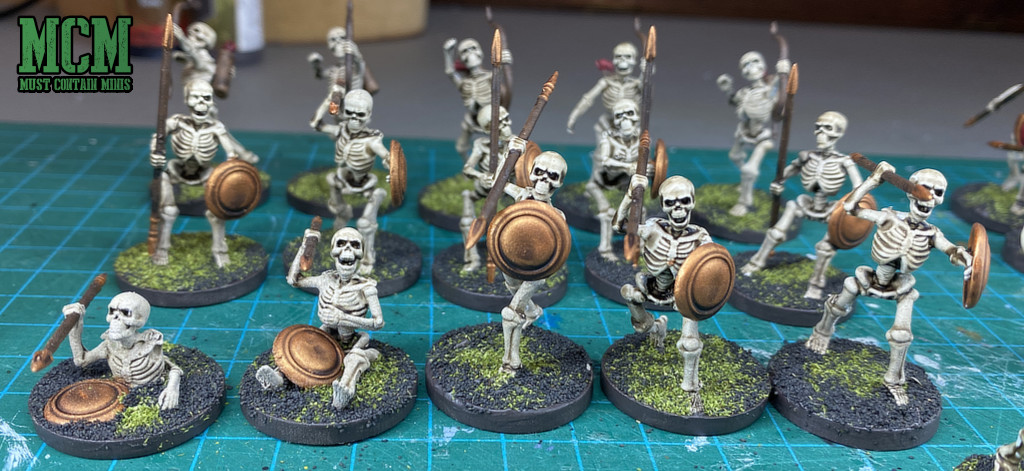
The Finished Painted Wargames Atlantic Skeleton Showcase
Now that you know how I painted the miniatures, let me show you the finished army.


Wrapping it up…
Thank you for joining me in this Showcase and Tutorial on how to paint skeletons for 28mm gaming. Overall, these are some great miniatures and so easy to paint – especially with help from The Army Painter.
If you want to learn more about these skeletons (and to see scale comparison images too), check out my Wargames Atlantic Skeletons Review. If you are into role playing games and painting individual characters, check out my article on how to paint miniatures for RPG games.
Thanks again for joining me. Don’t forget to check out the sponsor of this post (The Army Painter).
Until next time, Happy Gaming Everyone!!!
I followed this tutorial but my wash seems a lot darker than yours. The mini turned out to be very dark and brown looking. All the white is gone. Did you cover the whole mini in the wash? The mini I painted looks absolutely horrible after using the wash. Trying to figure out what I did wrong here.
Hi Mark,
I did use the wash and it was the strong tone. I applied it to the whole miniature. When more shade than I want pools somewhere, I dry my brush with a paper towel and then use the brush to soak up the excusive amount of shade if it is too much. Maybe try using a little less on the next one. It does turn the entire miniature a light brown, and a very dark brown in the crevices if you use the right amount.
It acts pretty fast, so if it is pooling too much where I don’t want it, I do use that paper towel and brush trick I mentioned above. I hope that helps.
Thanks, Jacob. Glad to know the brown coloring I got was normal. I see your pics and your skeletons still look white almost like you did a white drybrush after the wash so it made me think I did something wrong. I guess that is due to the lighting used for taking the photo. Thank you, sir. The next one I paint I now know to just leave it as is. I had no real issues with pooling, but like you, I remove any real bad pools with a brush or paper towel. Thank you again for an awesome tutorial.
Thanks for the follow up response Mark. I actually stopped my skeletons right after the quickshade. No highlights whatsoever. Hopefully you have good results with the next ones. 🙂
I found this post after having a similar issue with a Death Knight paint job, although it looks as if I should have used strong tone and not dark tone. Still learning how to use the washes. Great post.
Thank you so much Jon. I am happy that you found it useful.