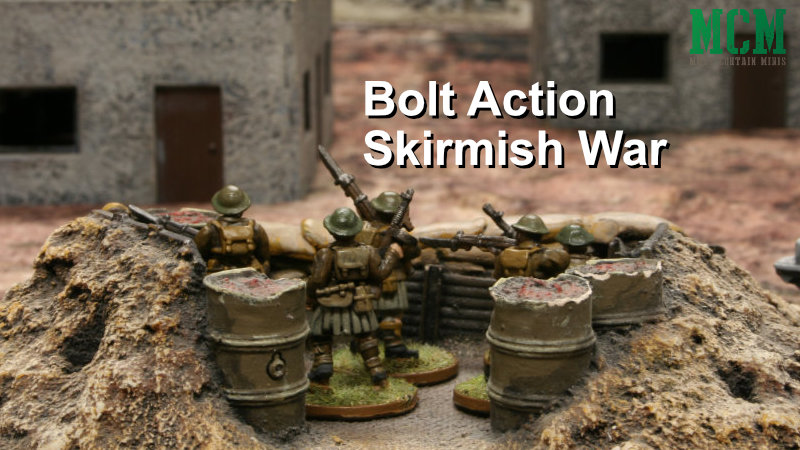
It has been a while since I wrote about Bolt Action. I really do love the game and missed not playing it for so long. Looking back, I found that the last Bolt Action Battle Report I wrote was actually back in November of 2018. I need to change that!!! As such, today’s post is well overdue. Today I ease back into the game with this Bolt Action Skirmish Battle Report.
For this game, we used the core rule book (second edition – of course) and the skirmish rules available on Warlord Games Website. This means that we drew up 200 point lists and counted each model as an individual unit.
One thing that we could not figure out was if high rate-of-fire weapons (like an LMG) could spread fire across multiple units or just one. For the sake of this battle, we decided that all shots from a single weapon had to go to a single model. We are not sure if that is the correct way to play. That said, we played a casual game so we were just interested in having fun.
Now, let’s set the scene.
Update: June 20, 2021… This Battle Report now has a video version too. You can find it at the bottom of this page.
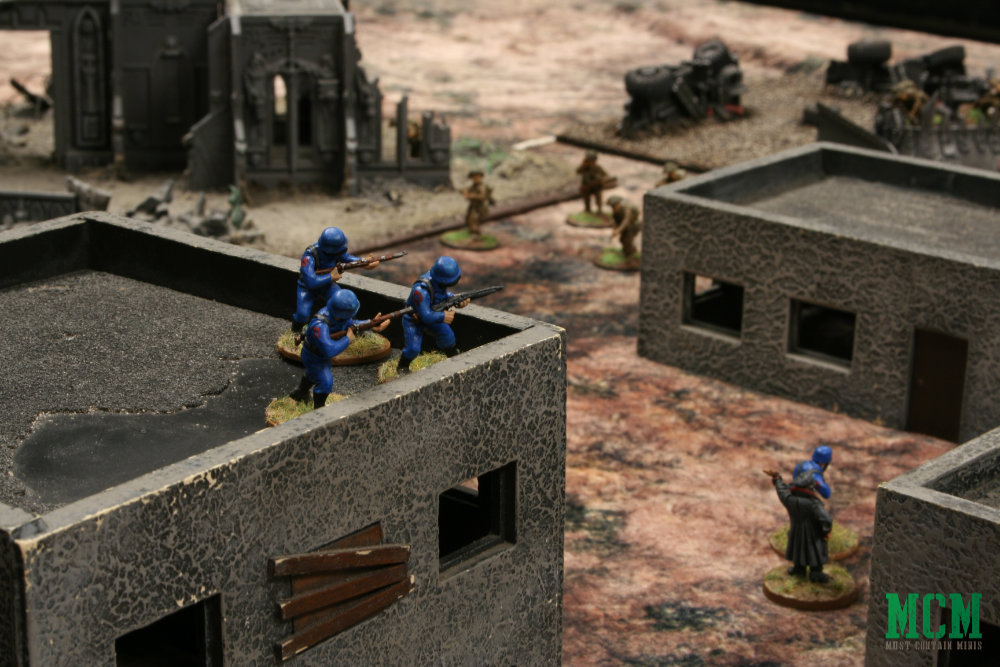
Cobra Forces in Bolt Action!?
Because three players showed, we decided to run the game as a free-for-all battle. Randall brought a British force. I brought a different British force, and Dave brought a G.I. Joe Cobra themed German force. The Warlord Game’s plastic Germans look good as Cobra soldiers so why not?
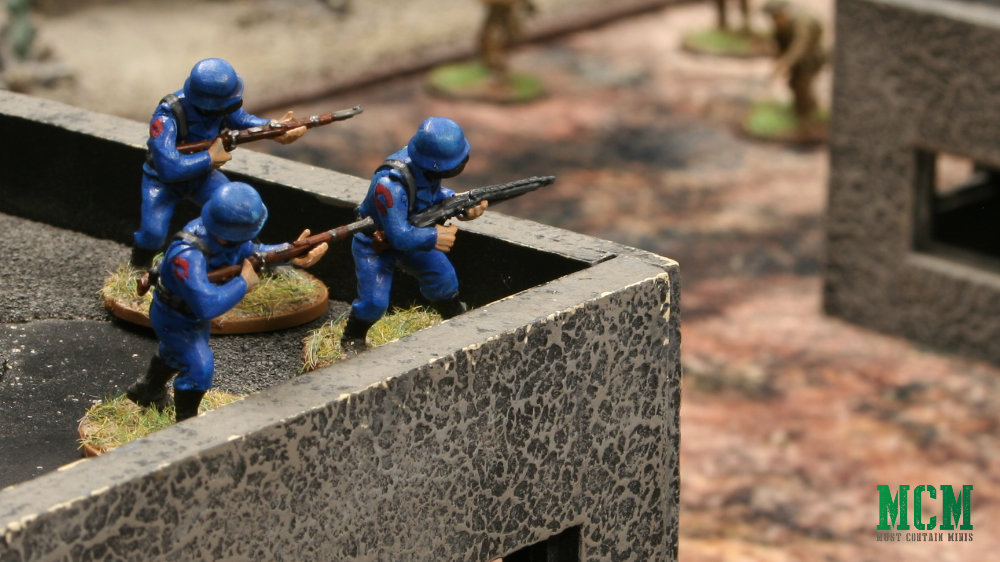
David Lamers painted up all of the GI Joe themed miniatures. You can check out more of his work on his painter’s page on this site.
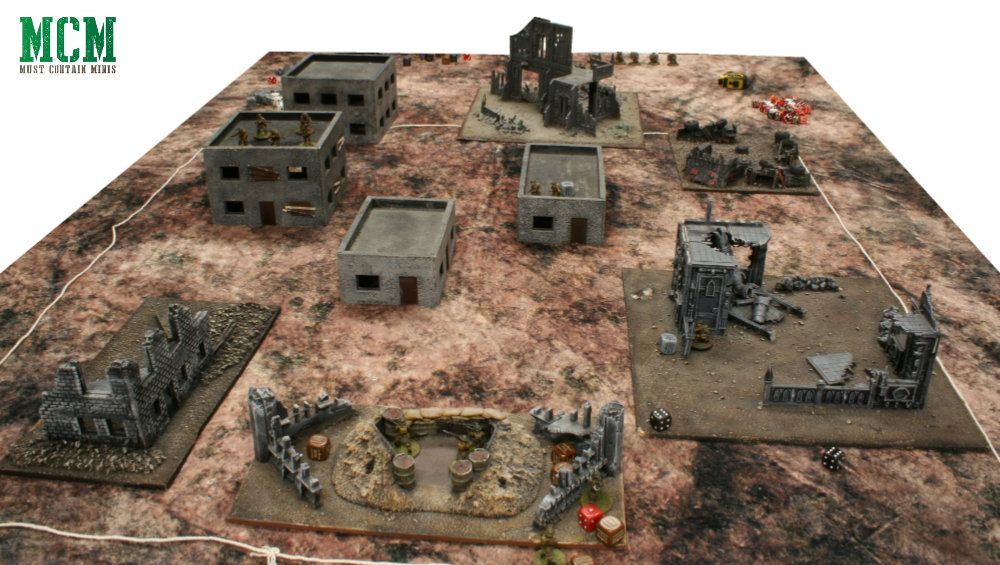
Setup and Deployment
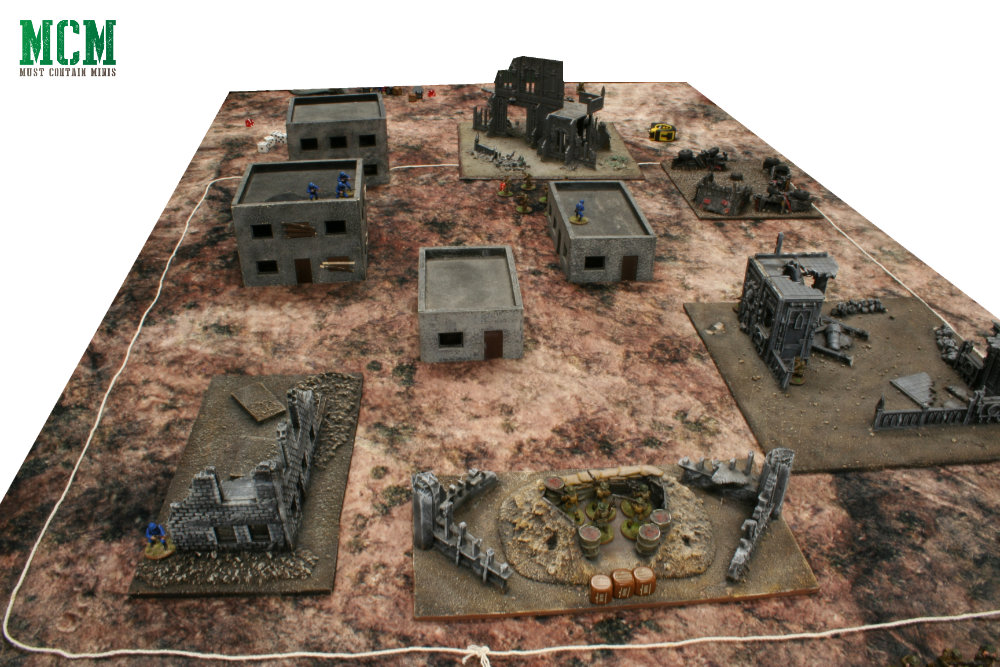
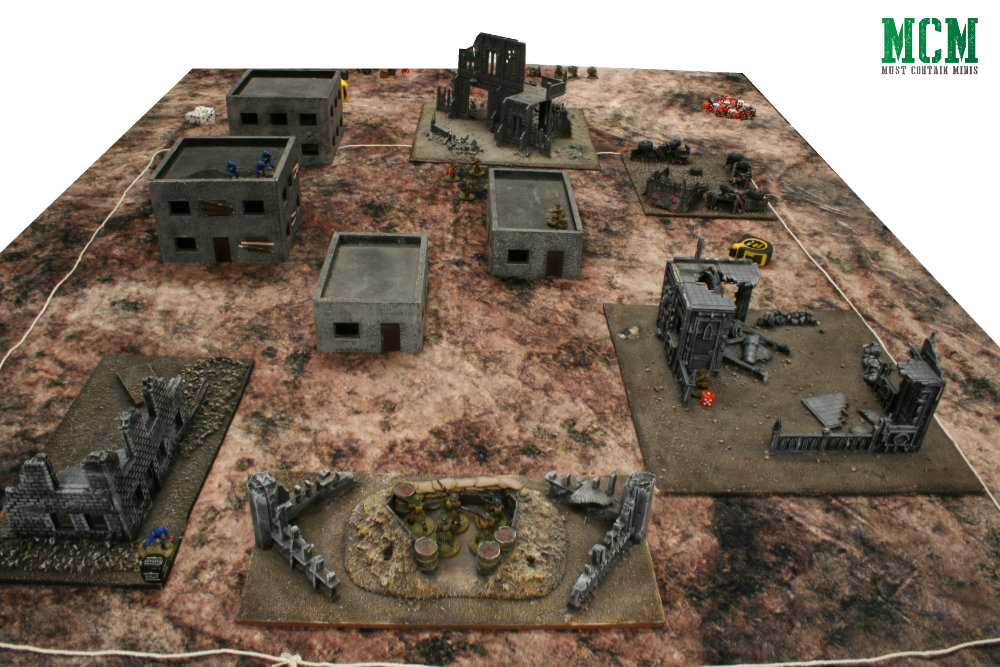
With the Cobra forces out of the way, let’s talk about the game’s setup. We decided to run a straight up three way attrition match where the last team standing wins.
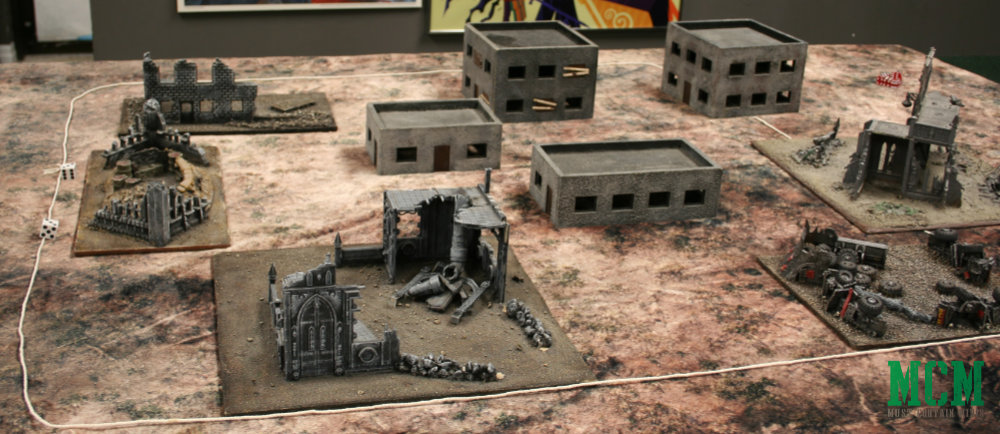
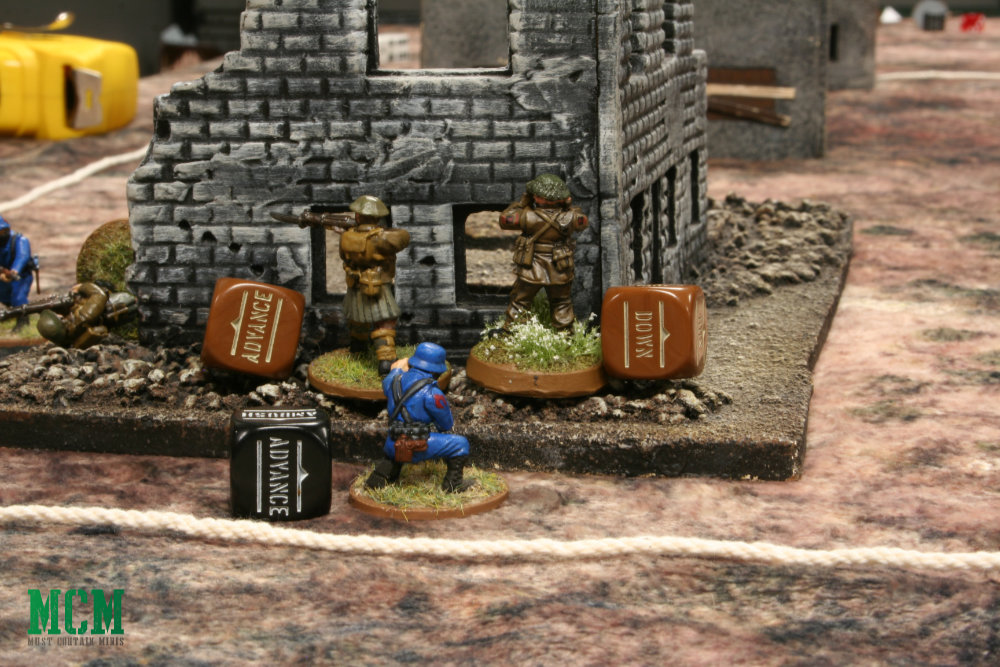
We then decided on the deployment areas. One person would get the buildings on the top right, the other the bunker on middle left the table and the final person would get the makeshift tire defenses on the bottom right. We diced off to determine who got to choose which deployment zone. I got the one I hoped for, the bunker on the left side of the table.
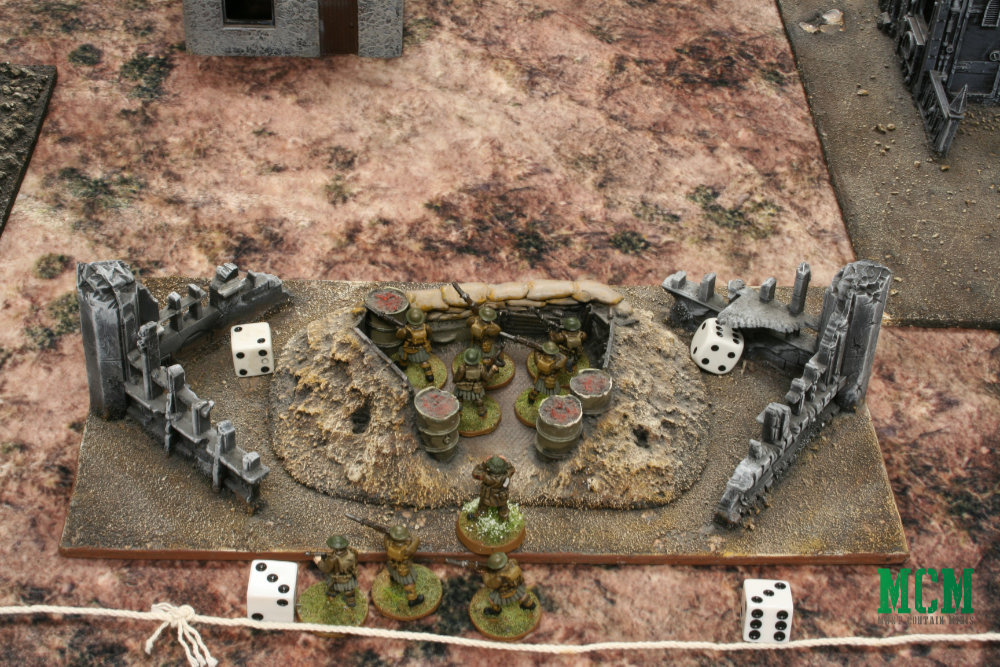
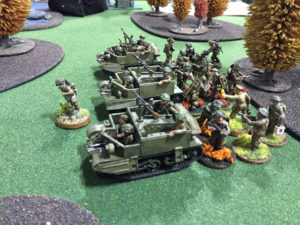
The forces I took was totally comprised of veteran British soldiers. I took a Lieutenant and a platoon of soldiers. The Lieutenant carried an SMG while the platoon carried one Bren (LMG), two SMGs and five rifles.
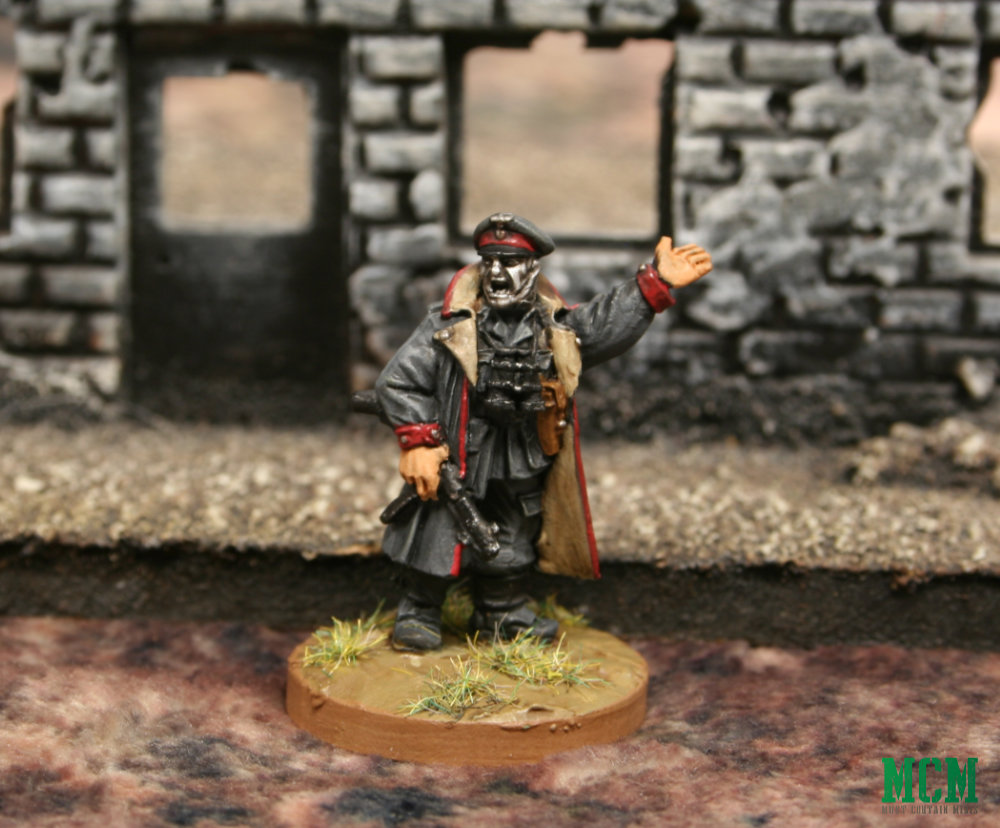
Dave’s force looked similar to my own but with German soldiers instead of British.
The other British player took a much higher number of troops, but as regulars instead of veterans.
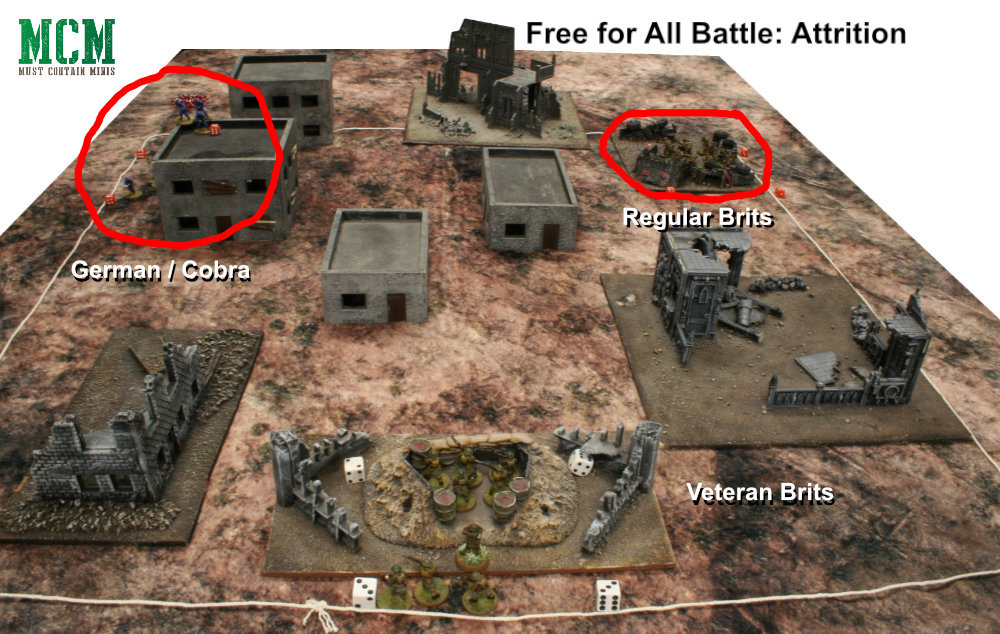
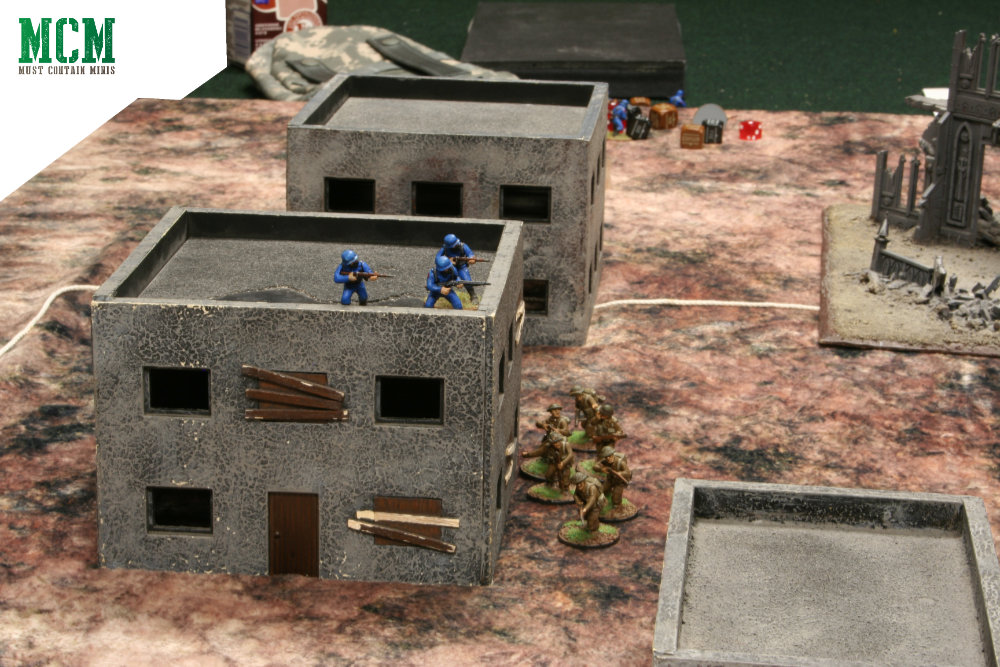
German command put a LMG team and a rifleman up on the roof of their building. The regular Brits brought more soldiers than either Dave or I.
Now, let’s see how the battle unfolds.
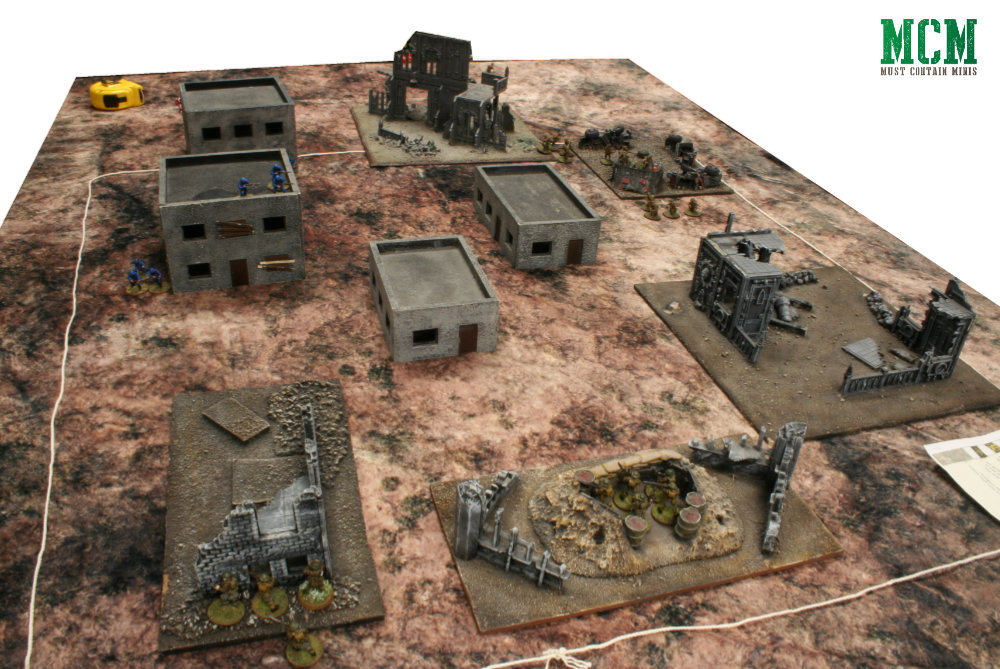
First Movements
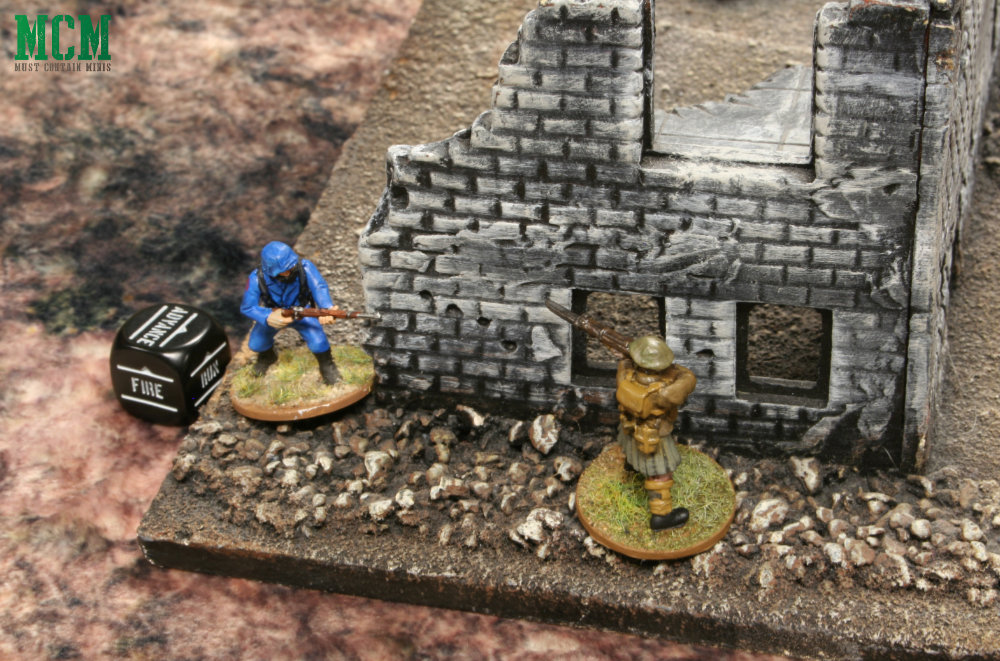
My plan was sound, at least in my mind. Keep a fire-base of rifles and the LMG team in the bunker while my SMGs and a couple of rifle men proceed to the left to flank Cobra. I was not sure what to do with my fellow Brits (whom happened to also be an enemy in this skirmish scenario).
Not all games of Bolt Action have to be historically accurate. 🙂
Dave’s plan was to use the high vantage point of the roof as a long range fire platform while rushing his troops down the field to engage both forces.
Randall’s plan was to use the weight of his sheer numbers to rush into the enemy. Like Dave, he split his soldiers into two groups. One for each enemy.
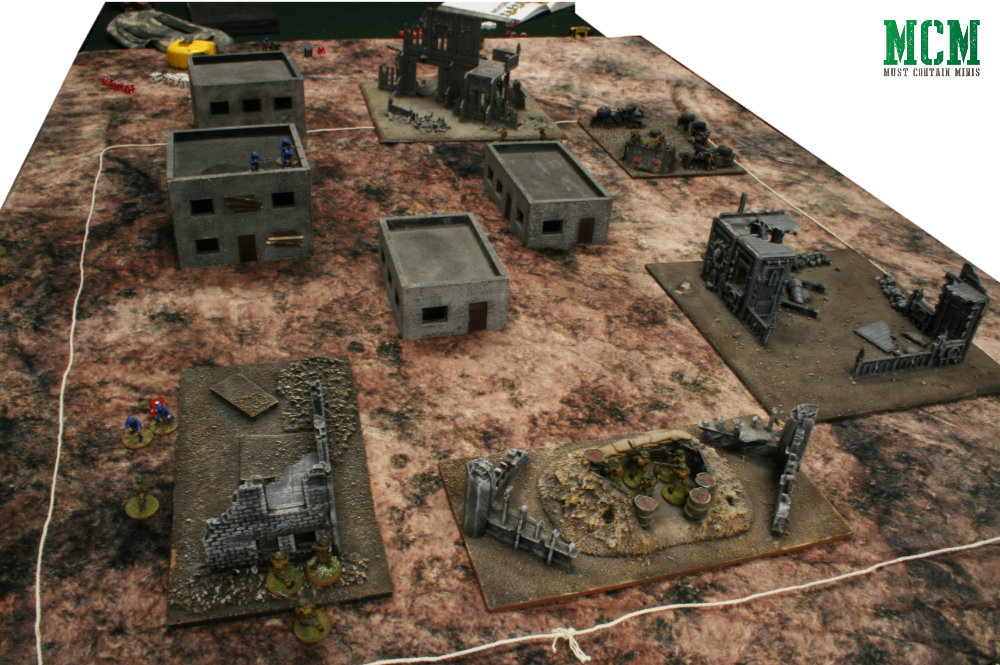
Maximum Aggression
The German / Cobra troops meet this aggression with multiple rounds of violent assaults. While Cobra proves their gunning skills ineffective, they prove more than a match in close combat.
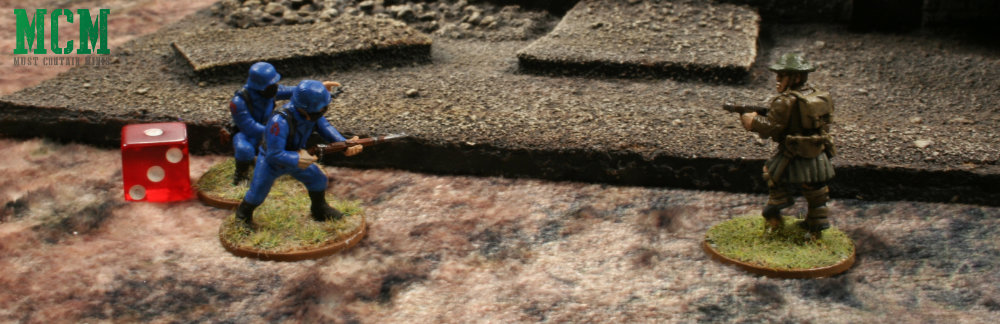
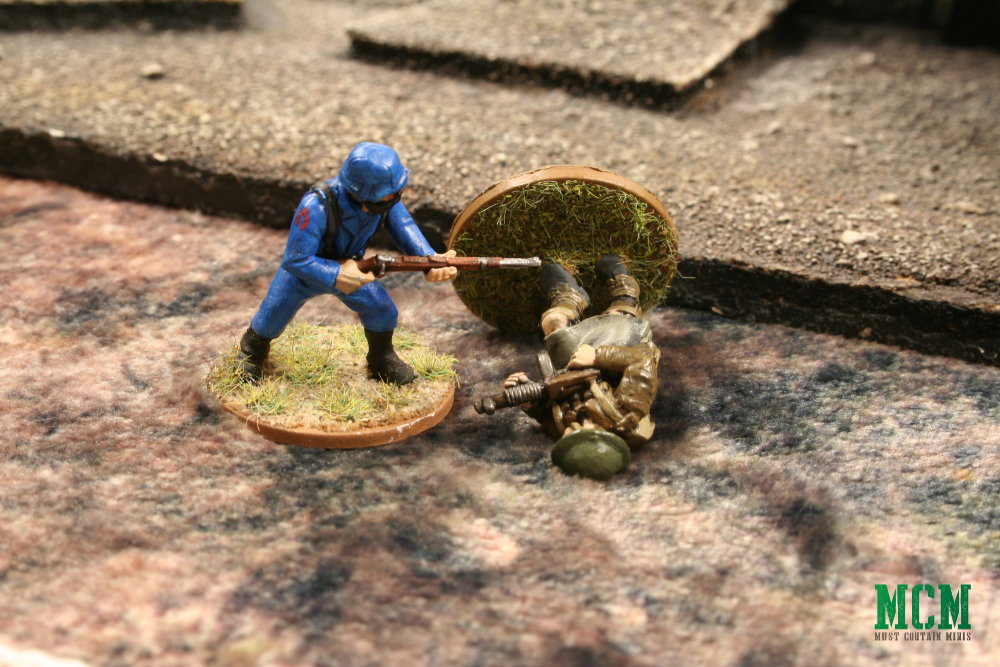
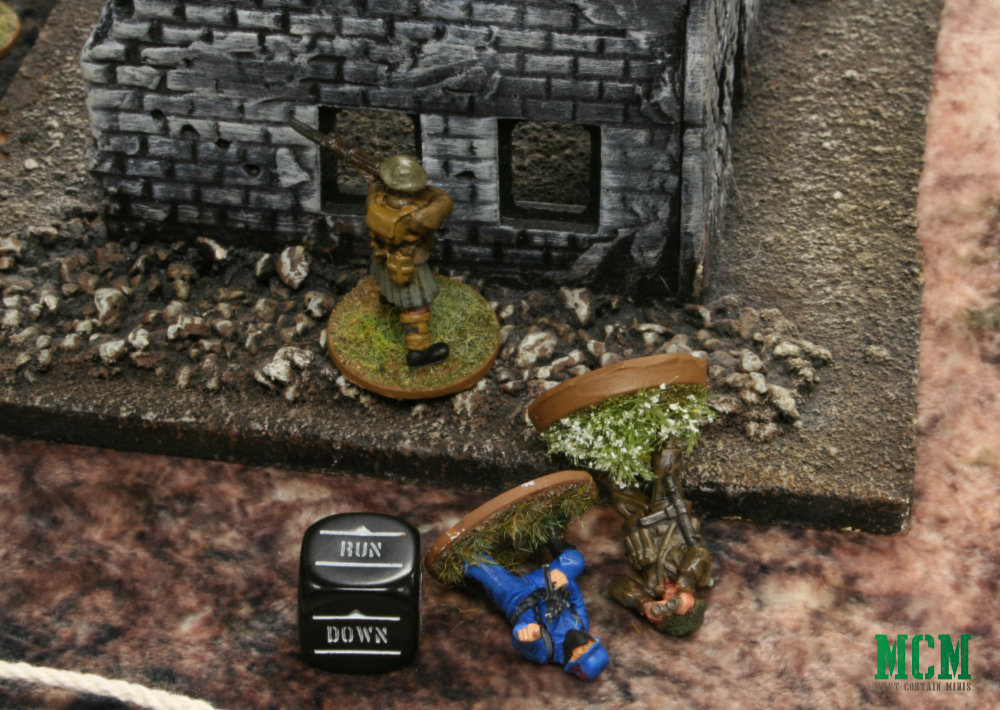
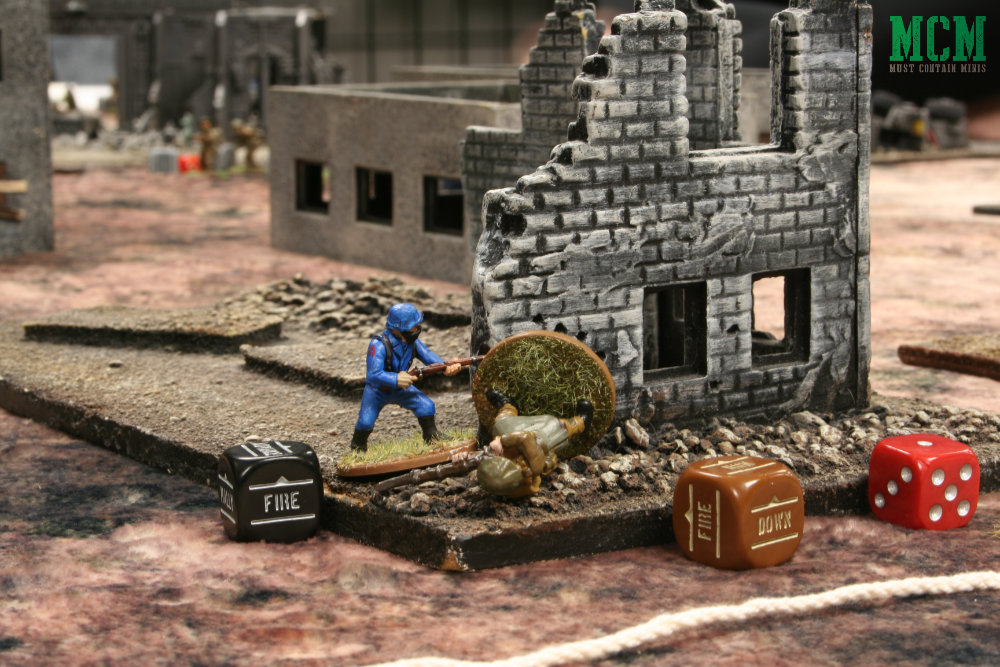
This frees up the Cobra trooper to try to flank my bunker.
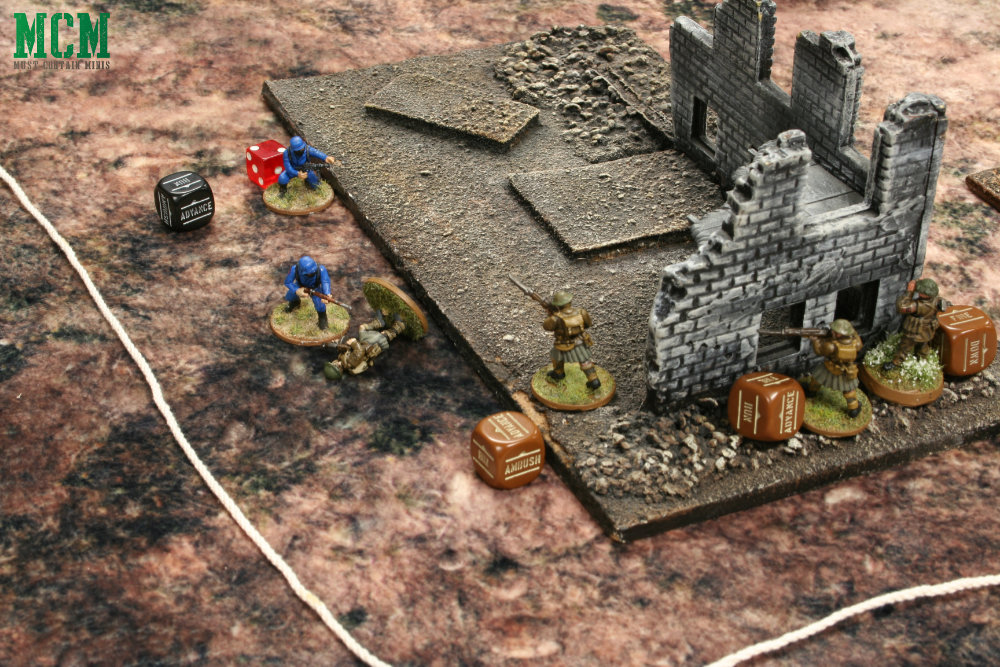
Having focused in on the action on the left flank of the table, let’s check out the other action on the table.
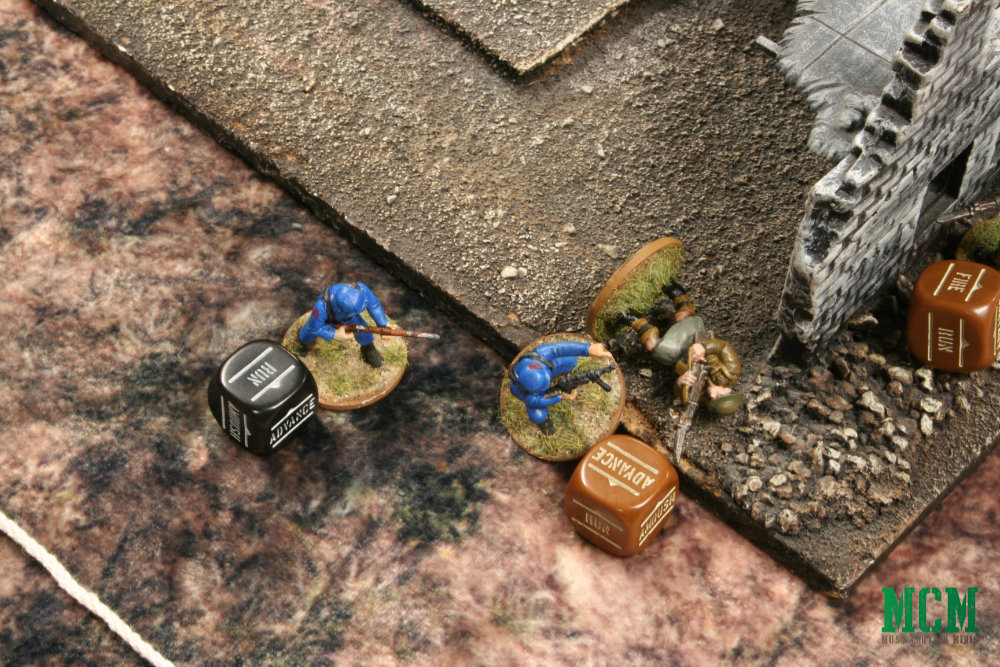
Further Action
As you can see in the picture above, more is going on than just my battle with Cobra. The other British player split his forces. I took out most of the troops he sent in my direction, while his other block of troops move across the battlefield out of the range of my guns.
Although this scenario is a war of attrition, Randall concedes victory to me (the Veteran British Forces). Looking at the table, I think we have more of a stalemate than a true Veteran British win. If we kept going, I think the regular troops would have overwhelmed my forces. Who do you think would have won?
Randall had left 9 regular infantry with rifles. I had 5 veteran infantry left (3 with rifles and one with an LMG and one with a SMG). Randall stated that he thought my vets were too well entrenched to keep going.
The Battle Report on YouTube
A video version of this battle report now exists on YouTube. You can watch it with this link here, or through the embedded video below.
Wrapping it up…
Truth be told, Randall conceded because he wanted to try out Last Days, which we played next. If we kept going, I think he would have won.
What do you think?
Until next time, Happy Gaming Everyone!!!
Nice report!
BTW, the “Academy of Street Fighting” pdf has the following rule:
MACHINEGUNS
If a weapon with multiple shots successfully hits an enemy soldier, it may resolve another attack against a different target within 6”, reducing the number of shots by 1. The machine gun can keep firing in this fashion until it misses an attack, or it runs out of shots.
Remember, those shots are at -1 (small target) unless using you loader to assist.
The AoSF supplment has more Firefight rules than does the Firefight! pdf itself (Though I could have sworn the first coppy of it I got ws more substantial. Anyways AoSF should clear a lot up.
https://store.warlordgames.com/products/academy-of-street-fighting-bolt-action-firefight-pdf