This post is a Terrain Review of the Low City Walls MDF Kit by XOLK.
Disclaimer: XOLK sent this product to Must Contain Minis for Review Purposes.
Who are XOLK?
For those that have not heard of XOLK, they are a North American Company that makes MDF Terrain and accessories for wargames. We have a number of their products Reviewed on this website, which you can find by using our Search Bar. What attracted me to them at first was their prices, and my American friends will see even better prices because XOLK’s prices are in Canadian Dollars.
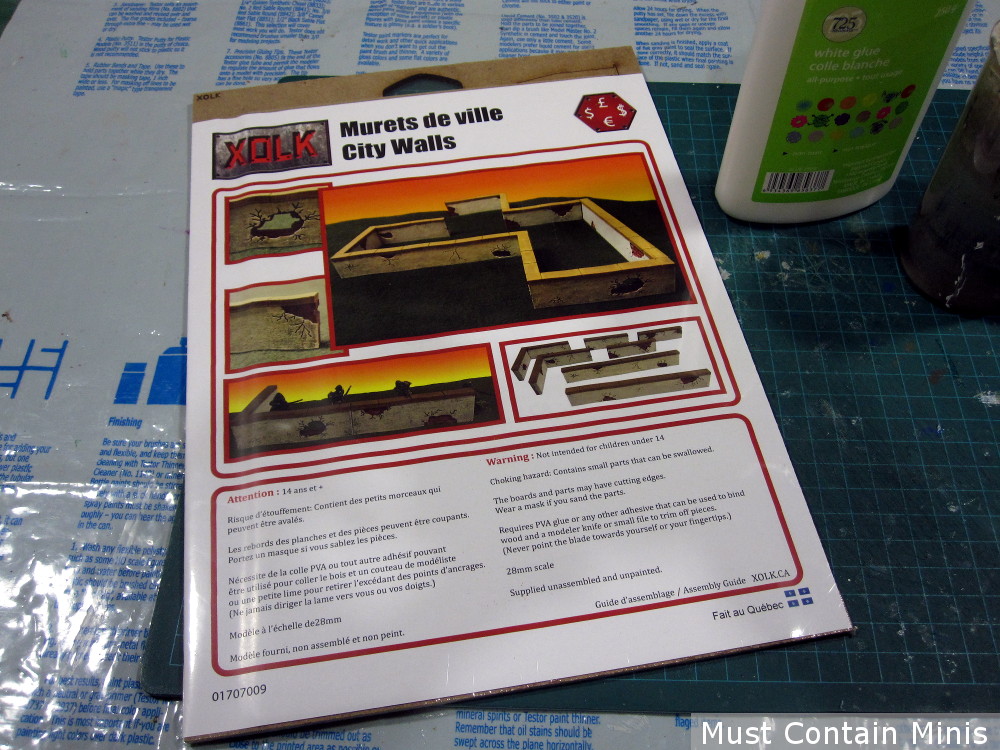
Now, let’s take a look at the City Walls kit that they sent.
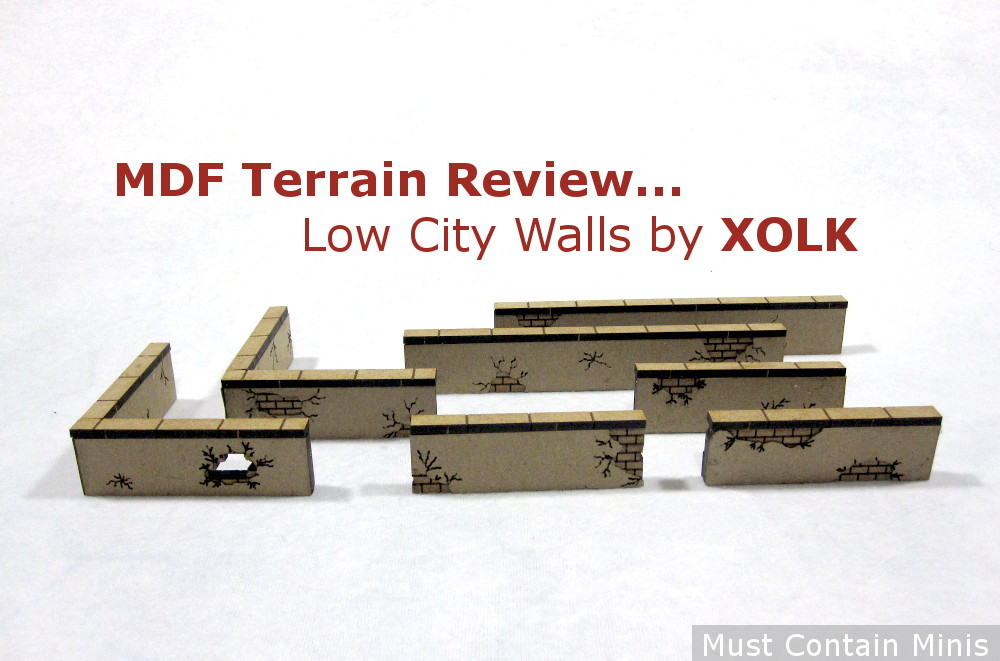
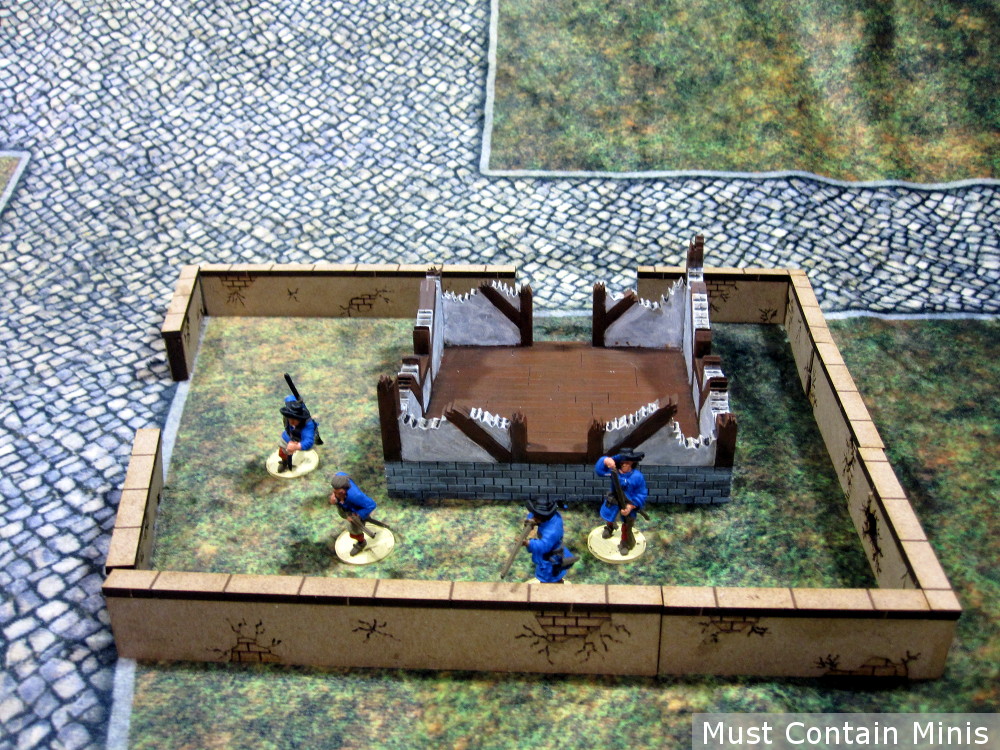
Once built, these products look pretty good. Below is a picture of the kit all built and placed on the gaming table.

Overall, I think these walls look very good and I have not even painted them yet. Building them wasn’t too difficult either. XOLK has an excellent resource page on their website on how to build their products. Unfortunately for me, the instructions for these specific walls were not there when I went to build the product. Fortunately, these walls are very easy to build and go together fairly intuitively. XOLK has done an excellent job of labeling the components so you know how they fit together.
Building the MDF Kit
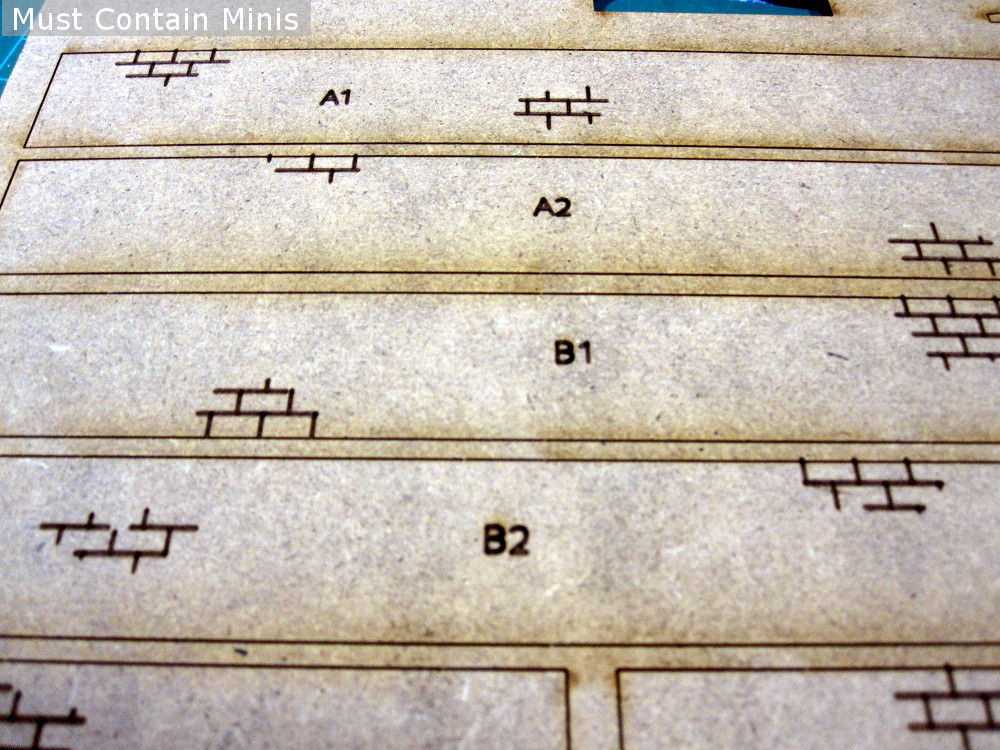
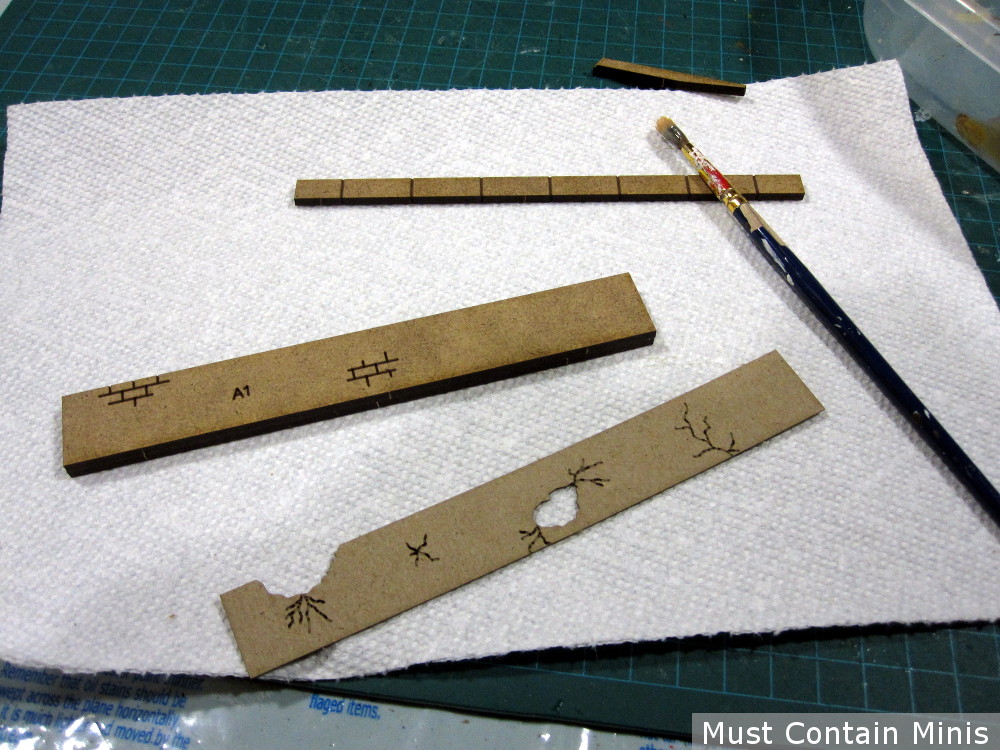
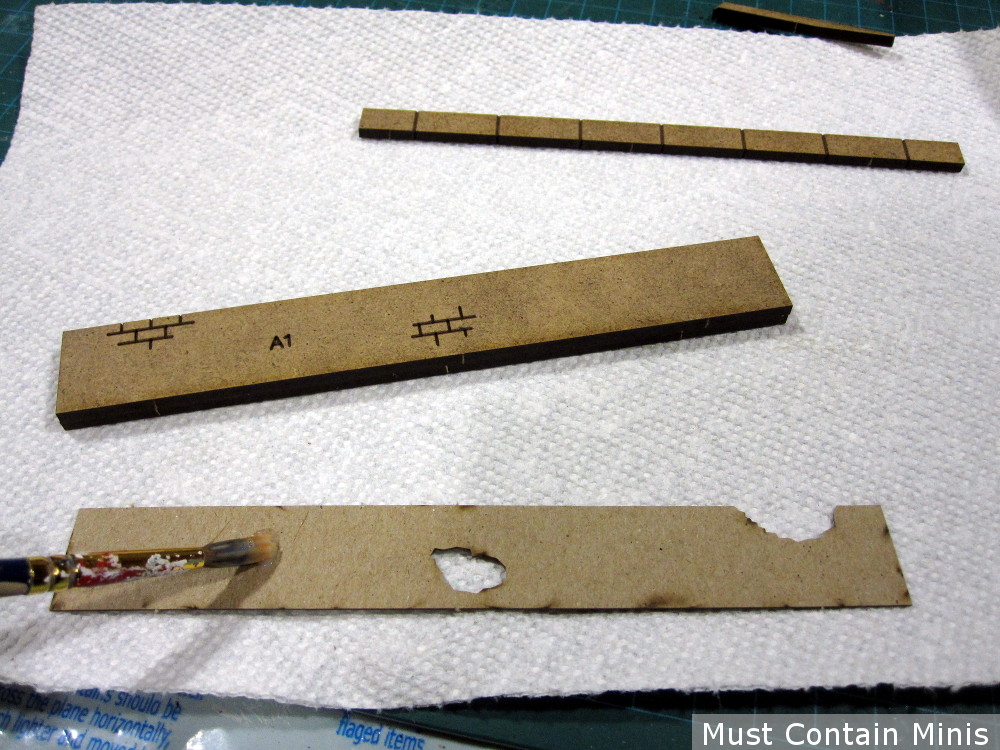
Assembling these was as easy as gluing the back of A1 to the back of A2. Then there are some cardboard cutouts that paste on to the front surfaces for extra details. Those cutouts match up just as easily as the wall sections because of how well they are labelled. To finish the model, there is a wall ledge that gets glued to the top of each wall section. Just like all the other pieces, wall topper “A” glues onto the top of wall “A.” Simple.

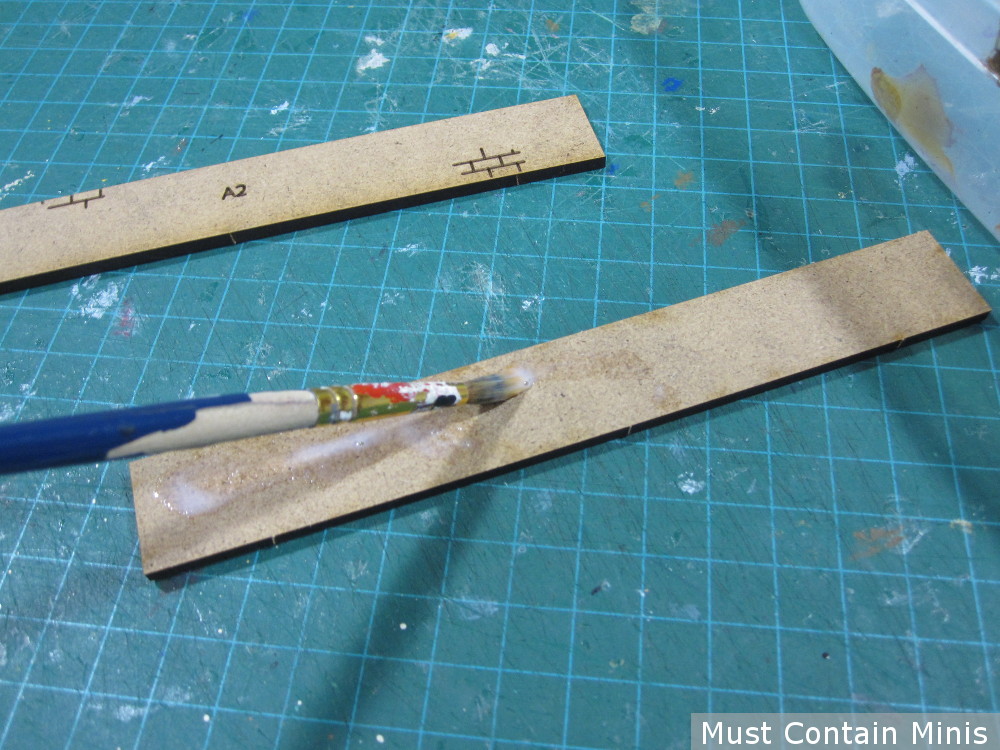
To paste the walls together, I used a watered down solution of white glue (PVA) and a few drops of water (roughly 3 parts glue to 1 part water). Other people use different mixes, but use whatever you find works best for you. Watering down the glue makes it easier to brush the glue onto the MDF pieces. Below is the build process I took on the walls.
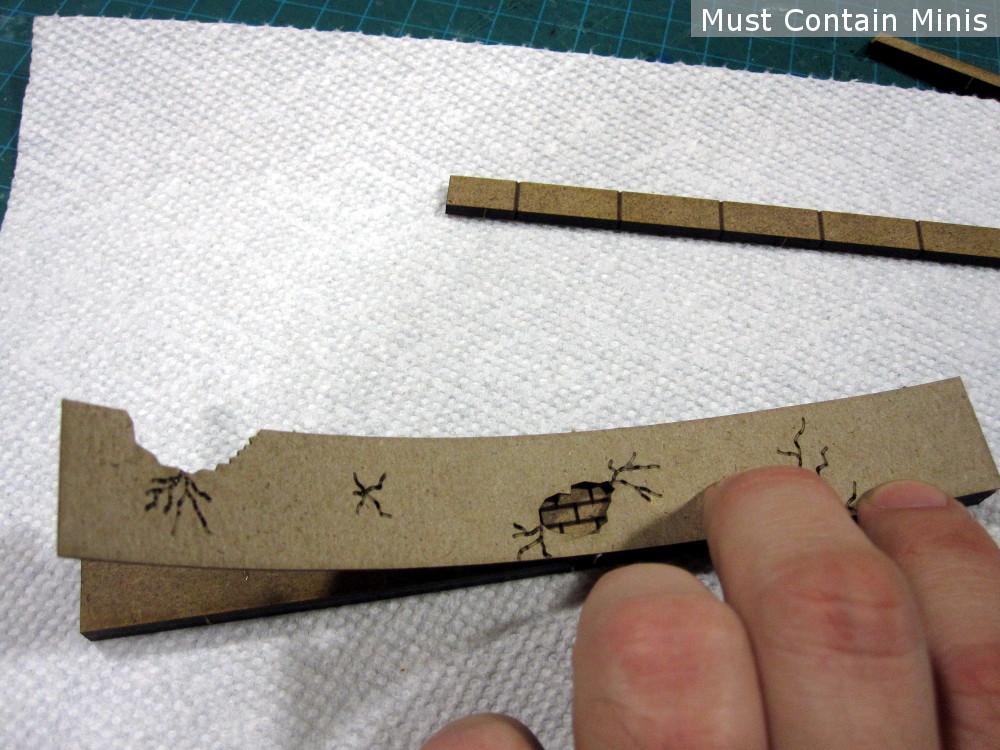
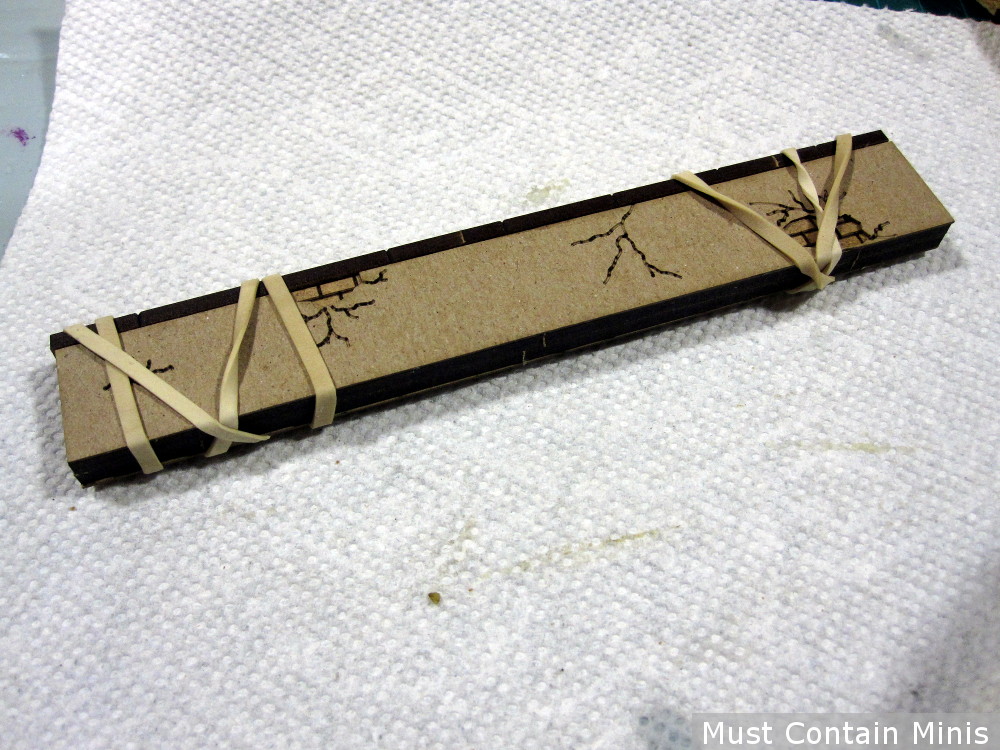
Just like that and these walls are done.
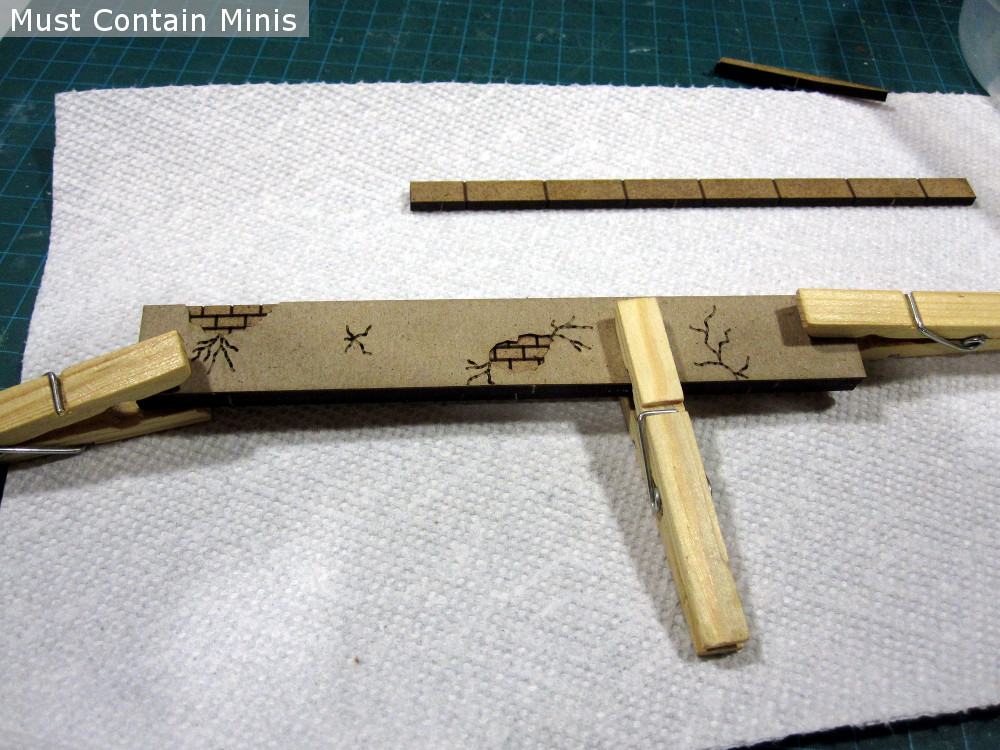
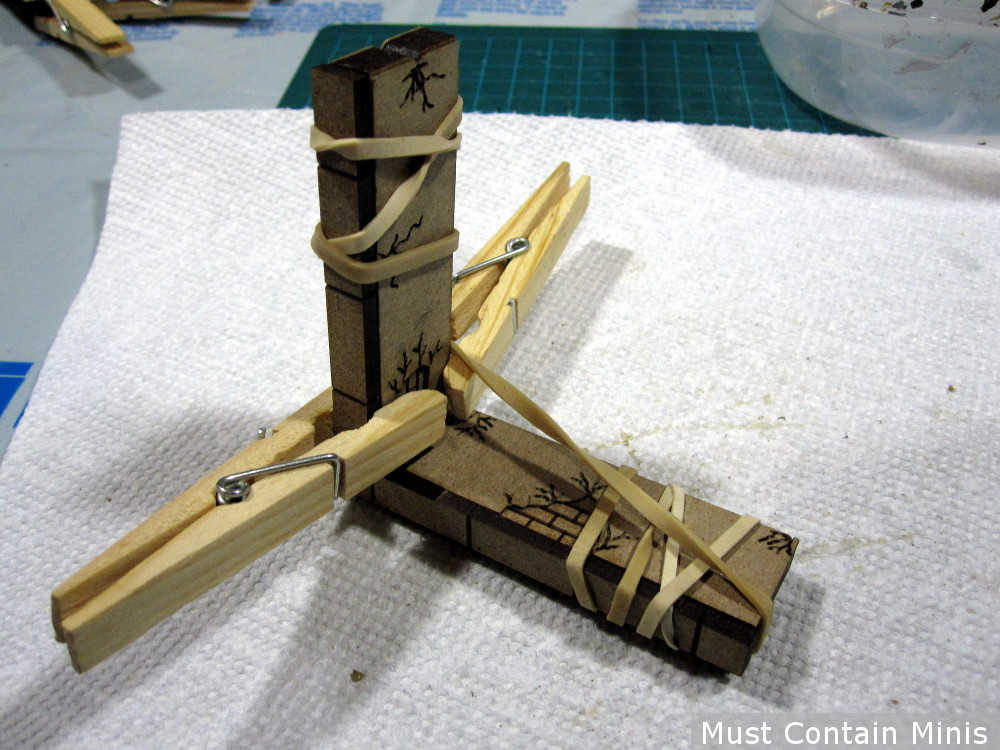
The corner pieces go together well too, but if you want to clamp them together while they dry, then you need to do some inventive thinking. Again, this is an optional step that I believe helps to build better MDF terrain pieces. I’ve built many in the past just holding the pieces together until I felt they could hold on their own. The clamping of the pieces just makes for a tighter adhesion (especially on the corners and edges).
The End Result
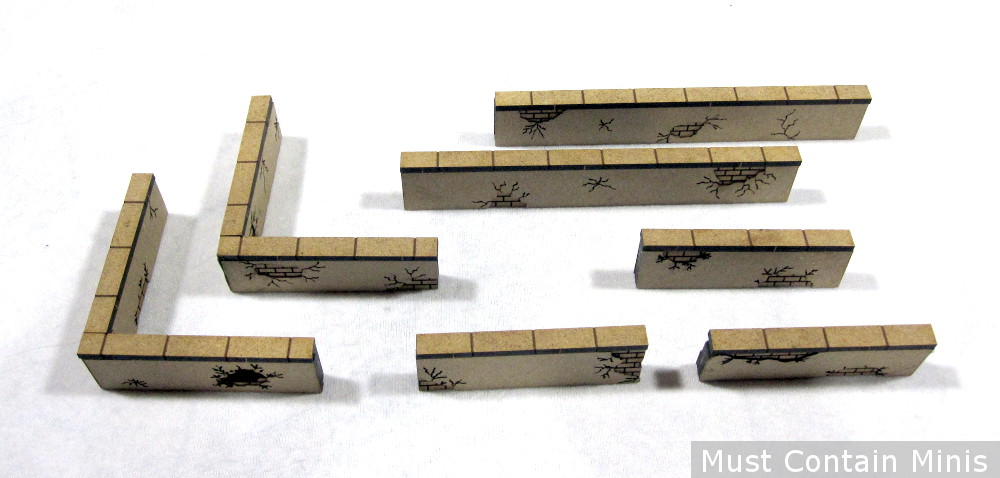
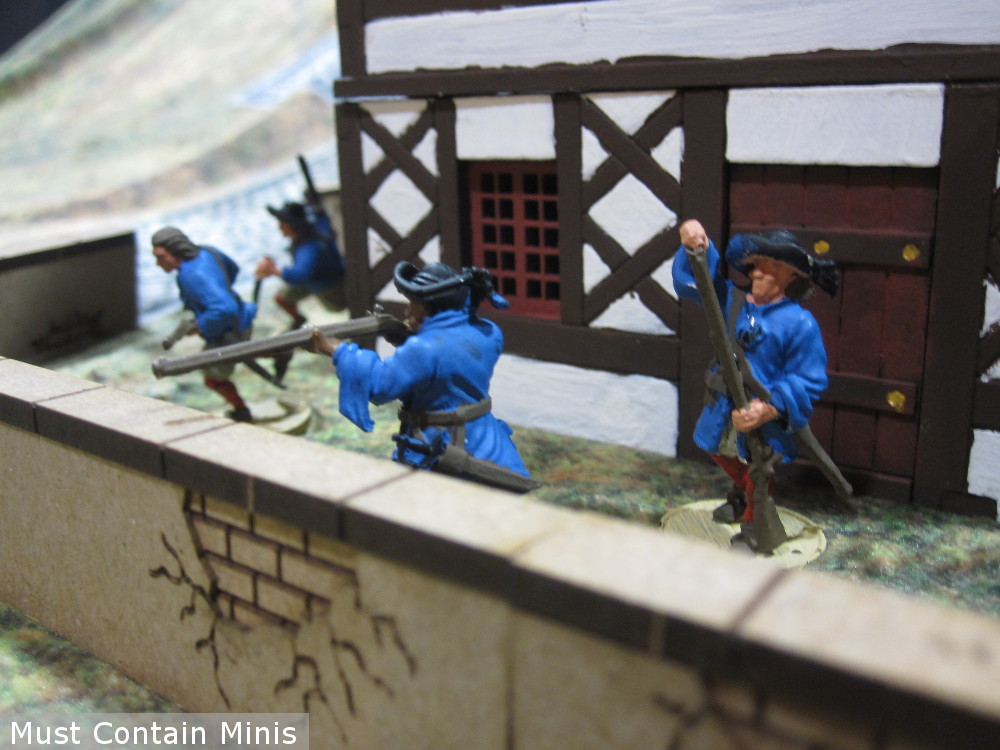
In assembling this kit, I made two corner sections, three short straight lengths and two long straight lengths of wall for my gaming table. The walls on their own look great even without paint. I will paint them though, but for now I have to wait for the weather to warm up so I can take them outside and hit them with some shellac and primer. Spray painting outdoors doesn’t work too well in Canada during the winter months. 😉
Below, I took pictures of the City Walls placed with other different brands of 28mm terrain housing. Brands included are… XOLK, PlastCraft Games and 4Ground. The reason I selected these brands is simply because that is what I own in my collection.
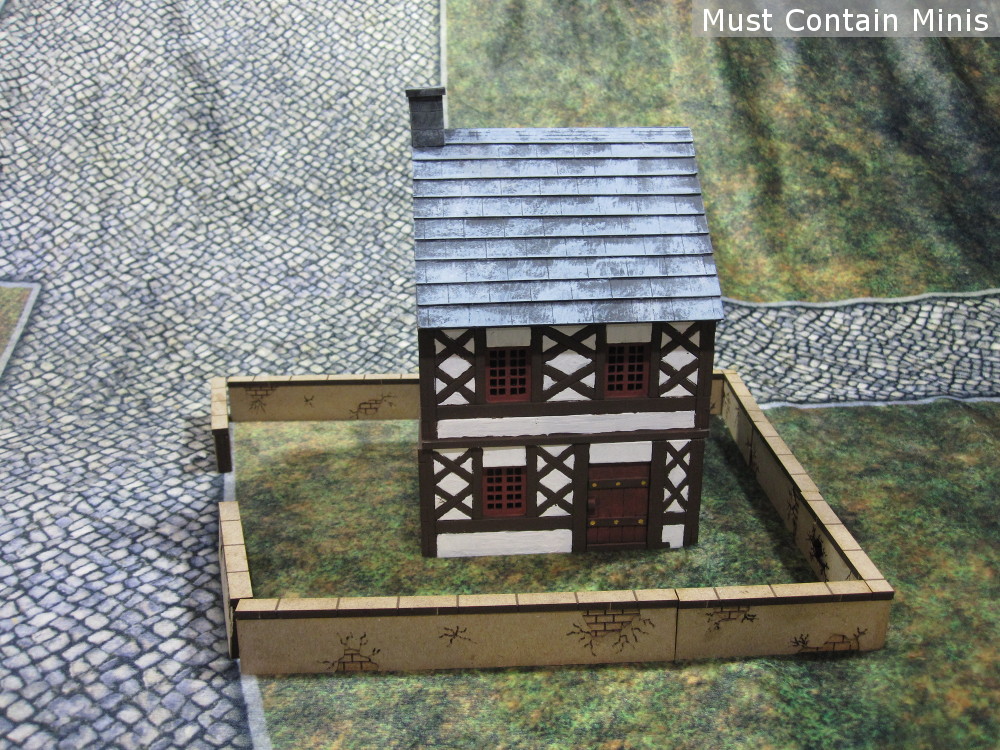
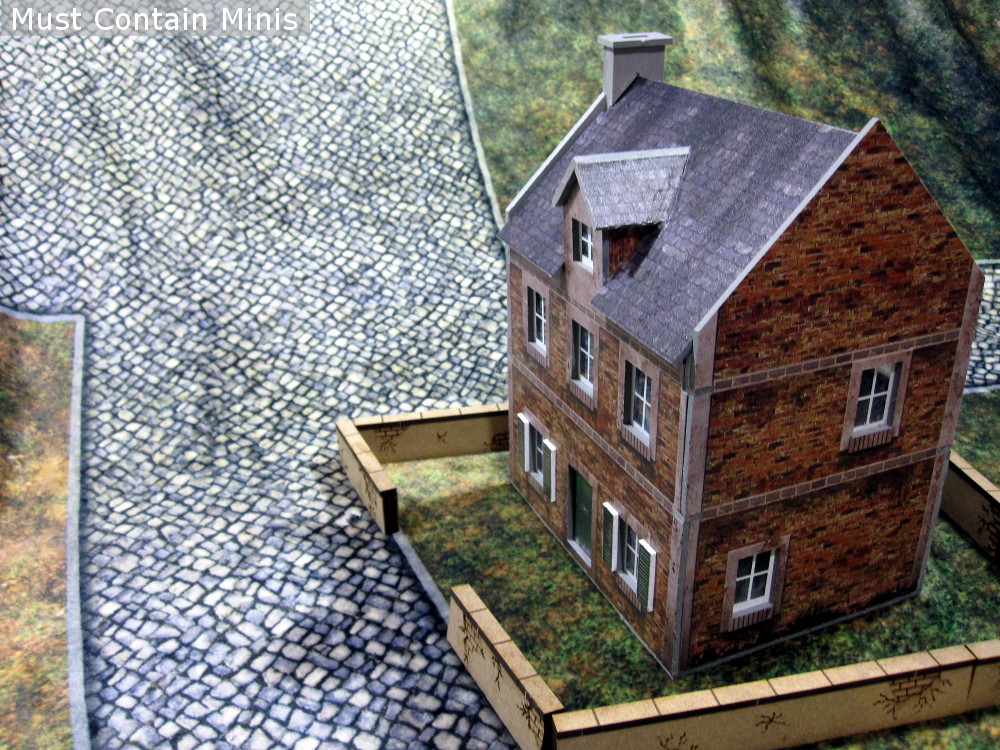
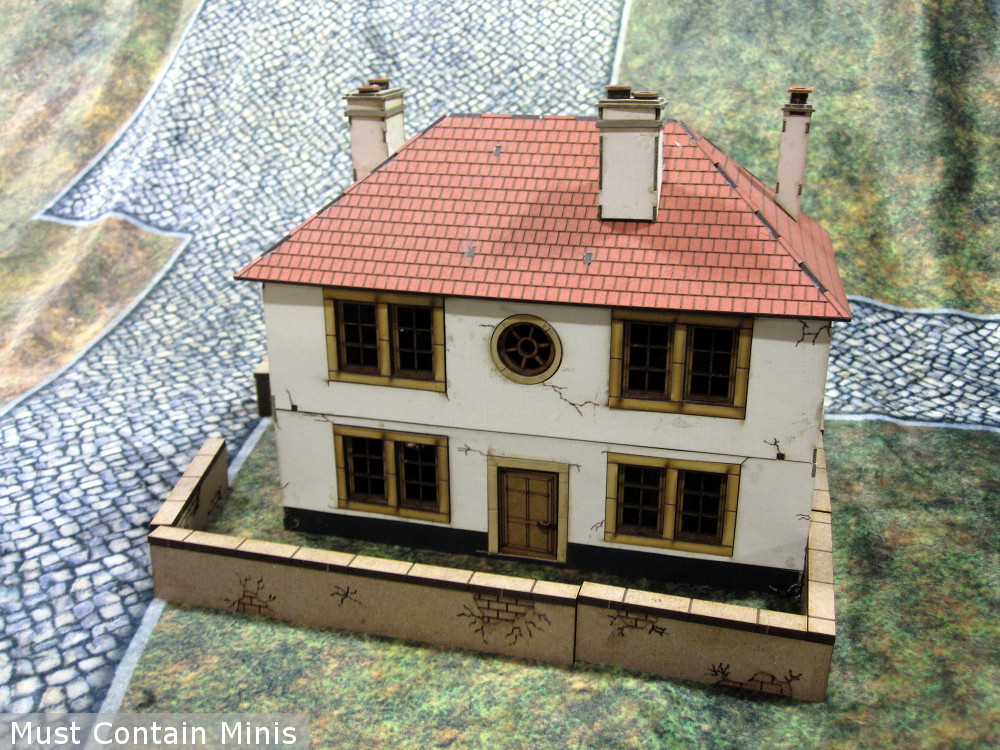
As you can see, the City Walls fully fence in all three houses by the different companies. Aesthetically, I think they look best with other XOLK Buildings and with the 4Ground House.
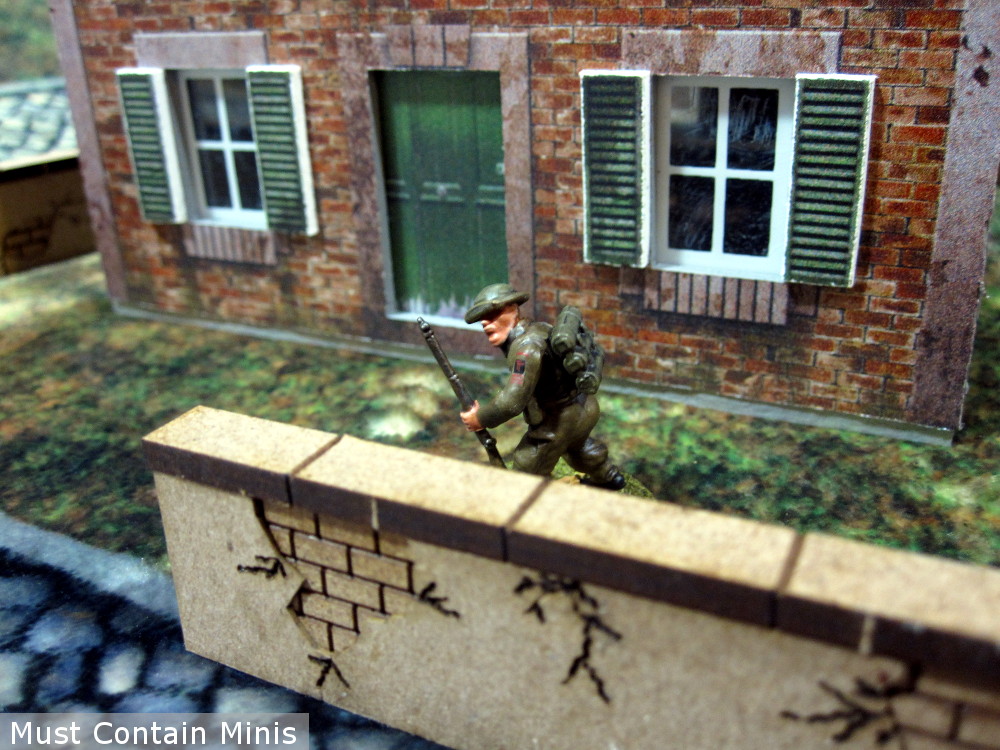
Eye-Candy

Summary
The MDF City Walls Terrain Kit by XOLK is an excellent kit that is quick to build. As you have seen above, the product goes together easily and looks great on the tabletop. There are some nice details in the pieces, and they should paint up nice once I get around to putting some colour on them. For those wondering, this kit costs $16.99 (Canadian) and is purchasable through XOLK’s Online Store and through select retailers.
I would like to quickly thank XOLK for sending me these walls to review.
For those wondering what I used as a back drop in many of these pictures, that is a Medieval City Cigar Box Battle Mat.
Until next time, Happy Gaming Everyone!!!

Those look great! The colour of the MDF really does work well as some sort of sandstone/stucco/adobe or whatever.
I would absolutely second the recommendation of securing the layers somehow while the glue is drying, especially for the card layers, which have a real tendency to warp. Doesn’t need to be much, clothespins or rubber bands like here, or even just something heavy and flat (old calculus textbooks work well) laid on top while it cures.
Pingback: Celebrating my Birthday | Must Contain Minis