Dropzone commander by Hawk Wargames (now TTCombat) is a game that I have played a few times. The starter set is a great value for the money and a buddy of mine has it along with four full armies. A while ago, I went to his house and got in a game. Below is a report of the general strategies used and how the game went.
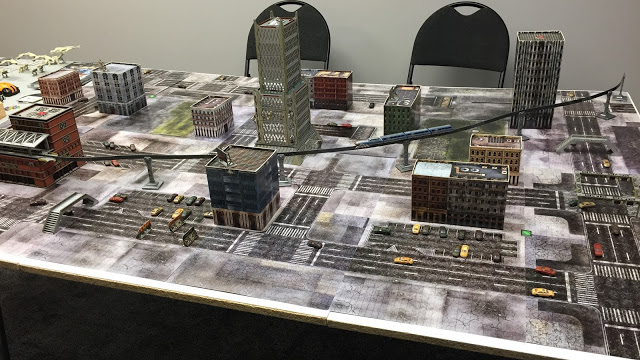
I played as the Post-Human Republic (PHR) while my buddy, James, played as the United Colonies of Mankind (UCM). The table was set up as below and there were 3 objectives that could be carried off of the table by infantry and two objectives that acted as focal points that we were to have troops by at the end of the game. My troops started at the top right side of the table and James’ troops started in the bottom left.
 |
| My Strategy was to rush my infantry to the objectives in the buildings while moving my heavy equipment over to the top left side of the table for better firing angles. Turns out that is not a good idea as the PHR moves way slower than the UCM. |
 |
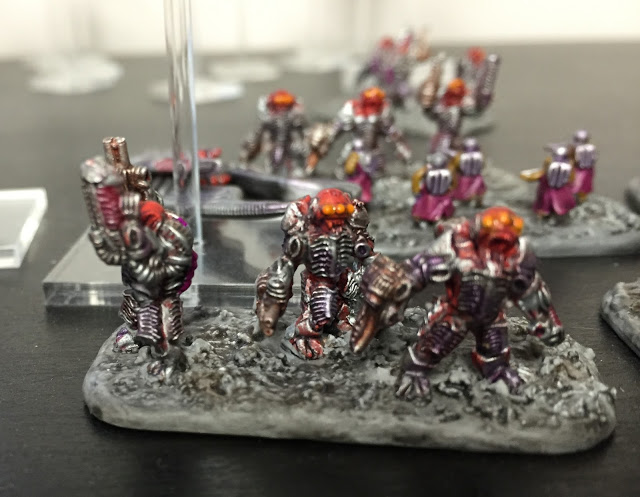
| My Forces… PHR |
 |
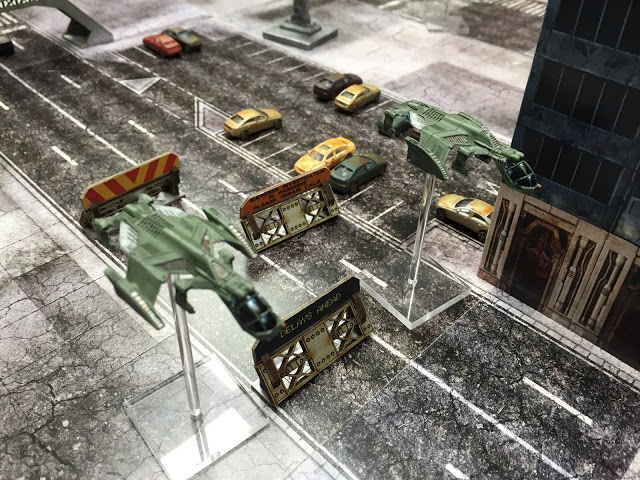
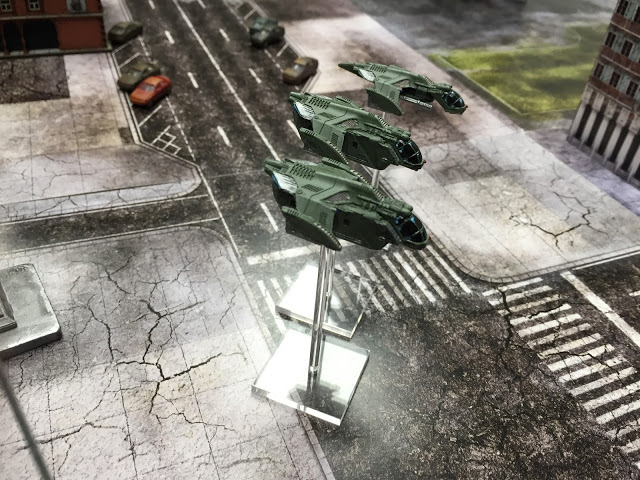
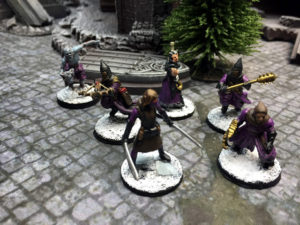
| James’ Forces… UCM |
 |
| I dropped all of my infantry in the first building and captured an objective. I had two underground subway cards, so I knew I could reach the middle building to fight over an objective in a couple of turns. |
 |
| James brought in all of his forces and moved everything mobile towards the middle of the table. |
 |
| On Turn 2 I used my fast flier (an Athena Air Superiority Fighter) to take out a UCM Drop ship with all of his heavy tanks. I figured that I would win the game by dominating the ground. |
 |
| First casualties of the game. All three of these Sabre Main Battle Tanks died after their drop ship was shot out of the sky. |
 |
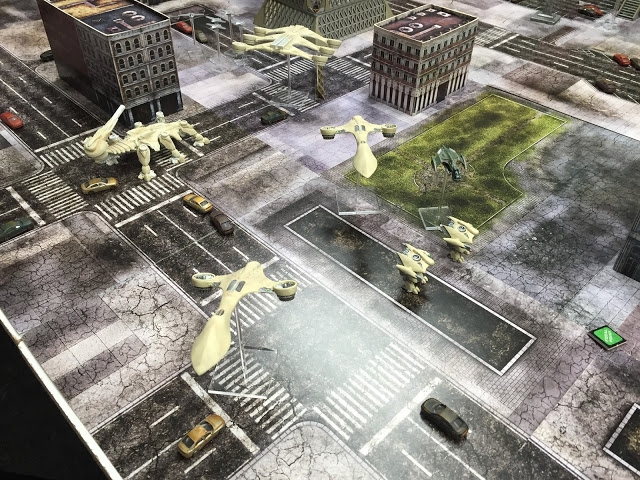
| Meanwhile, these UCM drones are getting closer to my forces. I underestimated their potency. In retrospect, I should have used my Athena to keep the drones away from my forces. |
 |
| On turn 3 I got greedy and ignored the drones and went to shoot down a drop ship still carrying its payload. The flight path took me past the UCM Ferrum Class Drone Base and my Athena was shot out of the sky. I thought, “what are the odds of that base shooting down my fighter? It is armed with just a few short range missiles.” I expected damage, but instead, the Athena was destroyed. Losing the Athena meant that I lost one of my only two anti-air assets. |
 |
| While I dominated the ground, the UCM went straight for my last remaining anti-air assets. This would be the beginning of my undoing. |
 |
| James got his troops to the middle of the table and started hunting for the objective. He didn’t know it, but soon my infantry would be in direct contention for those points as I had a subway system on route to his building. |
 |
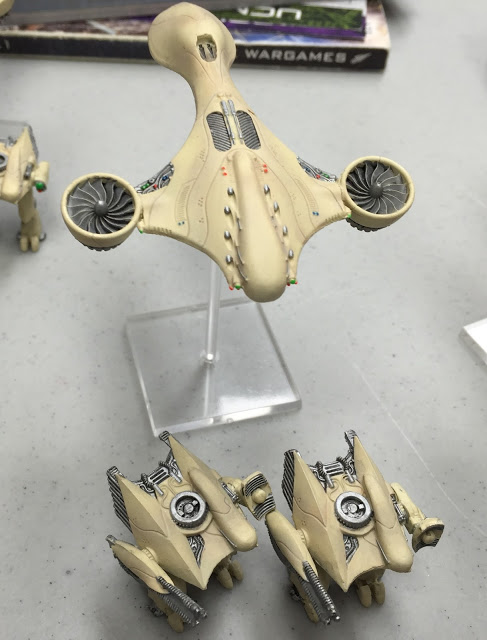
| While James concentrated on my Anti-Air, I was able to get units inline to tackle his Kodiak ACV. This location was where I planned to unload my full force. These are the PHR Apollo Strike Walkers. |
 |
| But I had to unload all of my forces early as I had no anti-air units left. I knew it was going to take a long time to get my Ares Battle Walkers in position, but it was still doable. |
 |
| Meanwhile I surprised James by moving all of the transports from my two infantry sections to the other side of the table to control the second focal point. At this point, he was still unaware that my forces where constructing an underground subway to the tall building that he controlled. As a result, he was baffled as to why I would be sending away all of my transports. |
 |
| Now I got my Nemesis to where I wanted him in the first place. The UCM is in trouble!!! They countered by picking up their Kodiak with a Drop Ship and because I had no anti-air left, I could not destroy the unit. |
 |
| Surprise! I have a direct passage way to this building to take the building with two full platoons of Infantry. Prepare to be outnumbered by the PHR! |
 |
| Meanwhile, the UCM was decimating my transport and drone sections. |
 |
| I did not have much left to contend for this focal point. The UCM mopped up what was left over here. |
In the end, the UCM won this hard fought battle. Points were divided as below…
UCM – 1 objective carried off of the table, full control of one focal point and a focal point in contention.
PHR – 1 objective carried off of the table, 1 objective controlled but still on the table and one focal point in contention.
This meant that the UCM won by one point. The PHR also took much heavier loses than the UCM.
Before ending this post, I would like to switch gears and showcase some of the paint jobs that James did on his miniatures. All of the miniatures used for tonight’s game were painted by him.


Pingback: TTCombat MDF Intermodal Containers Review - Must Contain Minis