Do you have a big backlog you want to get started on, or do you need to get to the three-color standard fast? Let me show you how!
In this post, I describe to you the steps I took to paint tanks fast for my miniature army that I use in multiple miniatures games. For this one, I am using a three-color scheme that includes blue, grey and red. Oh yes, there is also black and multiple tones mixed in there to make the tanks have a little more definition.
My Imperial Guard / Human Defense Force Army
When it comes to Sci-Fi games, there is something special about the human faction of the game. They are what most represent us in a game of monstrous horror. For One Page Rules’ Grimdark Future these miniatures are for the Human Defense Force Faction. If you are playing Warhammer 40K, this army is very much like the Imperial Guard/Astra Militarium.
These vehicles all come from MyMiniFactory and are a part of my larger Human Defense Force Army. The miniatures in today’s post are by RMPrintable (the Flyer) and Nate Feyma (the Tanks).
If you prefer video content over written work, the video below goes over how I painted my first tank from this collection of seven vehicles – five of which I painted in just two weeks of my free time.
As a note, I used a strong tone over the complete surfaces of just two models. The rest I used a more targeted application of the shade.
Now, let’s get into the guts of this article!
Table of Contents
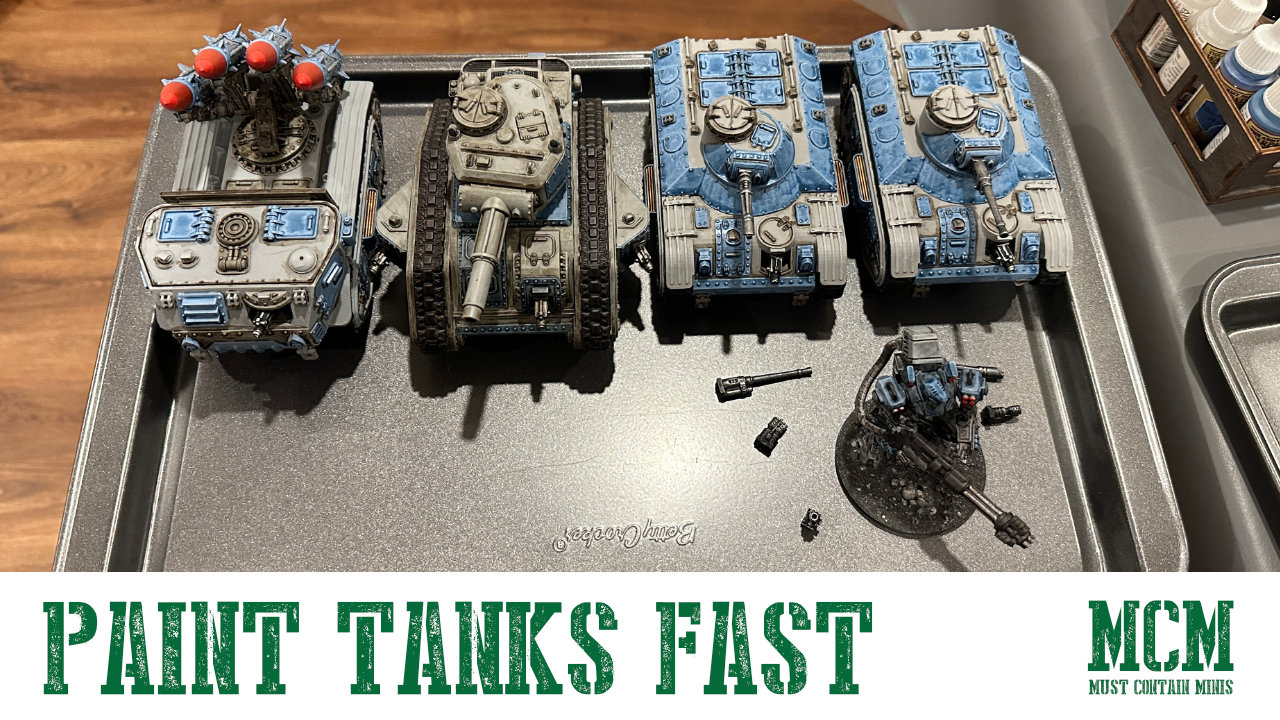
Challenge – Paint Tanks Fast – The Finished Models
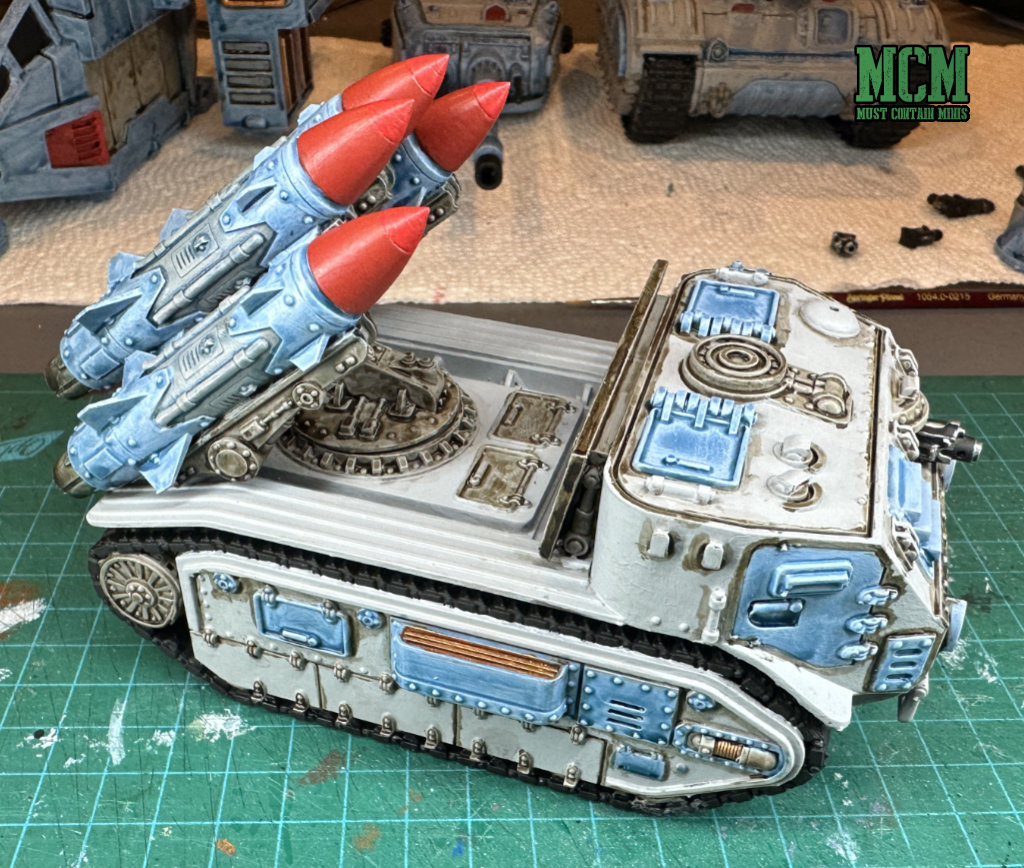
You have already seen one of the tanks I painted for this army in the video above. Now, let me show you how it and the rest of the vehicles turned out.
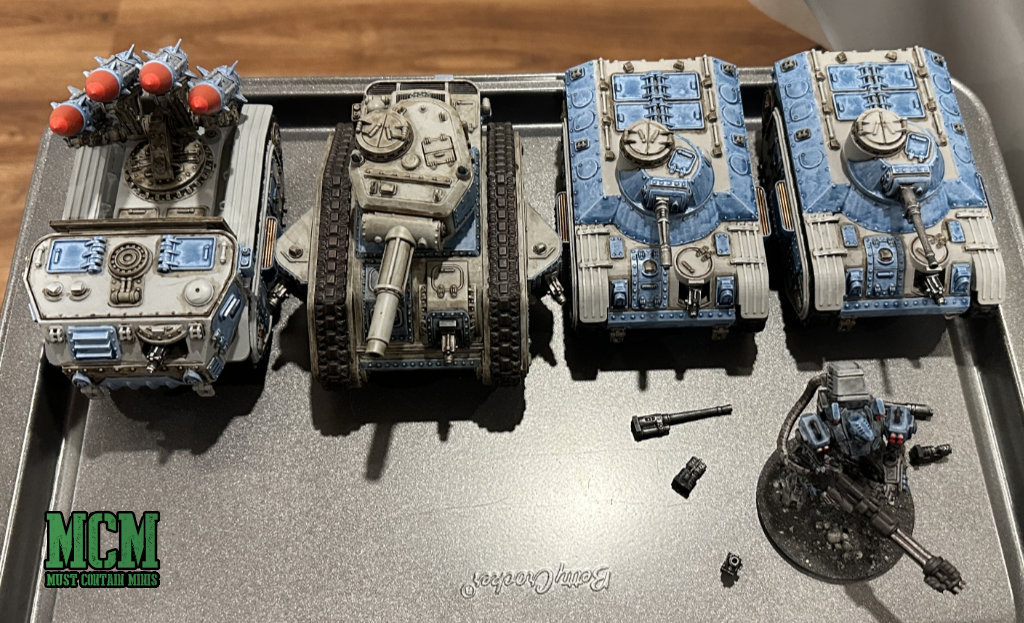
These tanks all turned out great. The walker in the image is also by RMPrintable on MyMiniFacotry.
Above are the finished products, but let’s take a look at my painting process for them this time around.
Painting this Batch of Vehicles
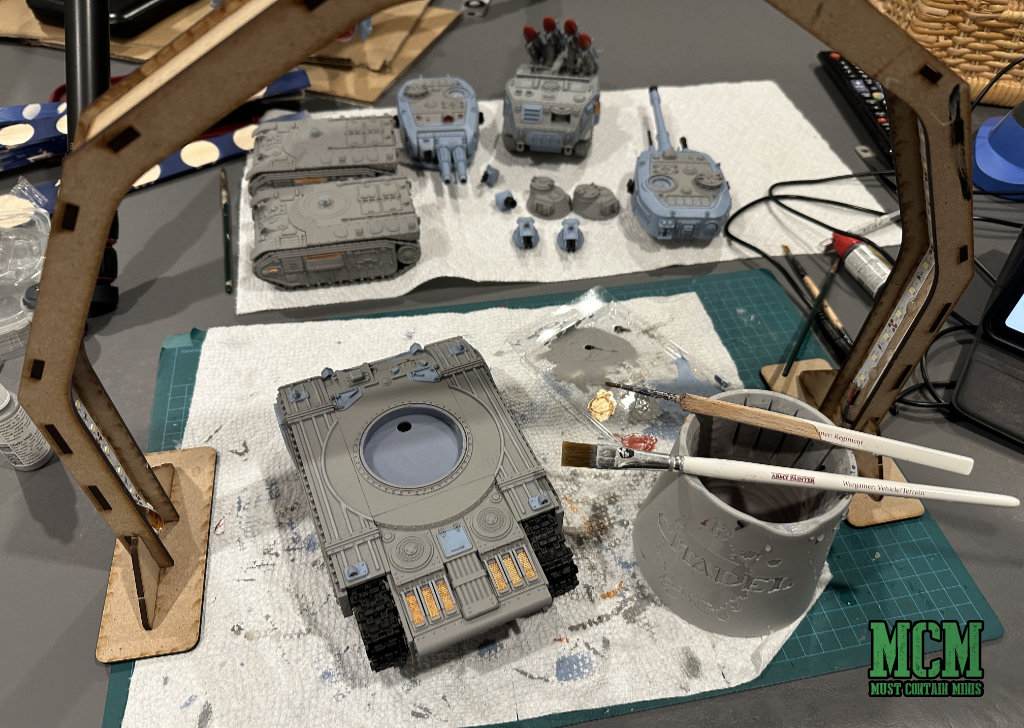
For this round of vehicles, I batch painted them over the last two weeks. That’s right. Batch painted. I put them all on my painting table and painted them up in assembly line order one color at a time like I was painting a small unit of infantry.
Paint Steps 1 & 2
To start, I primed the models grey and then laid my base colors.
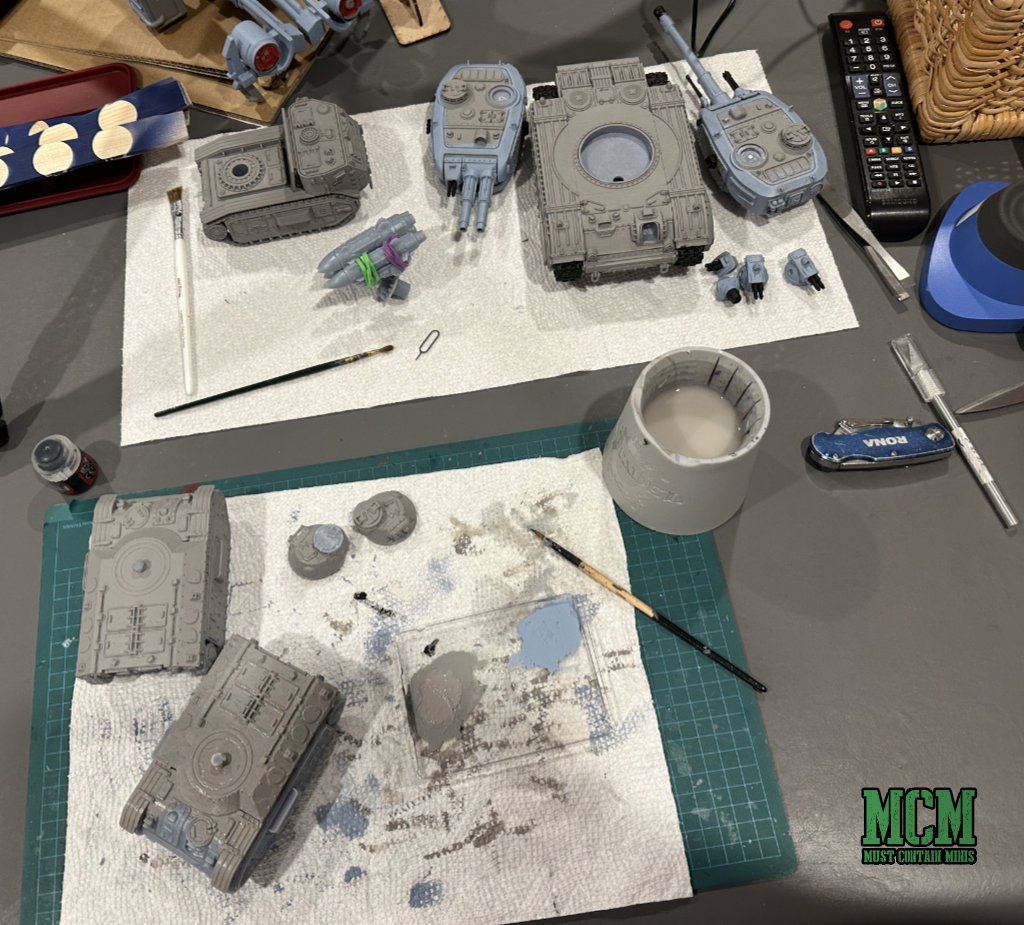
Makes for a very messy table. First thing I did was prime them with Army Painter Brush on Primer. I have a video of how to use that stuff on my YouTube channel for those of you interested.
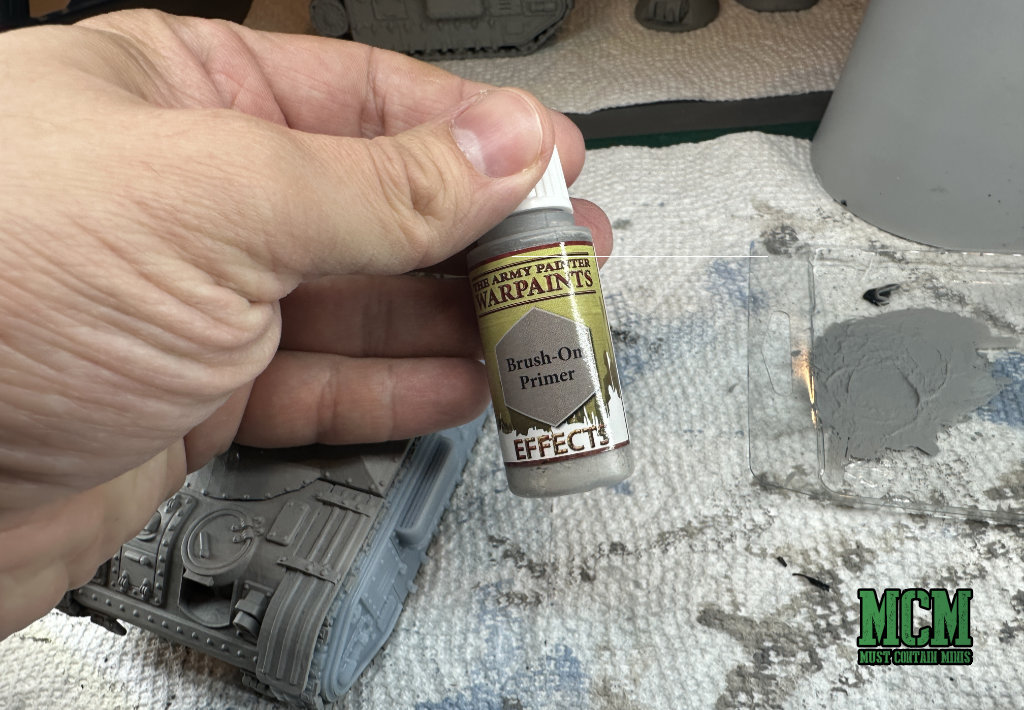
I then moved along and painted the parts I wanted blue with Grey Fog by the Army Painter. All of the paint, shades and primer I used for this project are by The Army Painter.
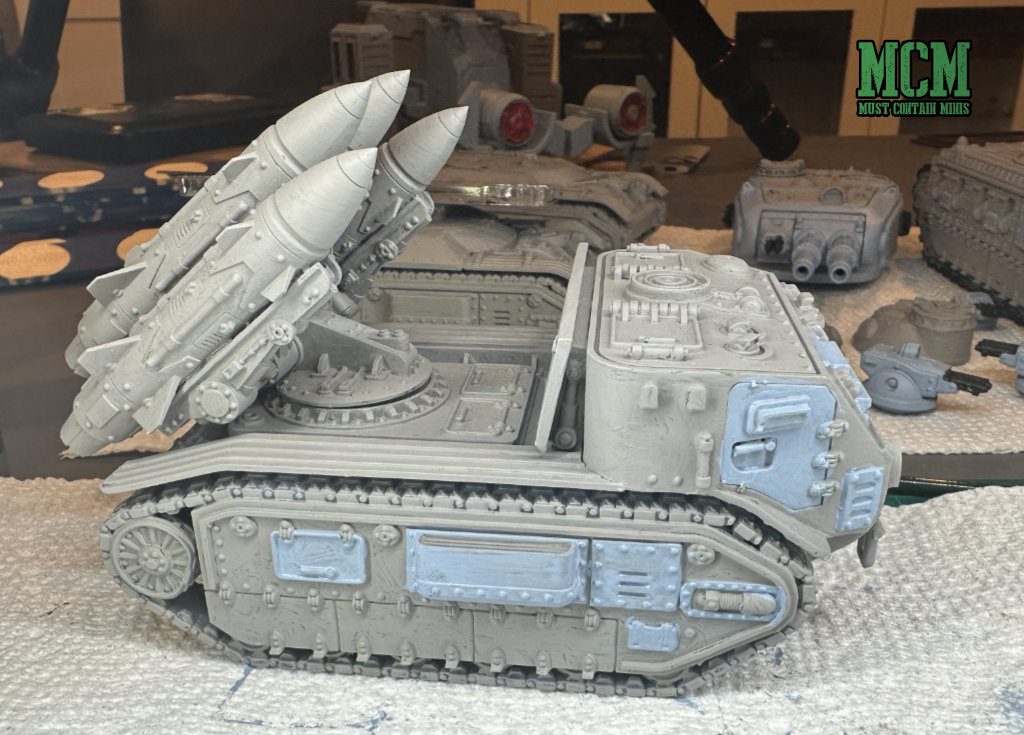
Continuing with the assembly line process, I painted on Gold and Red where I wanted it on the models too.
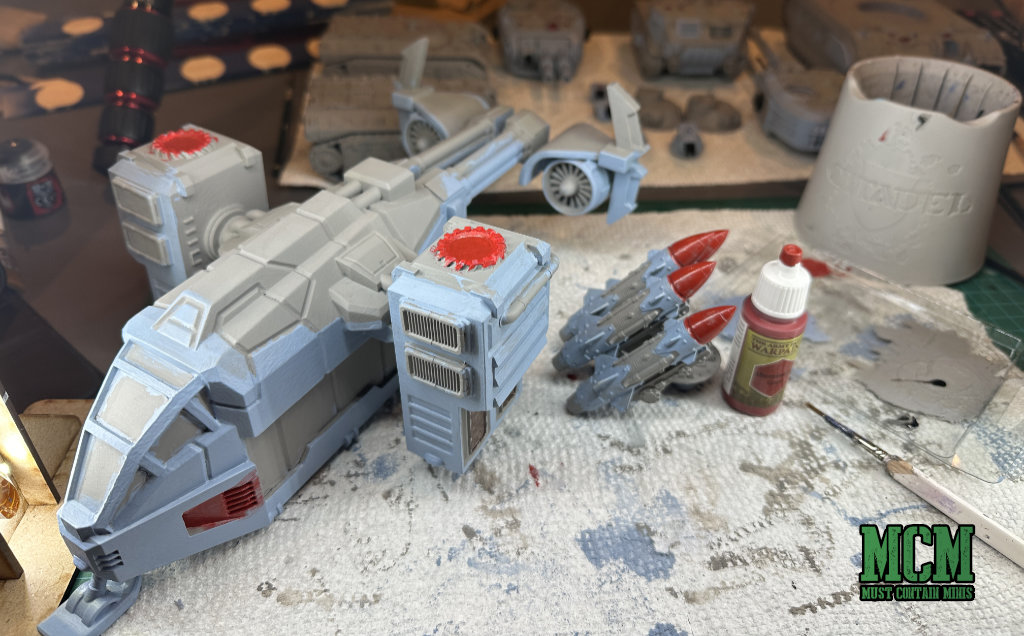
When I get to the highlight stage, I painted on a lighter red onto the missiles and the engine effects of the flier.
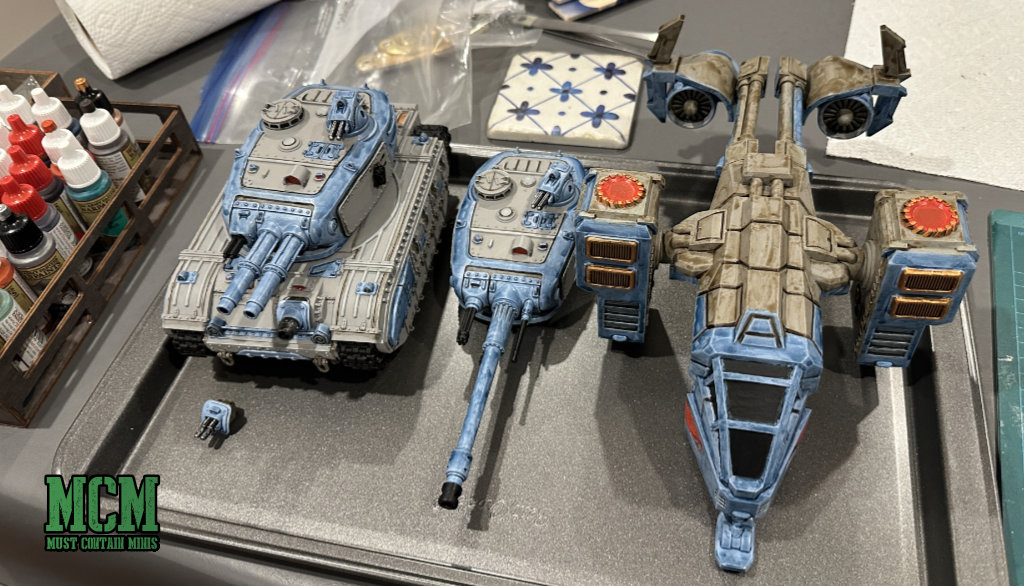
With the flier, I painted its exterior Ash Grey, but after I took a good look at the color of the primer, I decided to leave the other models as Primer Grey and brush Ash Grey onto the highlighted and raised areas of the model.
Once all the base layer colors were on the model, I moved to shading it. This is where the magic happens.
Paint Step 3 – Shading the Miniatures
When you use the base color, shade, highlight model of painting, the shading stage is where a lot of the magic happens. It gives your model a lot of definition and depending on the quality that I want to paint to, sometimes I skip the highlighting process and end here.

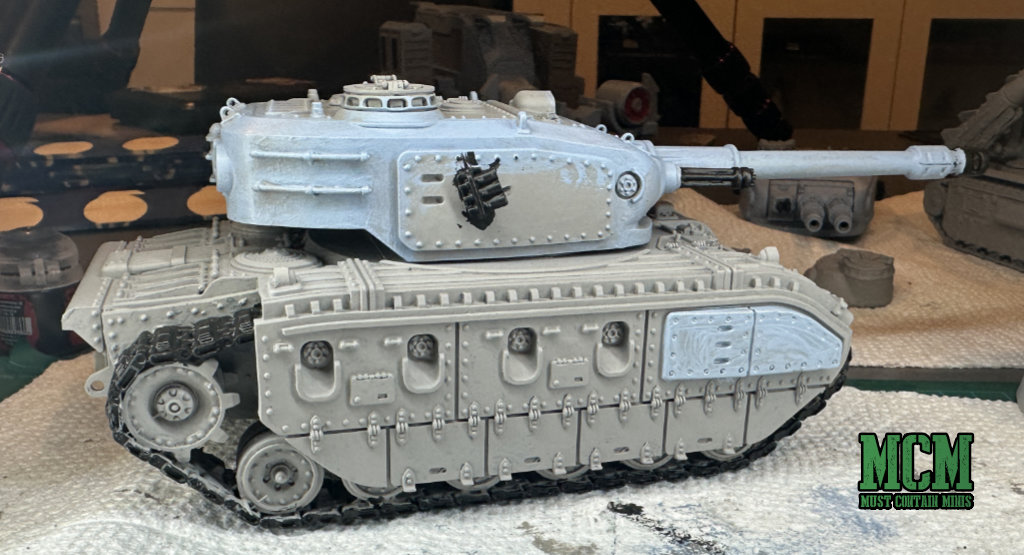
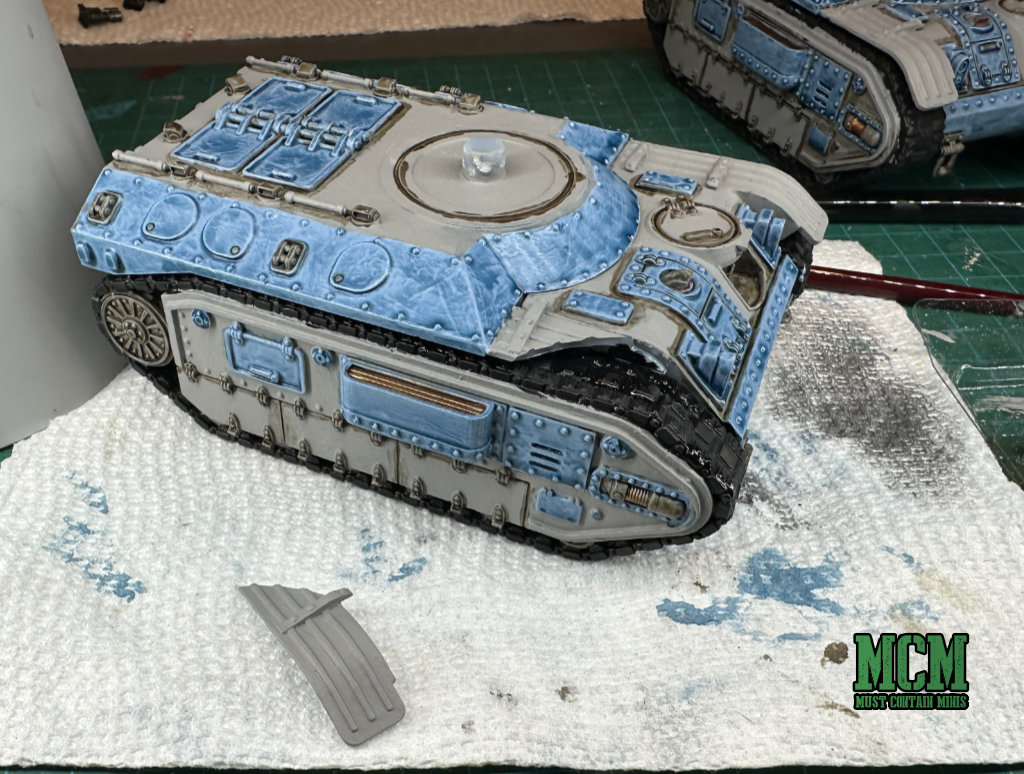
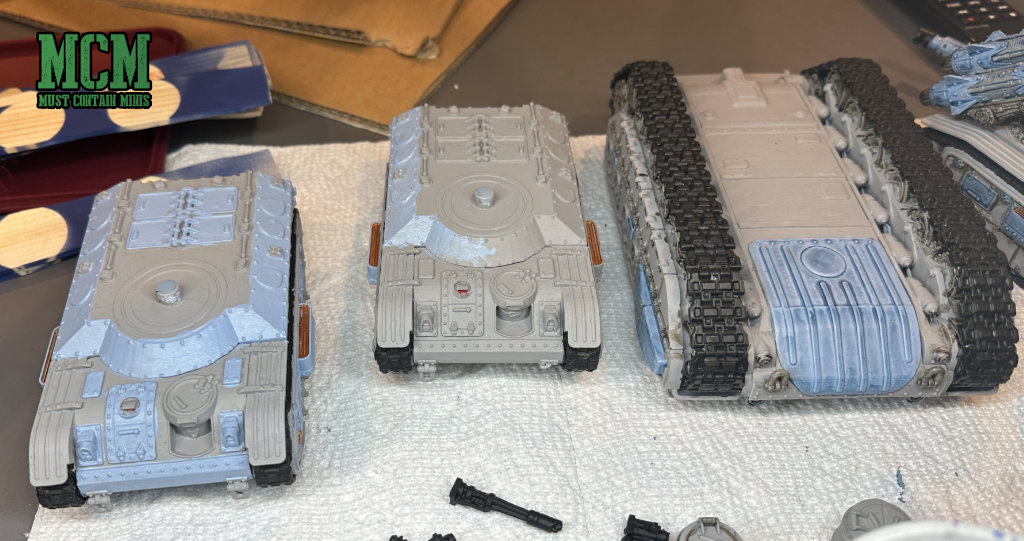
Each part of the model I shaded; I went over twice. The recesses I used Dark Tone on. The Blue parts I used Blue Tone – again, all by The Army Painter. You can see the difference between one coat and no coat in the image of this tank. I hadn’t gotten to shading the turret when I took this photo.
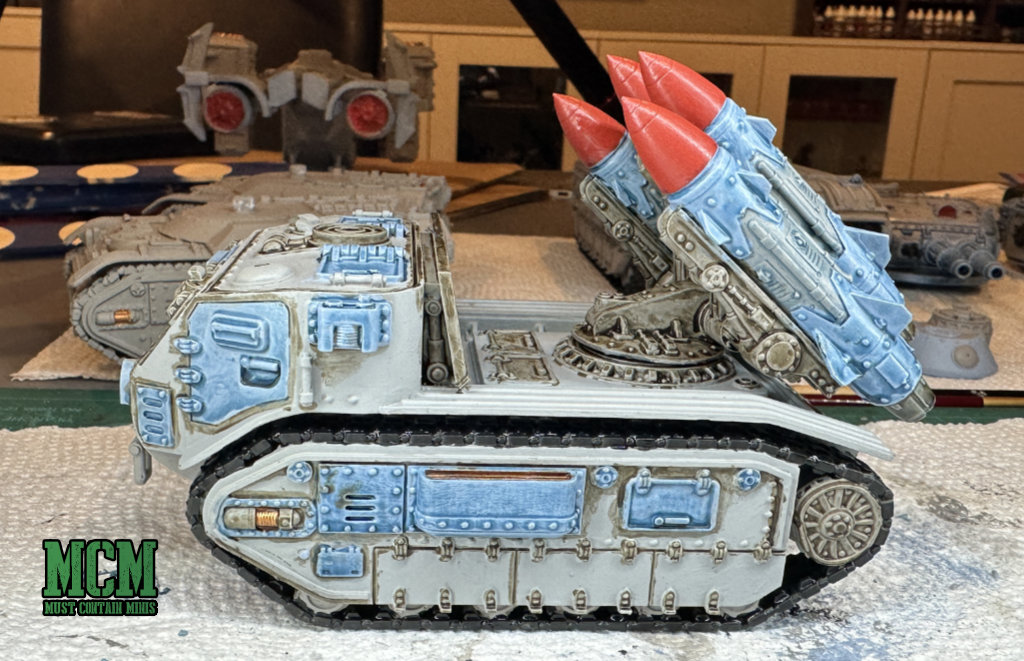
I ended up going through and doing the same thing for each model. Also, I decided to trace each raised area of the model with some Dark Tone for a nice effect. You can see it really well on this tank above.
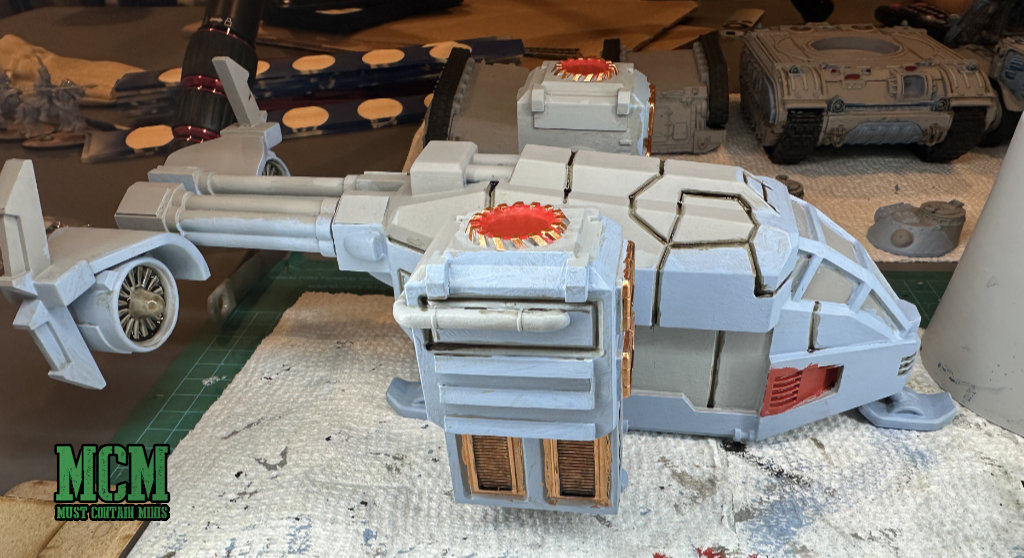
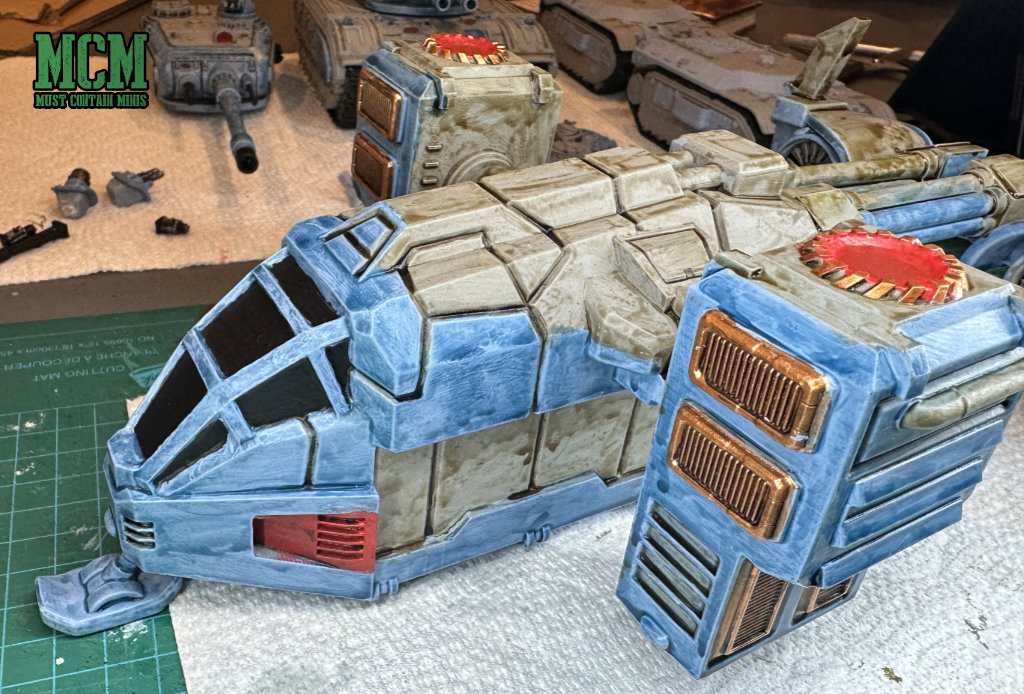
For the Flier, I did all of the crevices in Dark Tone.

And then washed the entire miniature in either a Soft Tone for the grey parts or Blue Tone for the Blues. Again, I did two coats everywhere. The image above shows the flier while the dark tone was fairly fresh.
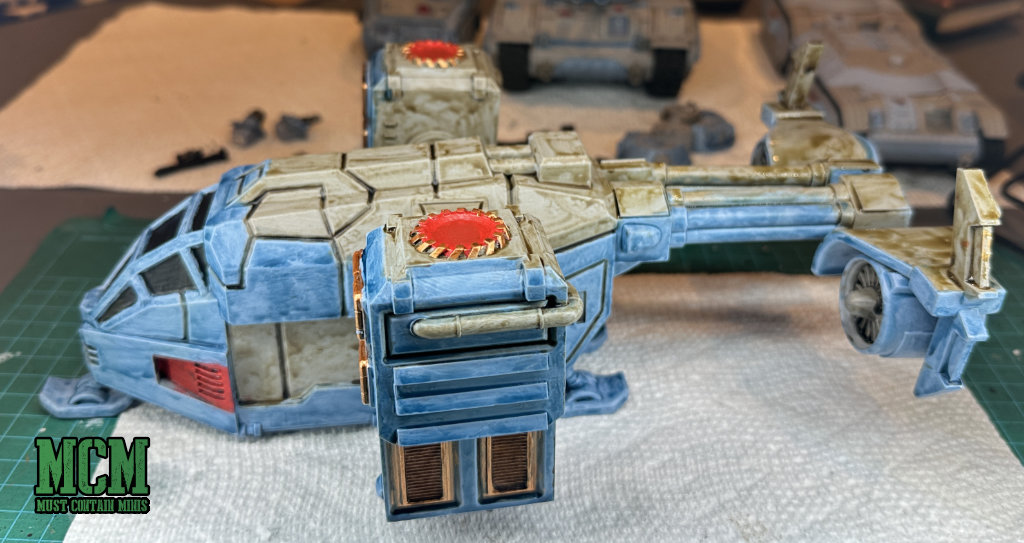
Another look at that same model.
By the end, the vehicles were looking pretty good. I did learn the hard way that 3D printed resin can be brittle. A piece broke off while I was painting, but I was able to glue it back on.
Step 4 – Adding some Highlights
I didn’t add a lot, but I did paint some of the raised grey areas of the model with Ash Grey. This is a lighter tone of grey than the primer that I left as a base color, which helps make some of the details pop off the Models.
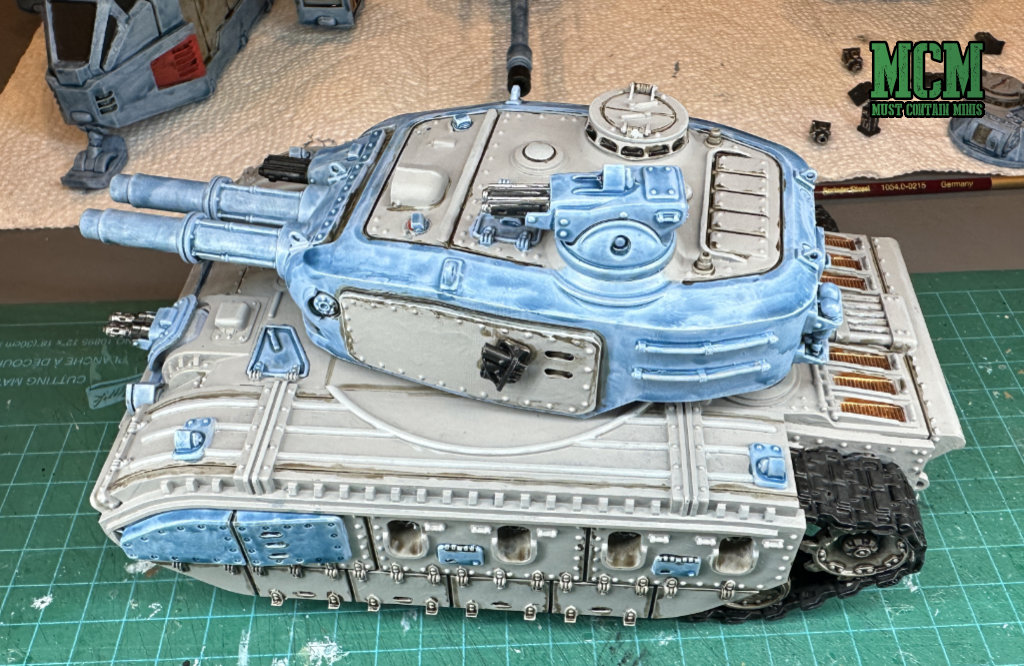
You can see the grey highlights fairly well in the quickly painted tank above.
I also added a lighter tone of red to the tips of the missiles and parts of the engines of the flier to make them stand out more. The difference is subtle, but noticeable.

Looks pretty good. Now, let’s look at some more competed models.
A Closer Look at The Finished Models
Once I finished the two coats of tone and some Ash Grey highlights, these models became good-enough for me to move to the next project.
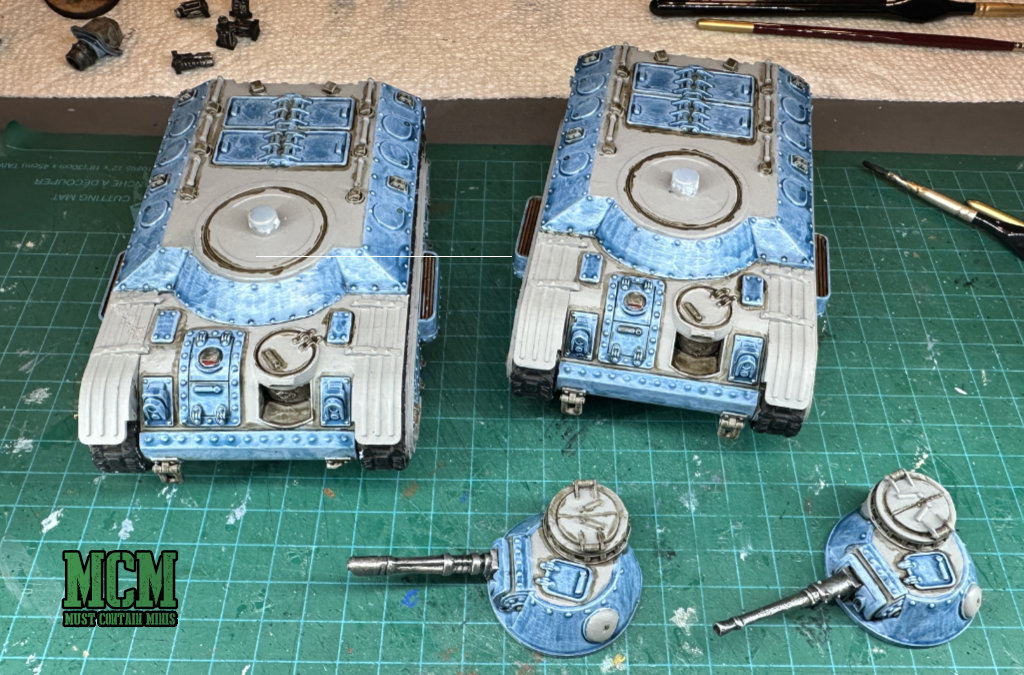

Here the models are on the two trays again.
And yes… I even painted the bottoms of these miniatures. 🙂
Wrapping it up…
Over the course of two weeks, I got a lot done on my tabletop. I hand-primed four tanks and a flier and painted them to completion. I think I might yet put decals on and add some more details to these models, but for now, they are good enough for me to move on to the next project.
These vehicles will be going into an army consisting of miniatures from MyMiniFactory and Wargames Atlantic. They have also been completely painted using older The Army Painter Paints. I haven’t used their Fanatics or Speedpaint lines yet, but the reviews for them all look very promising.
Even using The Army Painters’ older lines of paint, you can get some really good results quickly!!!
Until next time, Happy Gaming Everyone!!!