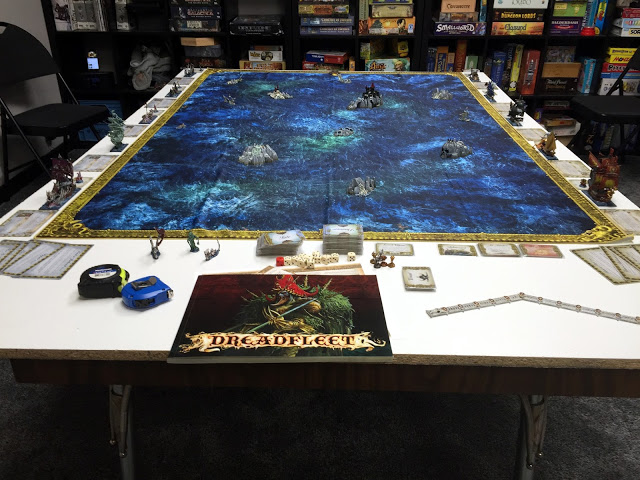
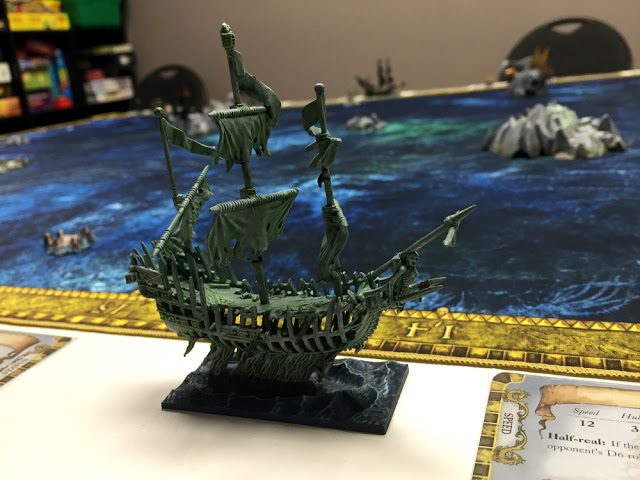
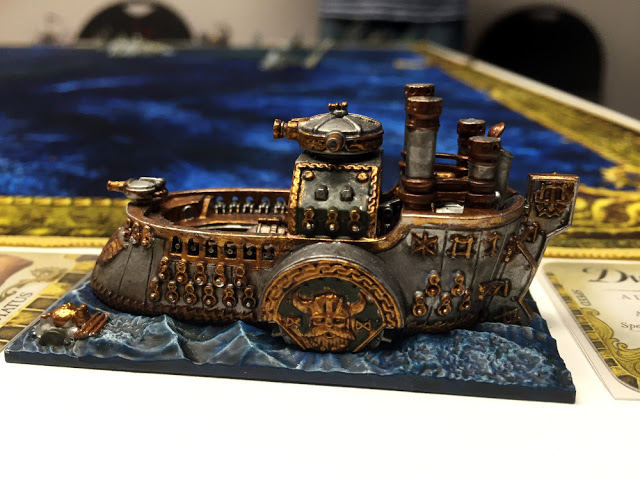
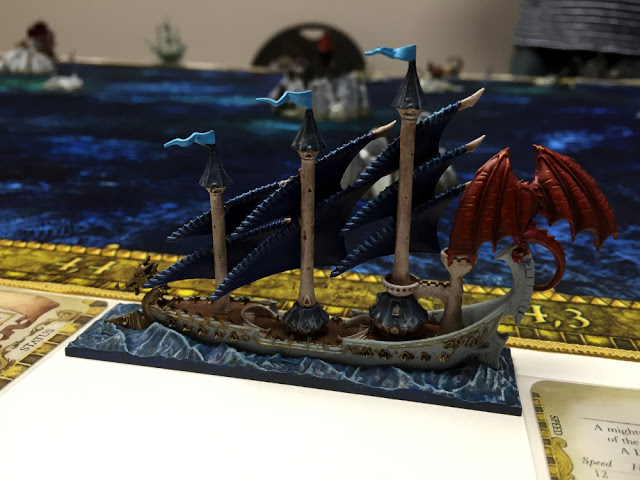
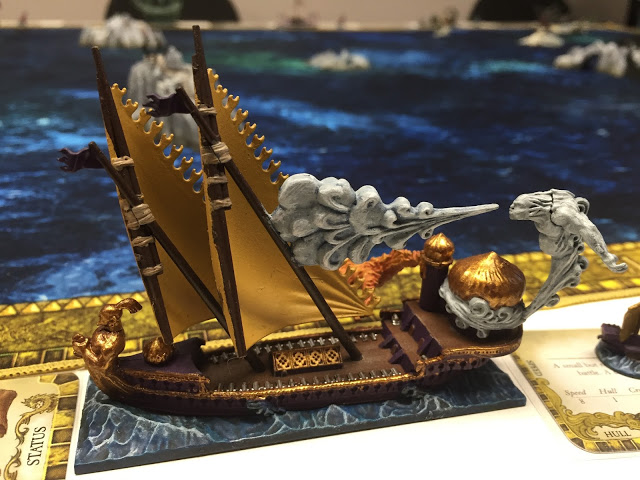
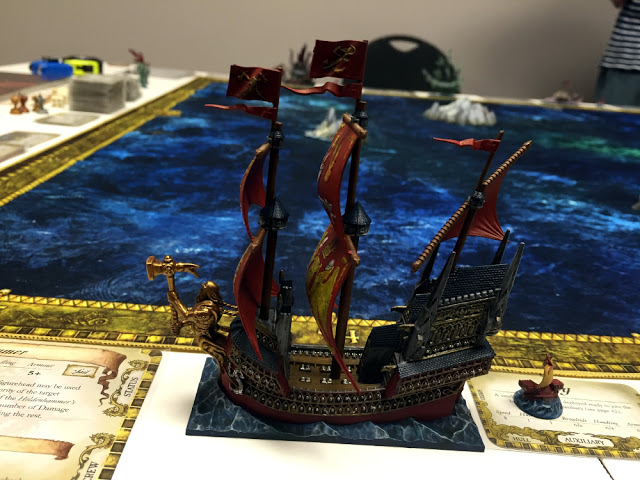
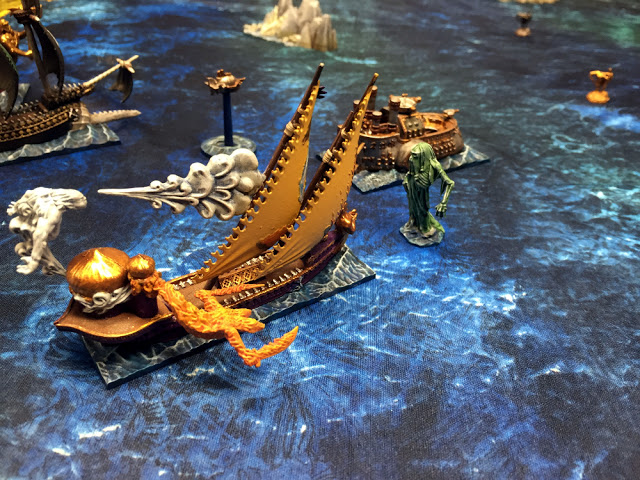
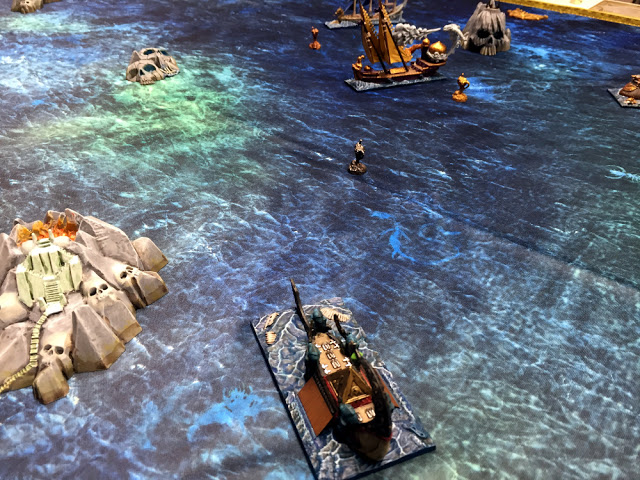
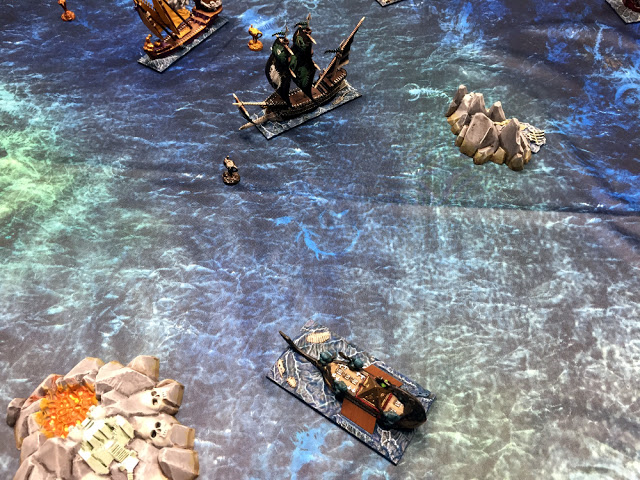
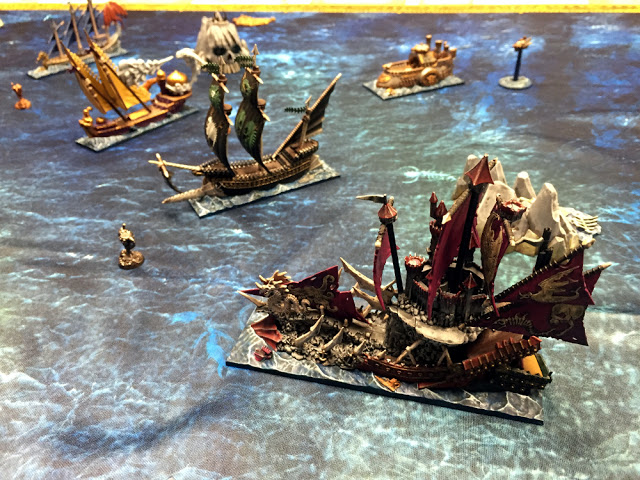
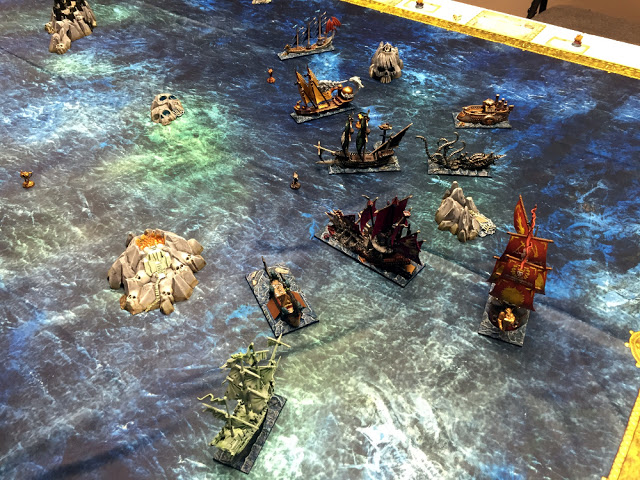
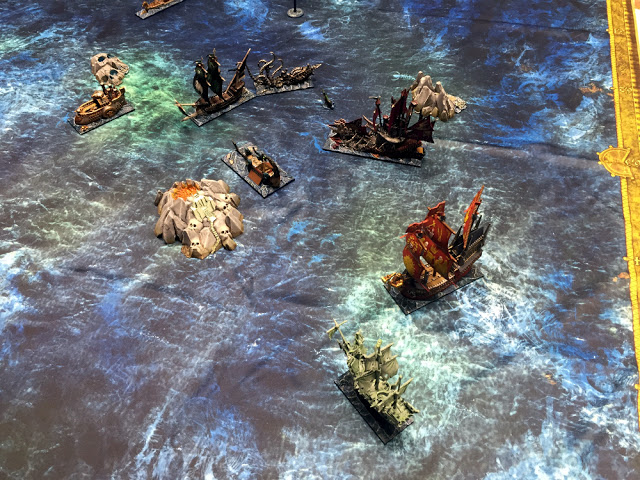
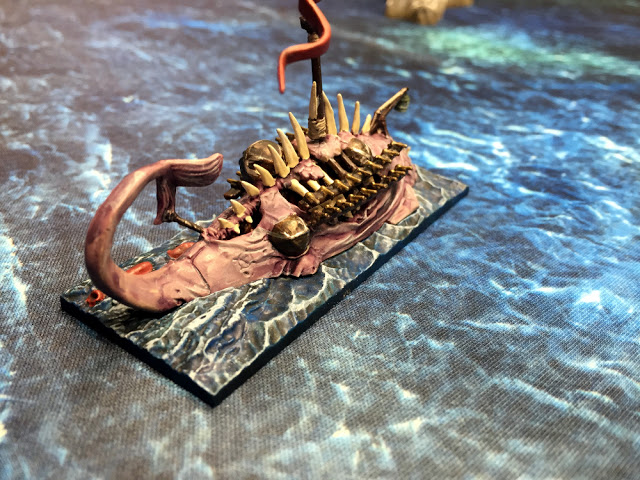
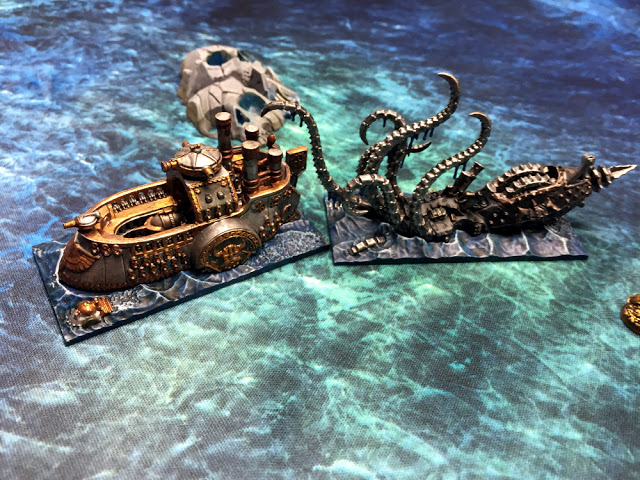
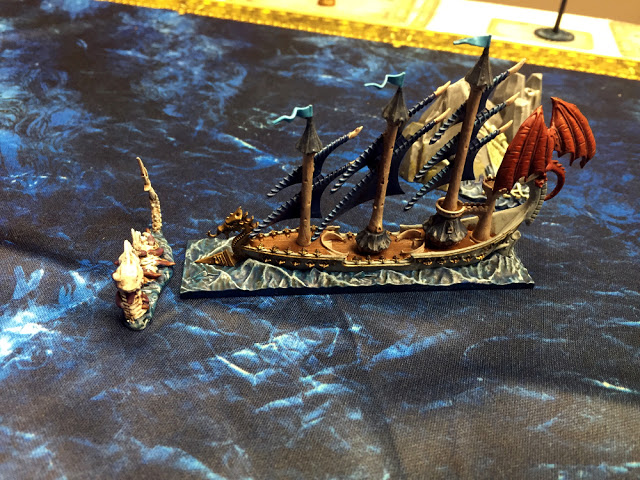
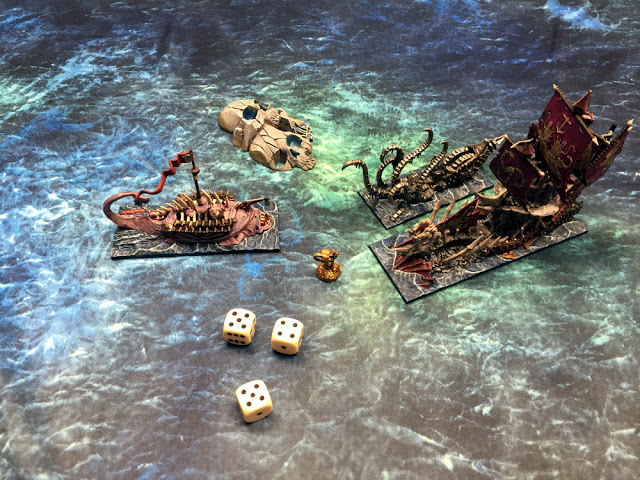
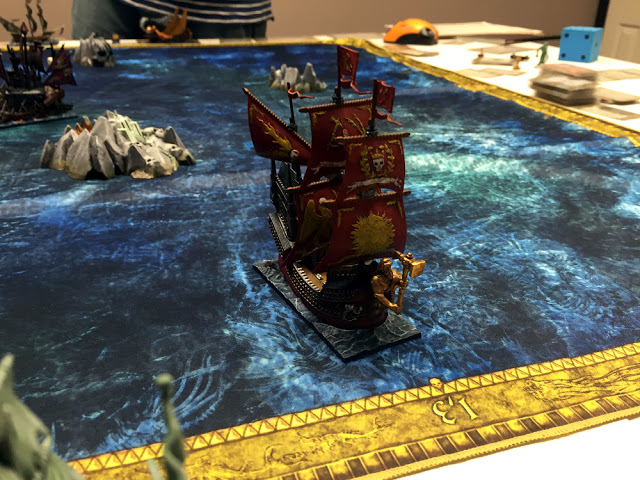
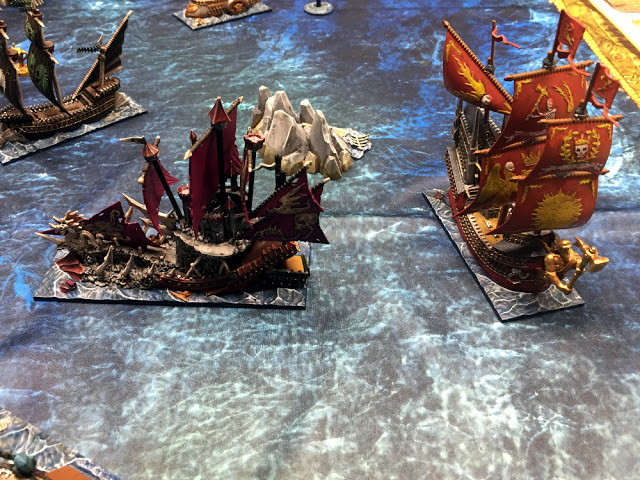
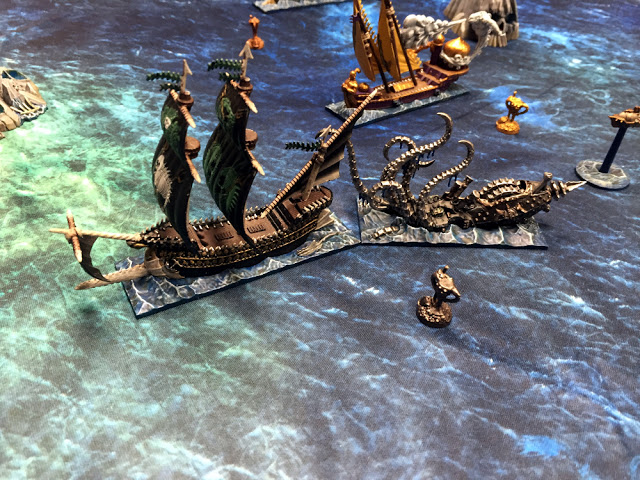
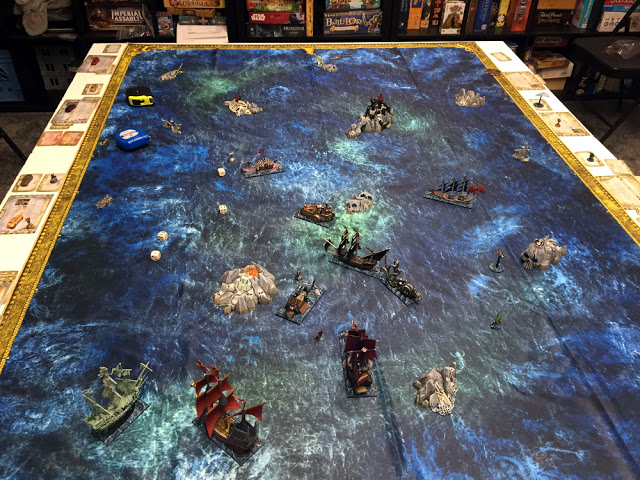
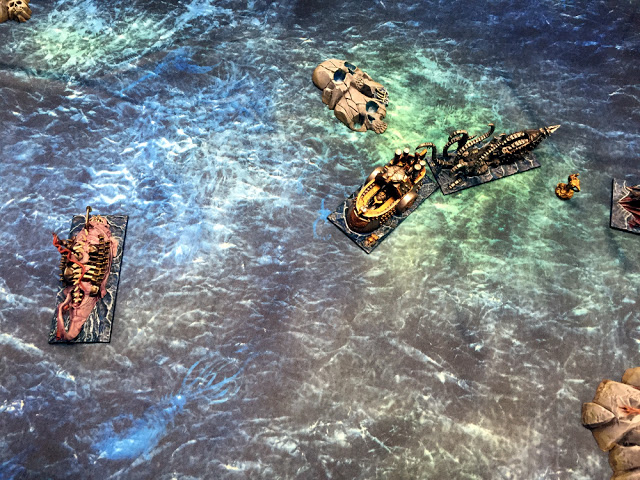
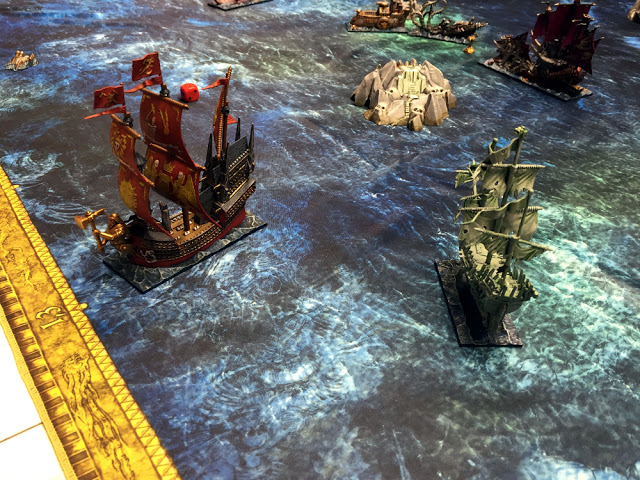
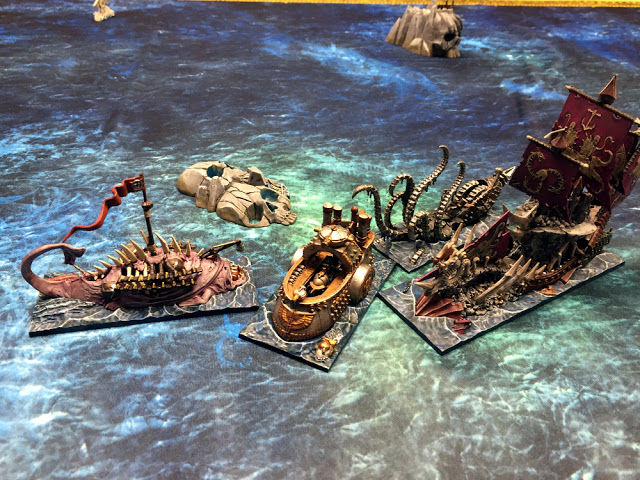
This week, I visited my friend James and played his copy of Dreadfleet. Check out this set up. Amazing!!!
 |
| Dreadfleet on the Table |
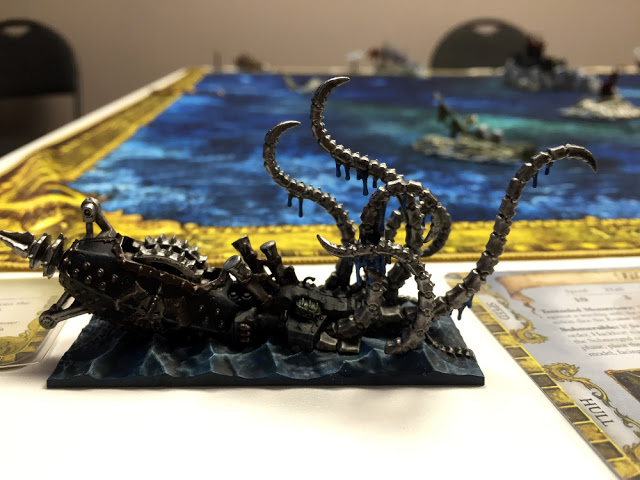
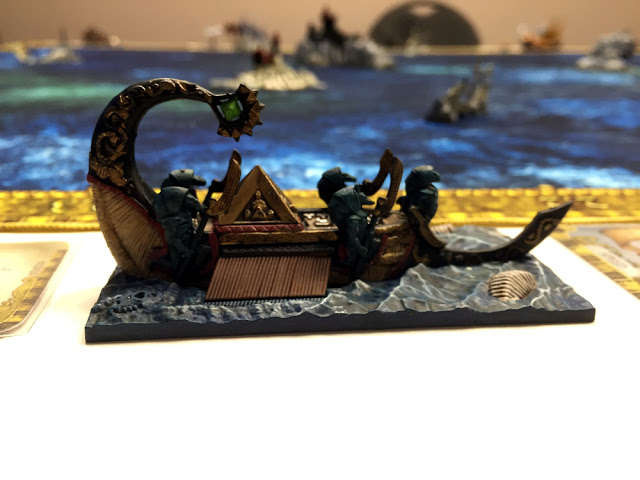
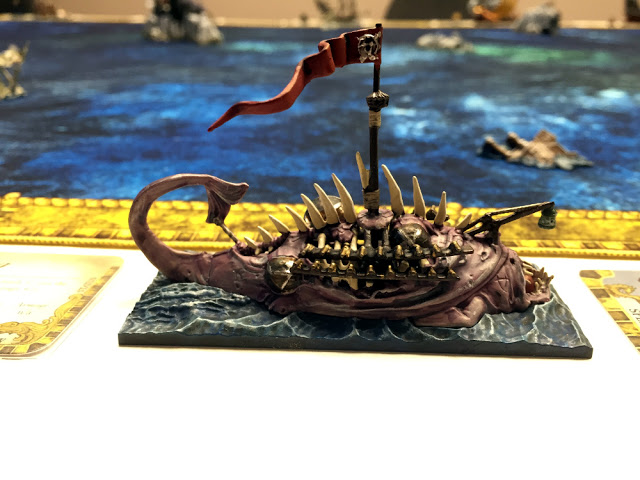
Now, this was my first time playing Dreadfleet and I found it to be a fun and exciting game. James hadn’t played in a year or two so he was very happy to get the game to the table. As he should be. Look at how well he painted all of these miniatures.
 |
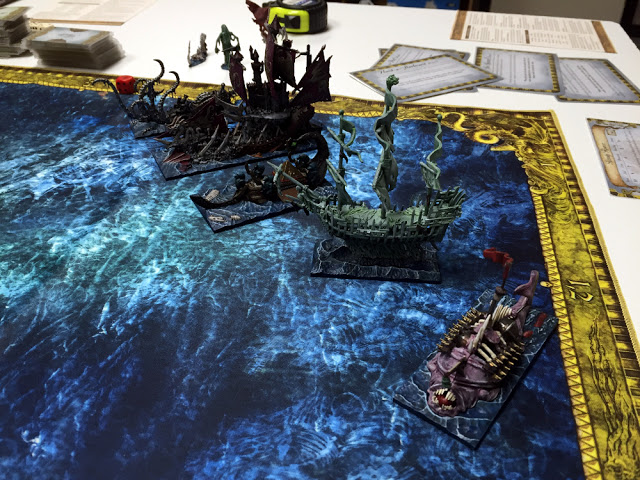
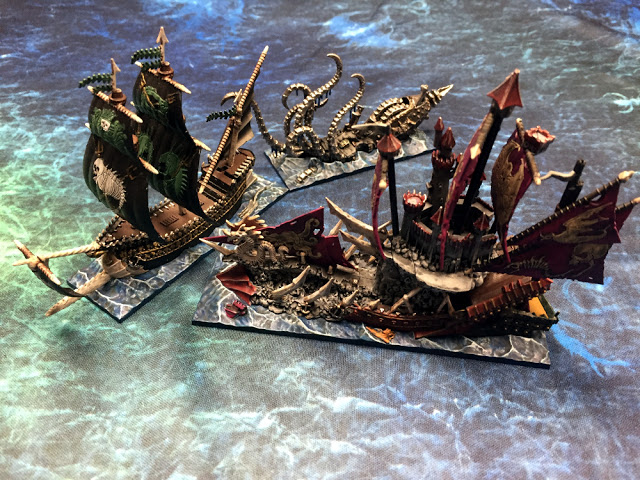
| The Black Kraken |
 |
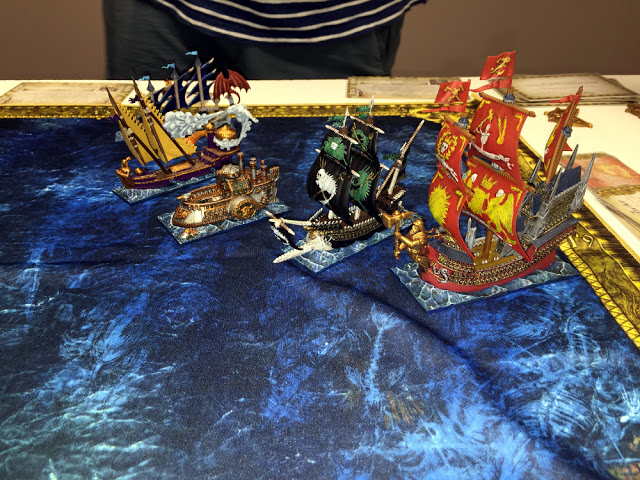
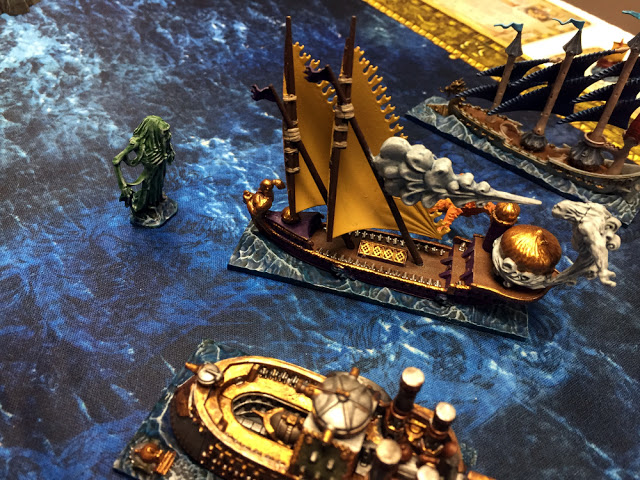
| The Curse of Zandri |
 |
| The Skabrus |
 |
| The Shadewraith |
 |
| The Bloody Reaver |
 |
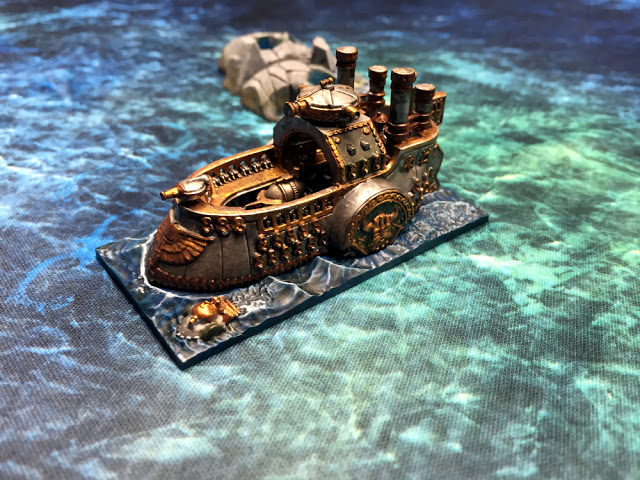
| Grimnir’s Thunder |
 |
| The Seadrake |
 |
| The Swordfysh |
 |
| The Flaming Scimitar |
 |
| The Heldenhammer |
 |
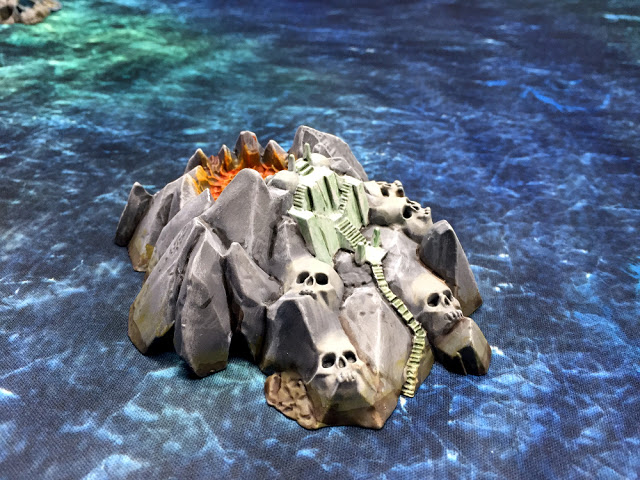
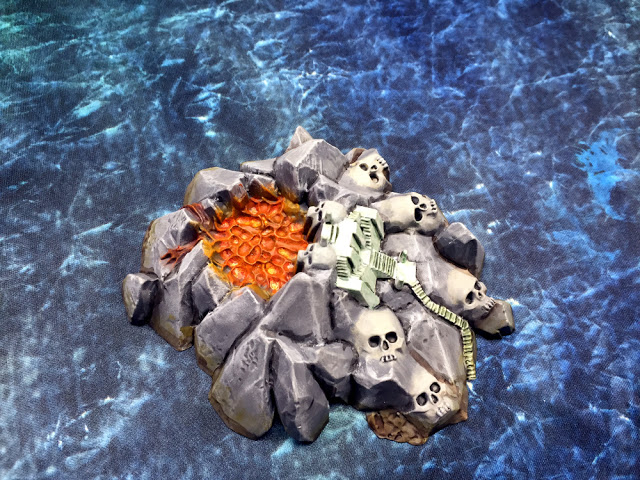
| An Island. Definitely a Game by Games Workshop. Look at all those skulls. |
 |
| Another Island |
 |
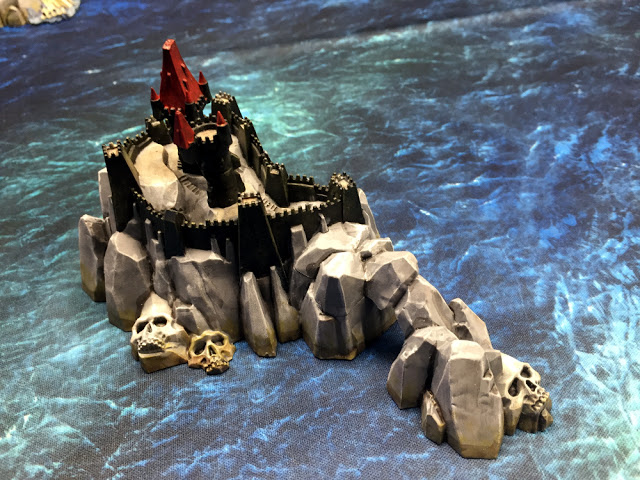
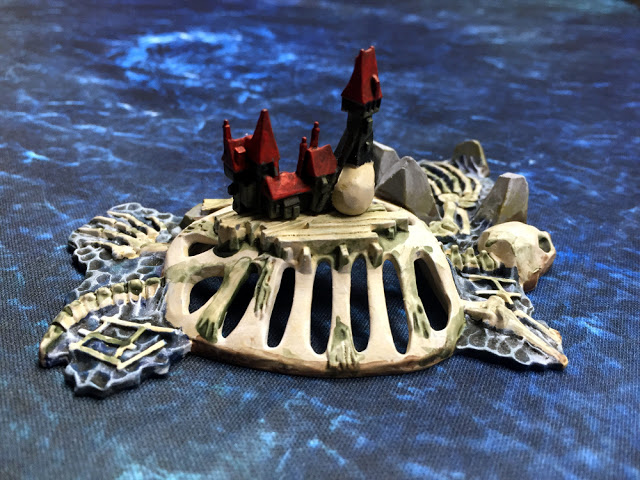
| A Castle on an Island |
 |
| A funky house on the back of a dead sea-turtle. |
 |
| Another Skull Island in Dreadfleet |
James allowed me to choose which side to play as and I chose the Dreadfleet. The object of this scenario is to race forward and to pick up treasures. The player with the most treasure at the end of the turn countdown wins.
 |
| I deployed my ships in the corner mostly angling towards the middle of the table. The Skabrus was set to run straight down the board to pick up two stray treasures. |
 |
| James started with the Grand Alliance and set up in a similar fashion. |
 |
| A Sea Monster emerges from the water and takes on the Grand Alliance right off the start. |
 |
| The Dwarf ship, Grimnir’s Thunder, presses forward and takes the Sea Monster out with a volley of fire. |
 |
| The Curse of Zandri moves up and positions itself so it could anchor on that island and send out a Cog on the next turn. |
 |
| The Grand fleet move up their Swordfish and open fire on The Curse of Zandri. The Curse of Zandri catches fire. |
 |
| To counter the Swordfish, The Bloody Reaver pulls forward and opens fire. Not too much damage was done with this attack. |
 |
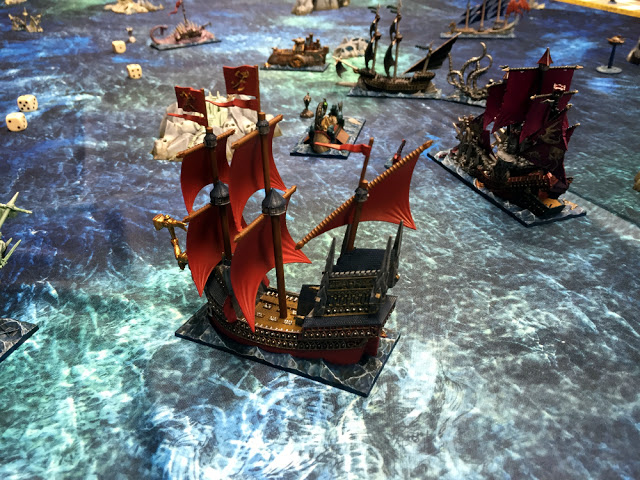
| What happens next is absolutely devastating to The Bloody Reaver. The Heldenhammer pulls up behind and lights The Bloody Reaver up with a full barrage of cannon fire. The Bloody Reaver takes damage and loses some crew. With two ships already damaged, the Dreadfleet is not holding well against the Grand Alliance. |
 |
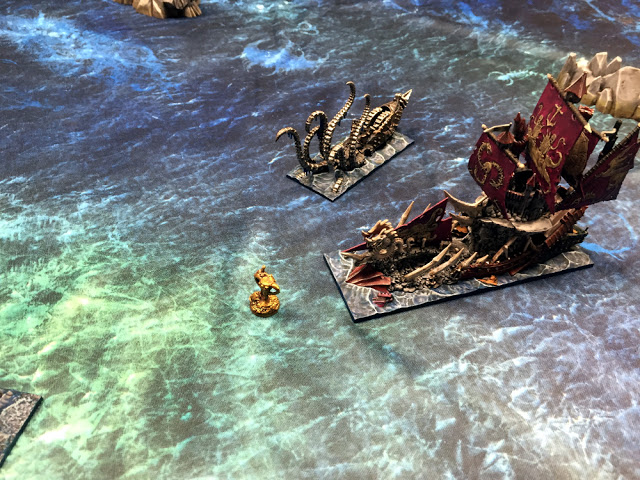
| The Black Kraken thinks about taking on the Heldenhammer but instead submerges and reappears right behind the Swordfish. |
 |
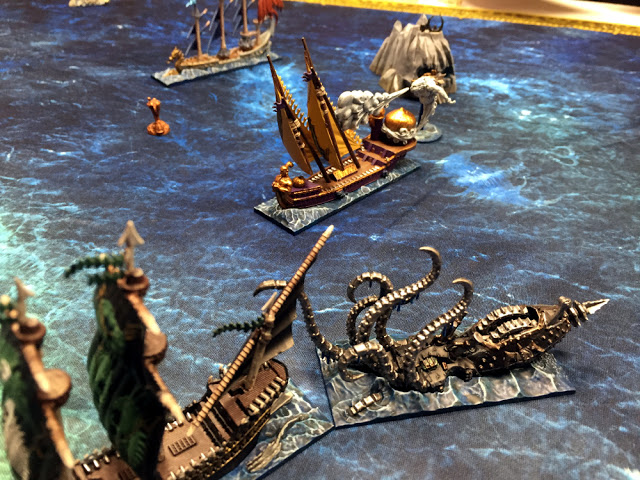
| While The Black Kraken engages the Swordfish in close combat, it also fires its Cannons at The Flaming Scimitar. The Flaming Scimitar becomes a one hit wonder and sinks after a single volley out of the Kraken. The Kraken’s fire was extra effective because it hit the Magazine on the ship. |
 |
| A closer shot of the Kraken taking on the Swordfish and Flaming Scimitar. |
 |
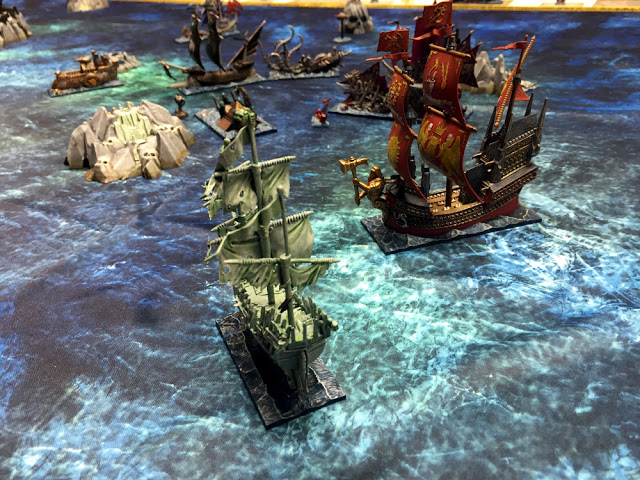
| The Heldenhammer moves on a collision course with The Shadewraith… |
 |
| And Opens fire on The Bloody Reaver. More damage is taken. |
 |
| Pictured above is how the scene is looking at the end of the second turn. The Dreadfleet has sunk one Alliance ship while the Grand Alliance has set one ship ablaze and heavily damaged the Dreadfleet Flagship. Good thing for the Dreadfleet, that Flagship regenerates. |
 |
| This is where the main action was taking place. The Curse of Zandri picks up a treasure and so does the Swordfish. Not pictured here is The Seadrake which is also now transporting a treasure. |
 |
| The Heldenhammer pushes forward and changes its target to The Shadewraith. This is bad news for the smaller ship. It holds up, but is damaged heavily. |
 |
| The Bloody Reaver joins in on the fight between the Kraken and Swordfish to perform a boarding action. |
 |
| The Swordfish is overwhelmed and drops the treasure it was carrying. |
 |
| Meanwhile, Grimnir’s Thunder steams towards the Skabrus. |
 |
| The Skabrus, now carrying a treasure, readies for battle. |
 |
| The Black Kraken engages yet another ship in close combat. Grimnir’s Thunder in in trouble. |
 |
| The Black Kraken takes on Grimnir’s Thunder with the help of the Skabrus. The Skabrus is a perfect match for Grimner’s Thunder because Grimnir’s Thunder has a high armour value that the Skabrus ignores as its special ability. |
 |
| The Heldenhammer destroys The Shadewraith with plenty of cannon fire, but is now in a position to sail off the board. Notice that The Curse of Zandri is no longer on the board. It was destroyed and its treasure now floats in front of The Bloody Reaver. Unfortunately for the Dreadfleet, they are out of Cogs. The score now sits at 2 to 1 for the Grand Alliance. There are treasures on the Skabrus, the Seadrake and Grimner’s Thunder all have treasures aboard. |
 |
| Avoiding a fight to protect its treasure, the Seadrake encounters a sea monster. This monster proves easy to dispatch. |
 |
| With the Seadrake out of danger’s way, whether the game is a draw or win comes down to this battle here. To win, the Grand Fleet needs to have Grimnir’s Thunder hold up in a boarding action fight against the Black Kraken, The Bloody Reaver and the Skabrus. |
 |
| Grimnir’s Thunder does not hold up and the ship sinks. Its treasure floats away because the Dreadfleet has no Cogs left to pick up treasures. |
 |
| This game ends in a draw and the Heldenhammer sails off into the sunset. |
I hope that my readers enjoyed this Battle Report. I have wanted to play this game for years, and when James gave me the offer, I jumped at opportunity. Since he knows I like to dive full-in and use all the units right off the start, James chose out this treasure hunting scenario to use all of the Ships and Cogs in the box. Overall, I was very pleased with my gaming experience. The game is fun and simple enough, but still has a large degree of strategy. This strategy aspect came very apparent to me when James brought the Heldenhammer behind The Bloody Reaver and took shots clear through the ship. It was devastating. I also had The Curse of Zandri on fire and taking heavy damage before I did much of anything to James’s fleet.
While strategy got James off to a great start, luck also plays a big roll in this game. This luck factor was evident when I one-shot killed his Flaming Scimitar with my Black Kraken. There is also a lot of randomness to the events and wind direction in this game. Whether the events drawn create skulls raining from the sky (it is GW afterall) or a Sea Monster in front of an enemy vessel, randomness is the great equalizer to skill. This means that a new (or young) player can play and there is a chance that they could win no matter the skill gap. That said, skill really increases one’s odds in winning.
Overall, it was a very enjoyable game and I would play it again if it was offered. James did mention to me that the missions in the book are set up in a campaign story and that we were playing one of the missions from closer to the end of the book. No matter what one thinks of the game Dreadfleet, there is no denying that it is gorgeous. GW put some great production values into this game. It is a shame that it was recalled and discontinued.
